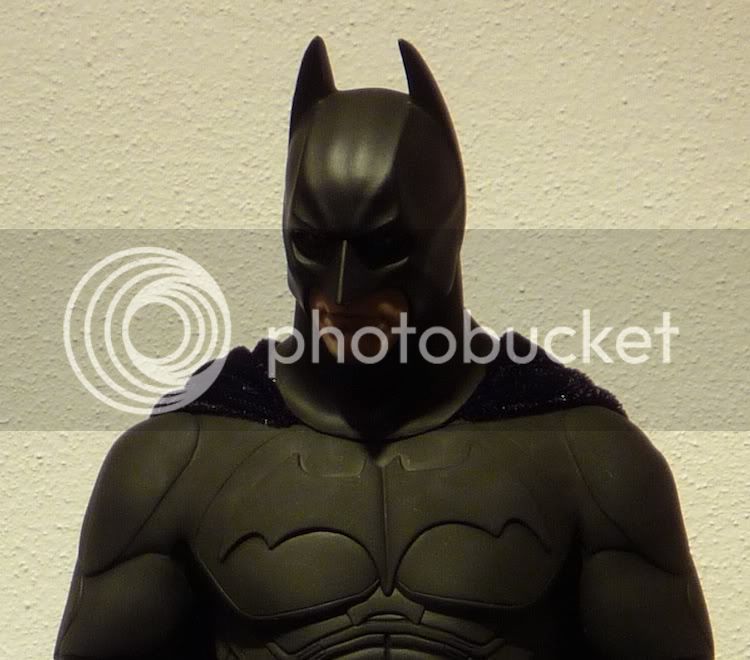
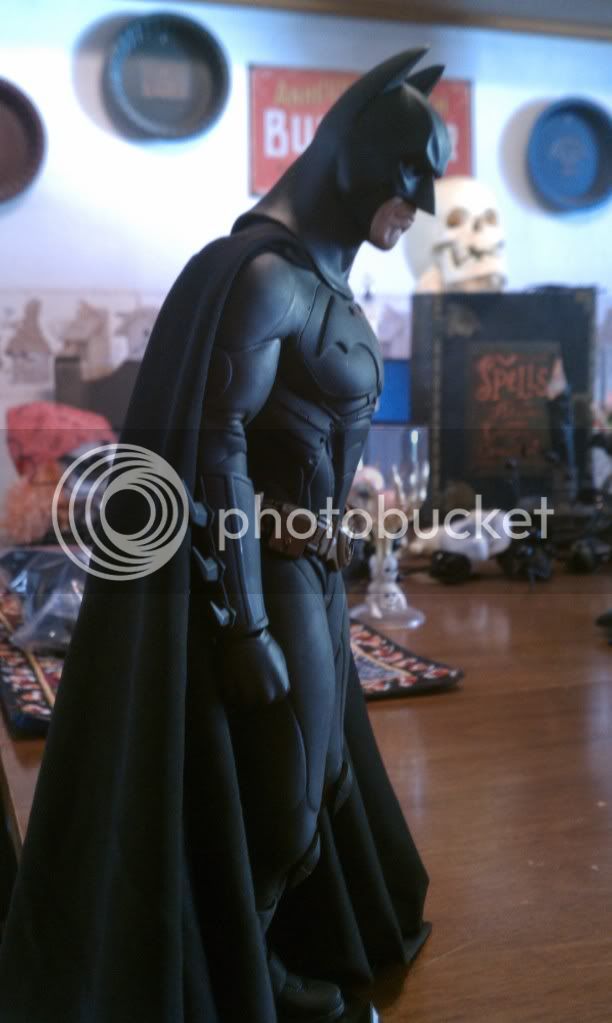
Hot Toys Bruce Wayne/Batman neck mod
Hot Toys Bruce Wayne/Batman neck mod
There are two basic elements to this modification. 1) Shortening the internal neck itself and 2) shortening the cowl.
There is most likely more than one way to shorten the internal part, but I will share my convoluted way of doing it.
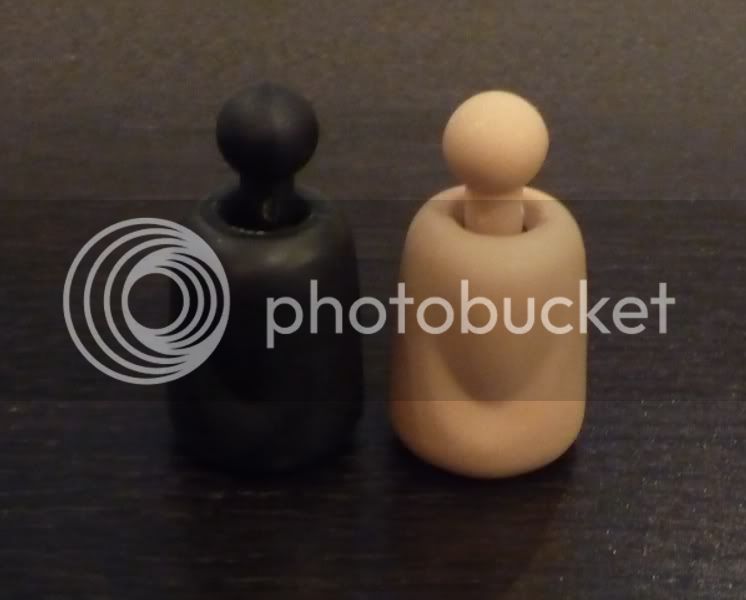
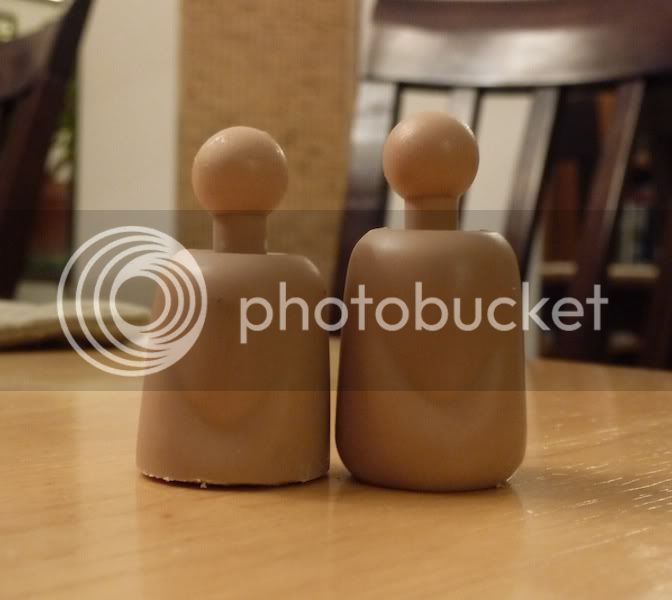
First of all, I did not use the black neck that comes with the figure, since I wasn’t sure how far I was going to take the mod and wanted the option of reversing it for as long as possible. I did the modification to a generic True Type neck:
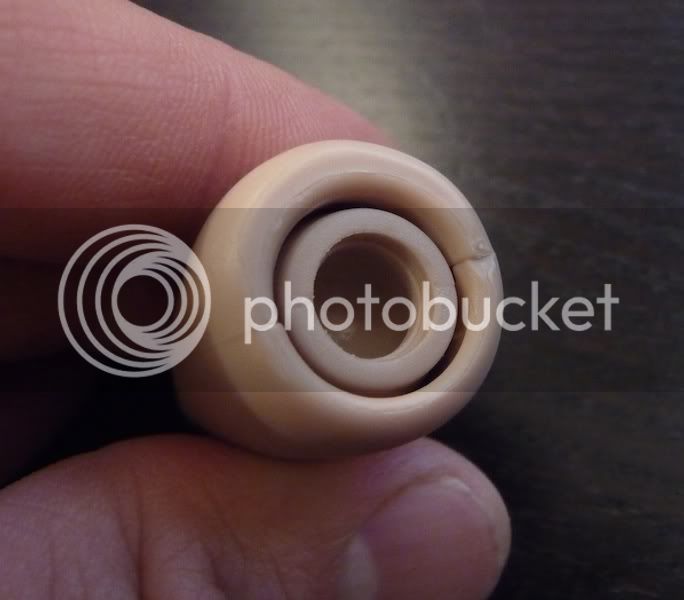
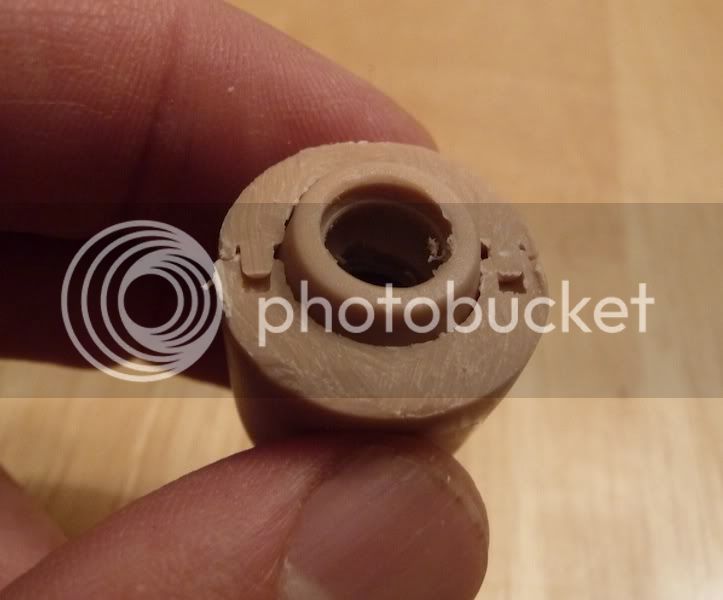
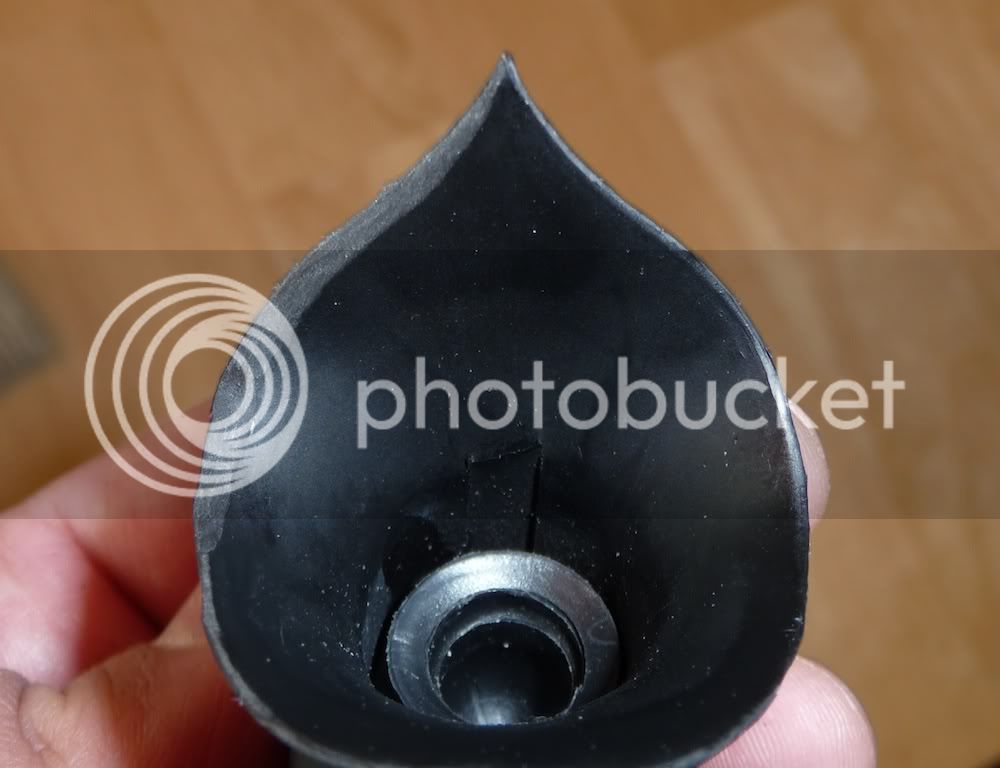
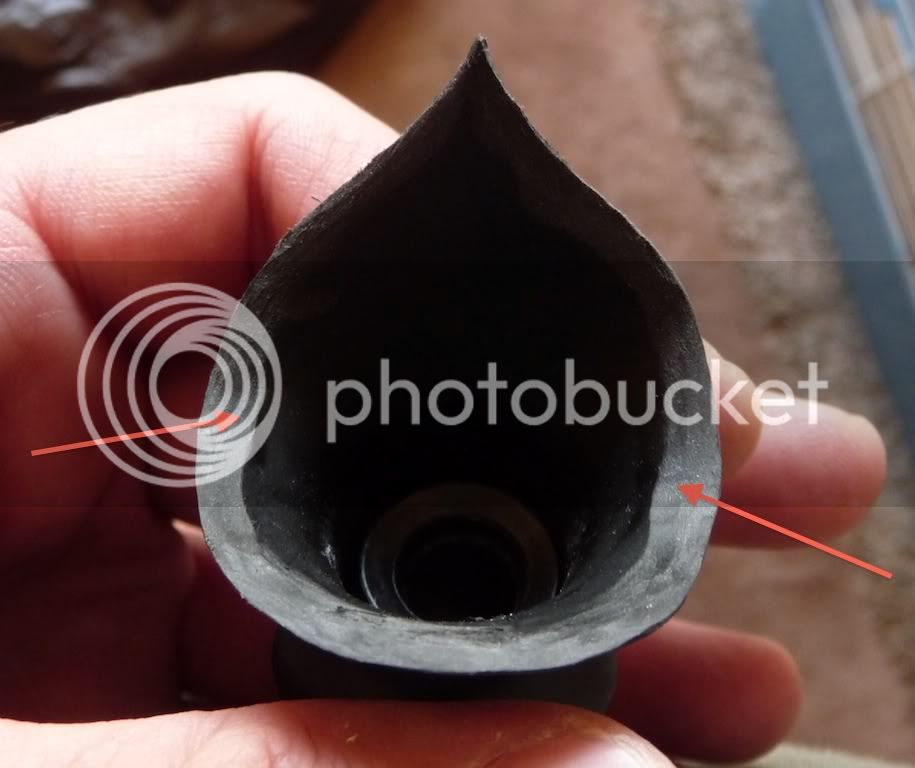
The underside of the neck looks like this:
In the middle there you can see the little rubber piece that fits over the body/neck ball joint. There are two of these inside the neck, the other is for the head/neck ball joint.
Step 1) Split/pry the neck apart at the seam you can remove these two rubber pieces. You will only be modifying one of them and they are identical.
The basic goal of the internal portion of this neck mod is to get the rubber piece that is for the body/neck ball joint to sit lower. It normally sits here:
You want it to sit here:
Step 2) Use an exacto blade to cut the hole through the top of the rubber piece, but be careful to remove only just enough. You want the head to still fit relatively snug on the ball joint. You should have to work to get it off. Once I got the rubber piece pressed down to where it is in Figure 1.4 I had to use a needle nose pliers to get it off. That’s what you want. This is what keeps the head from having up and down play in it once the mod is done.
Step 3) The neck itself needs to be ground down on the bottom quite a bit. I forgot to take a comparison picture at the very end (I may have ground it a little shorter than this eventually), but this should give you an idea:
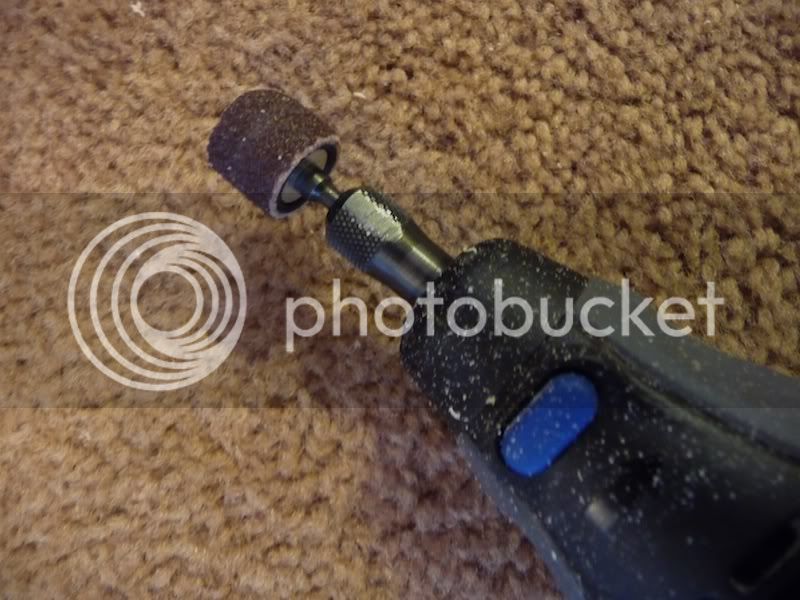
For this step I used the sandpaper tool on the dremel:
Step 4) You will also need to
drill/dremel a hole inside of it to accommodate the body/neck ball joint.
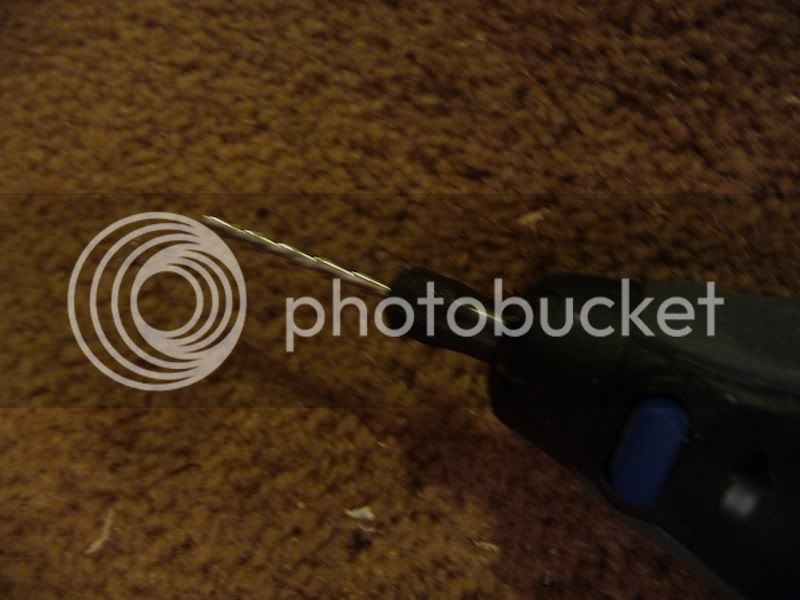
I used this cutting tool to create that hole:
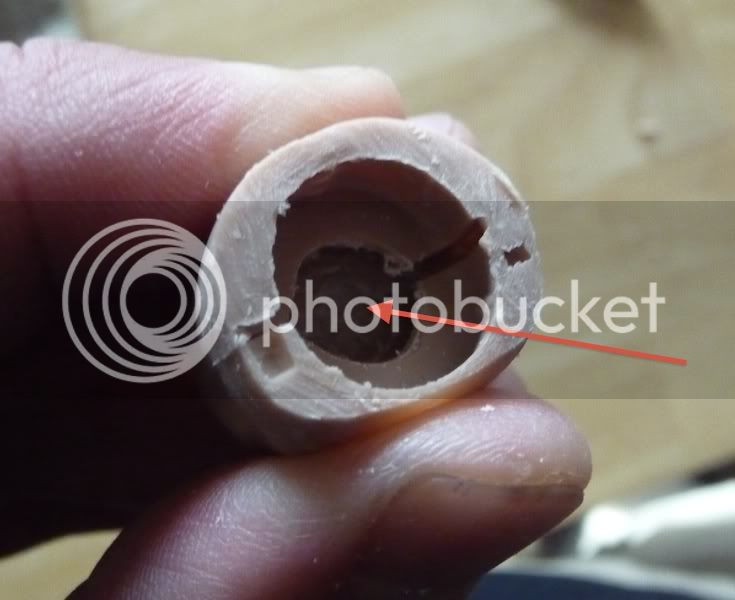
Step 5) When you put the rubber piece back in you will see the need to
grind that shorter as well (I used the same sanding tool), as it will be sticking out like this:
Again, be careful to not grind too much off this part, as this is what articulates with the body/neck ball joint. It tappers in towards the bottom; the goal is to grind off enough for the head to sit as low as was indicated in Figure 1.4 while still letting it taper in enough to hold in place. I should say here that I strongly
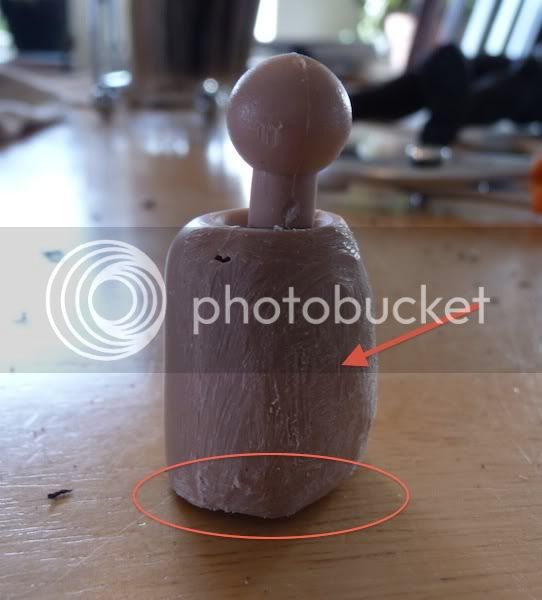
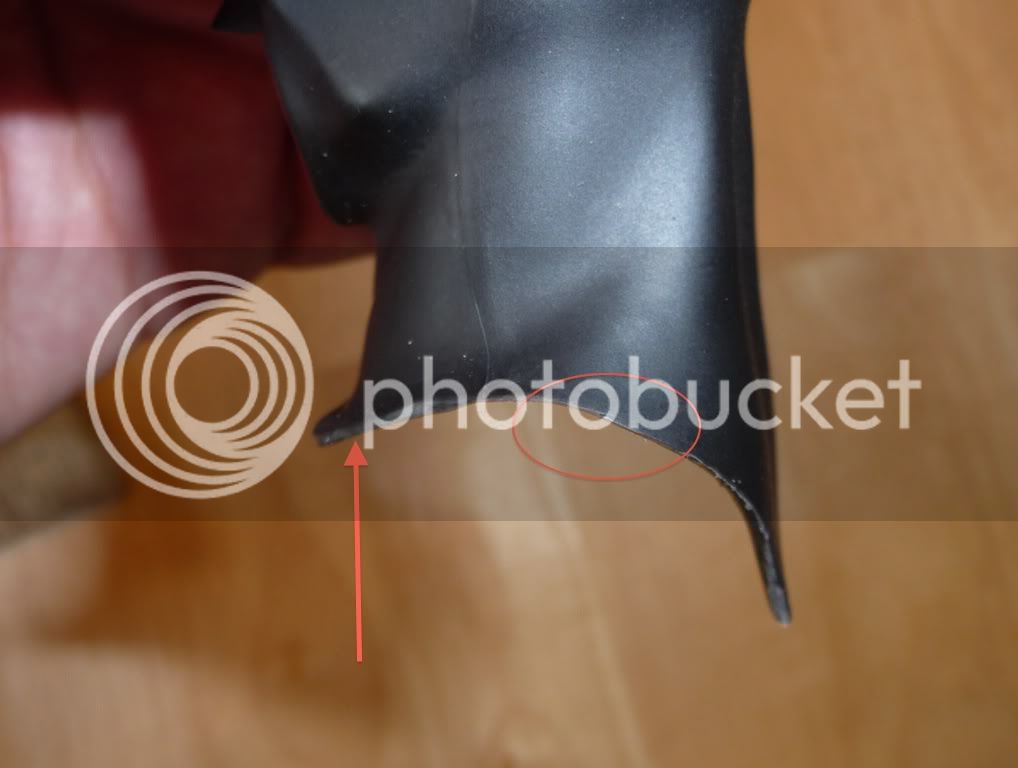
suspect you could grind it totally flat here since I think it’s the top part of the rubber piece that holds it in place – again, see Figure 1.4. Anyway, I left a little bit of the rubber piece still sticking out so when I stand the neck up the plastic body of the neck is a little raised off the table (circled below):
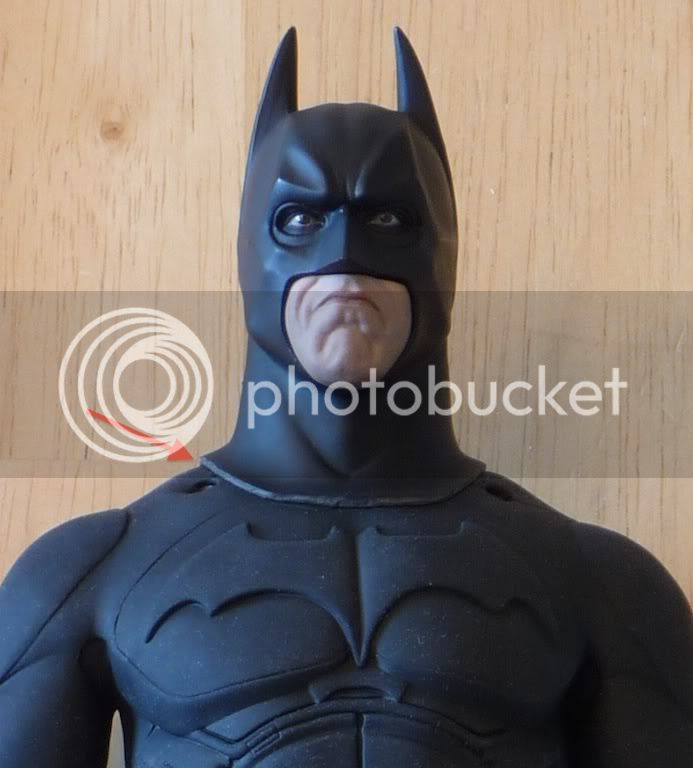
Step 6) In Figure 1.10 above, the arrow indicates the front (adam’s-apple part) of the neck. You can see that
I have ground this down significantly with a dremel tool (Sanding attachment - Figure 1.6). The reason I did this was to allow for greater forward tilt at the head/neck ball joint (otherwise the inside of the cowl is bumping up against the adam’s-apple). Some forward tilt at the body/neck ball joint is lost from shortening it, and this step makes up for that a bit.
Step 7) After all this grinding it is unlikely that the two halves of the neck will ever click back in place so
superglue them together along the seams. Make sure that the two rubber pieces and the head/neck ball joint is back in place as in Figure 1.10 before gluing it back together.


