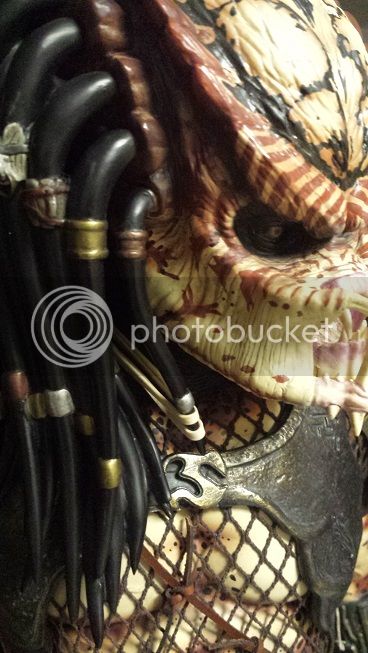
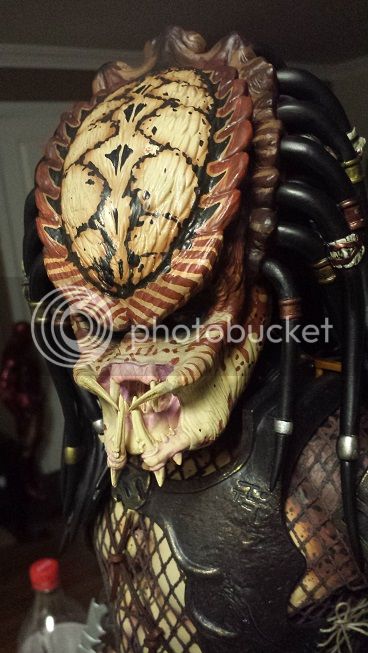
Statue Predator 2 City Hunter 1:4 Maquette.

Collector Freaks Forum

Help Support Collector Freaks Forum:

This site may earn a commission from merchant affiliate links, including eBay, Amazon, and others.
Just a few heads up for guys who like to tweak things. I destroyed my P2 maquette yesterday under instruction from Sideshow, but I played around a bit rather than just throwing it out the window. The main thing I wanted to see was how easily it could be dismantled for painting to save on difficult masking in certain areas. The netting being the main problem. I assumed this was glued under the armor plates slightly... WRONG! The netting is applied early on in the production before the armor, it sits under everything and is impossible to remove cleanly as it is really strong actually, I had to cut it off and use a fine blade to clean the edges but that inevitably caused damage to the surrounding areas and left gaps everywhere, it also leaves tuffy bits anyway. This is also the reason some areas don't fit together very well as the thick netting is applied beneath. I really would love a kit version of this. I heated some sections of armor to see if they would pull off, the resin on this quickly becomes soft and pliable, and each section has a thick peg in the middle so can't be removed, it just rips or snaps. The forward pointing dreads were improved by heating and very gently moving them backwards with small movements, of the four over the two heads, one cracked badly so would need filling and painting but the others were fine. Just be very careful doing it if you choose to do so, don't rush it. Oh and the spear snaps if you breath on it or even look at it funny so take care not to knock it.
 
I figured the netting goes under the armour.

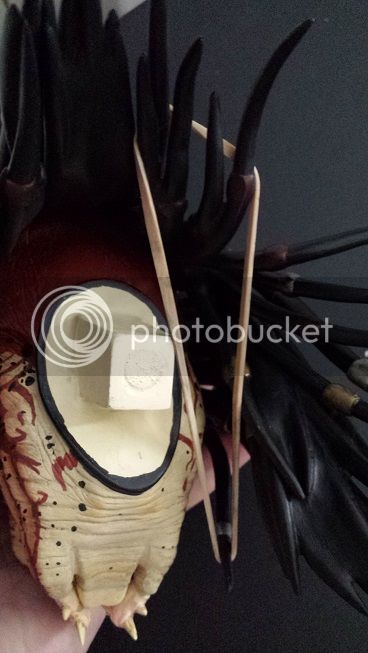
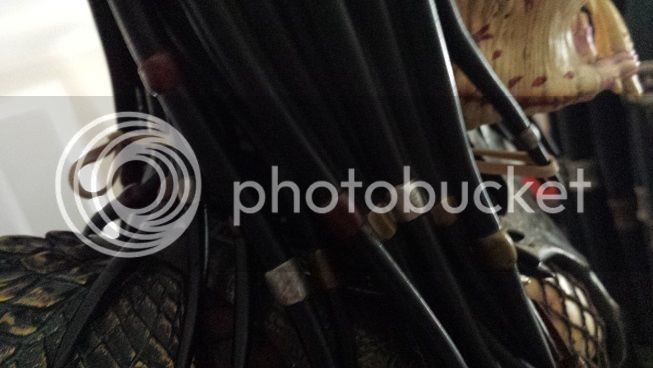
I was surprised how easily the dreads can be moved after heating.
I broke one but was seeing it if could be removed from the socket, don't think that's possible.
 
The resin is really soft, you'd have to drill them out I think if you wanted to empty the sockets. Not the end of the world as the dreads could do with a bit shaved off of each route. The problem then is getting them to fit again given the way they are molded together.
 
Just a few heads up for guys who like to tweak things. I destroyed my P2 maquette yesterday under instruction from Sideshow, but I played around a bit rather than just throwing it out the window. The main thing I wanted to see was how easily it could be dismantled for painting to save on difficult masking in certain areas. The netting being the main problem. I assumed this was glued under the armor plates slightly... WRONG! The netting is applied early on in the production before the armor, it sits under everything and is impossible to remove cleanly as it is really strong actually, I had to cut it off and use a fine blade to clean the edges but that inevitably caused damage to the surrounding areas and left gaps everywhere, it also leaves tuffy bits anyway. This is also the reason some areas don't fit together very well as the thick netting is applied beneath. I really would love a kit version of this. I heated some sections of armor to see if they would pull off, the resin on this quickly becomes soft and pliable, and each section has a thick peg in the middle so can't be removed, it just rips or snaps. The forward pointing dreads were improved by heating and very gently moving them backwards with small movements, of the four over the two heads, one cracked badly so would need filling and painting but the others were fine. Just be very careful doing it if you choose to do so, don't rush it. Oh and the spear snaps if you breath on it or even look at it funny so take care not to knock it.

Good info. I guess I was right at not attempting the entire body paint.
There has to be a way to apply highlights
 
You could do it, it would just be difficult as you'll have to do it through the netting. A complete repaint is off the cards however I think.
 
Yea the resin gets incredibly flexible and brittle when hot I ended up just destroying the bio mask bulling it off and made some holes in the actual head underneath without even trying. The dreds will also break right where they meet the head with little more than a touch unless you can melt the glue i dont think its possible for the warm dredds to pull free without damage.
 
I bent the bluetooth microphone dreds back with rubber bands hooked around the dred and around the back of the dreds. Within a few hours they were pulled right back to the body. I suggest cutting the band when you're done if you want to try this rather than removing them. It works great and you don't need a lot of pressure.


I found adjusting the dreds on the body was OK but the dreds moved back up slightly after I finished so I used the spare portrait mount and over bent them past where I could on the statue so that when they moved back up slightly they sat where I wanted. Anyone trying this method will need to be careful obviously the dreds will only go so far
 
I'll post the extra unmask head for sale on eBay if any of is interesting to customize .
 
New paint up, owner Tiziano Andreucci off of Facebook. What you guys think?

3155834ddc8c99f33e52b5601267f13d.jpg


Sent from my iPhone using Tapatalk
 
It seems like all the colors just blend in, making it look drab for me. Why does this look off to me?
 
Back
Top