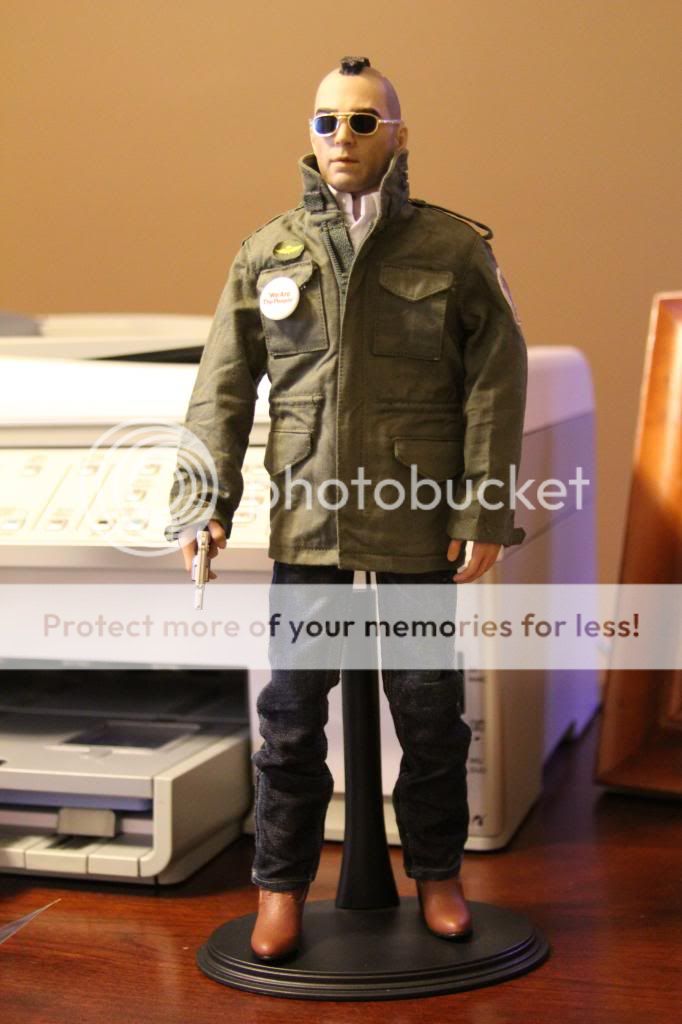
Rainman Artwork 2013 NYC Cabbie "Driver"

Collector Freaks Forum

Help Support Collector Freaks Forum:

This site may earn a commission from merchant affiliate links, including eBay, Amazon, and others.
The body I used had the screw on top of a washer on top of the spring, so I never had to open up the groin. I kind of just yanked the old torso pieces off, which let me get at that screw.

I didn't use a boxed TTM21 proper, but instead a loose TTM21 from a HT Naked Snake figure, but there shouldn't be a difference.
 
Groin... yeah... that was the word I was looking for. :lol
I think I've actually just about managed it thanks to your tips so thanks again for that, I can't be bothered doing the rest though so I wont know for sure until tomorrow.

I've been at this for four hours!
This figure better look damn good when it's put together. :rotfl
 
HwaeTFL.jpg


It took me a while but wasn't too difficult. What I did:
-Undo the chest and completely remove the remaining HT torso pieces. This will leave you with the legs, groin, and pin with spring and depressor plate held in with a small Phillips screw.
-Loosen the screw holding the spring. This will relieve tension from the spring.
-Wedge the depressor plate up with a screwdriver. Slip in one half of the torso. I used the back half. You'll need to slide it in at an angle, as the design of the interior torso and the loosened spring will block it from sliding it in all the way.
-Carefully tighten the screw, putting tension back on the spring. Make sure to hold the torso piece in place - often adding tension will knock it loose. If the depressor plate gets out of sorts and is facing the wrong way, move it back into place with the screwdriver. Tighten it all the way to it's original position. This took me a couple times, as the screw was difficult to get at and it was tough to keep the torso half in place.
-Wedge the depressor plate back up and slip the other half of the torso on. Make sure to have the arms and neck peg already set in!
-Snap everything together and reset the screws in the back.

I can take pictures tonight if people are still having trouble.


Bump to keep the tutorial accessible.

Thanks for the big pics and the thorough explanation boys :hi5:

I guess I'll try this tomorrow when I have an hour... or four to kill. Sounds like good times :google :thud:
 
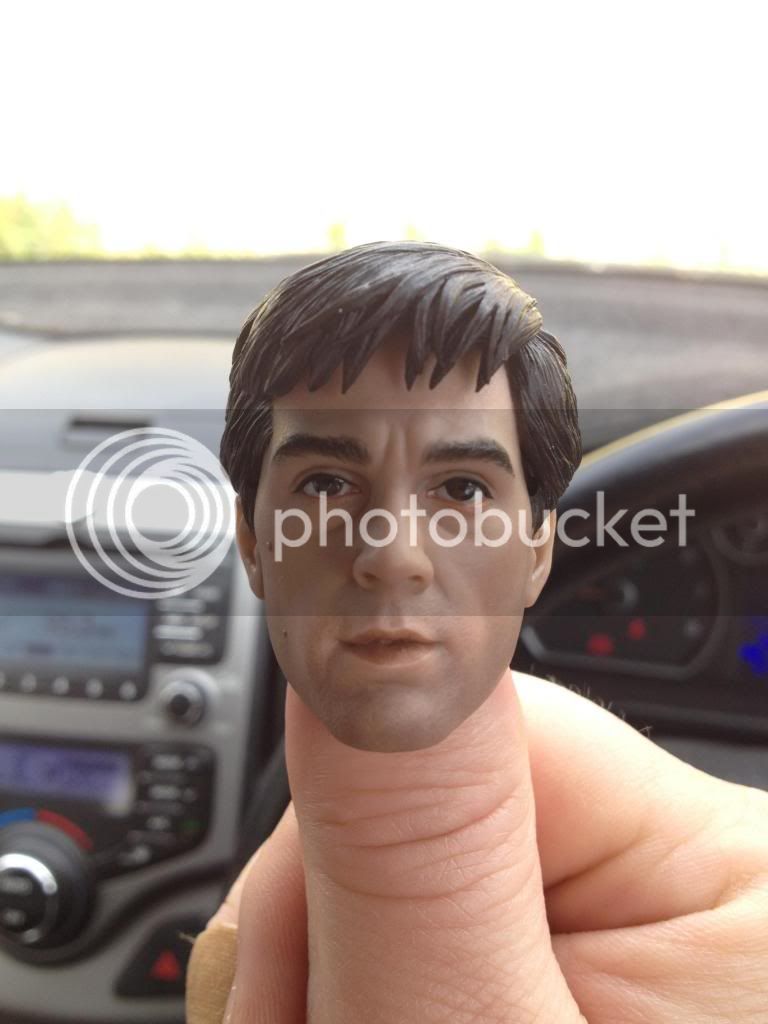
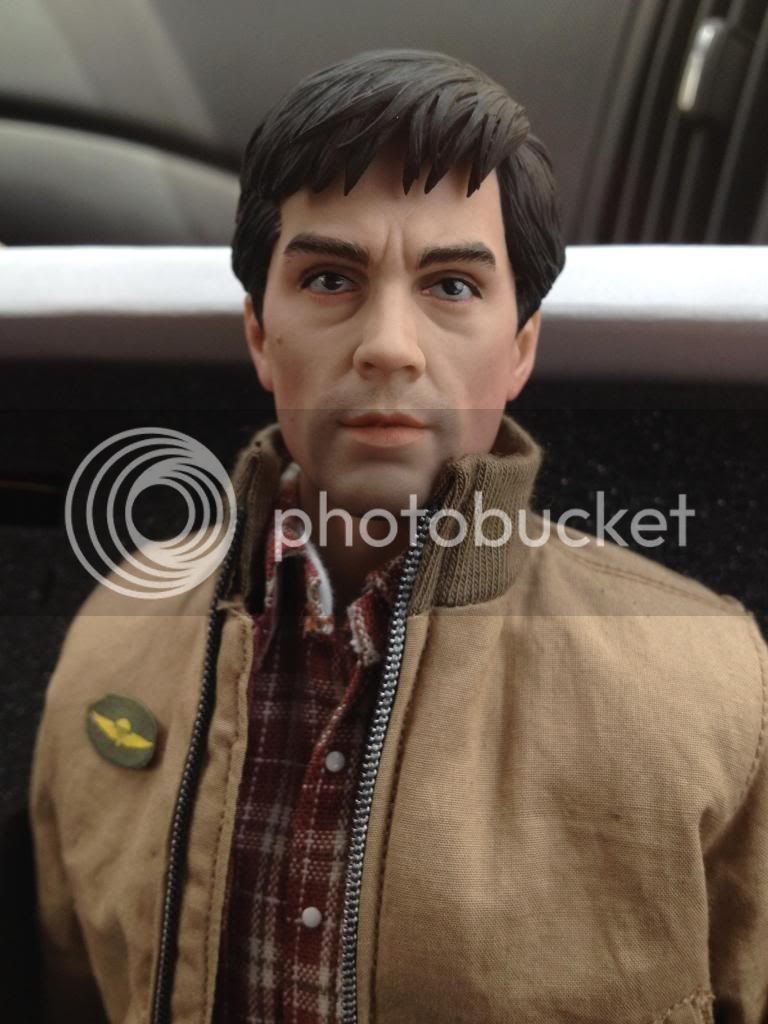
The eyes don't seem bad to me, but on a more important note... SELL ME THAT GANGBOY SCULPT!

Someone needs to click a side by side "clear" close up pic of rm and aeon paint. Like a high def crystal clear pic. The eyes do look huge so far to me... But tough to see it in these pics.

Ajk - did u buy any?


Sent from my iPad using Tapatalk HD
 
Someone needs to click a side by side "clear" close up pic of rm and aeon paint. Like a high def crystal clear pic. The eyes do look huge so far to me... But tough to see it in these pics.

Ajk - did u buy any?


Sent from my iPad using Tapatalk HD

Buy what?

Driver... yes

Gangboy Sculpt... unfortunately no.
 
I meant both aeon and rm head sculpt. Am really hoping someone posts hd pics side by side, need to see the difference in final prod.


Sent from my iPad using Tapatalk HD

These are marlindesigns photos from earlier, close as we have thus far I think

photo4_zps74fe4236.jpg


photo4_zpsec9bbc53.jpg


It is glaringly obvious in that picture. Aeons Iris's are massive anyone who can't see it, I want some of what you're smoking :cuckoo:

Don't get me wrong I love the sculpt
 
Back
Top