Brundledonk
Super Freak
- Joined
- Sep 2, 2015
- Messages
- 423
- Reaction score
- 1
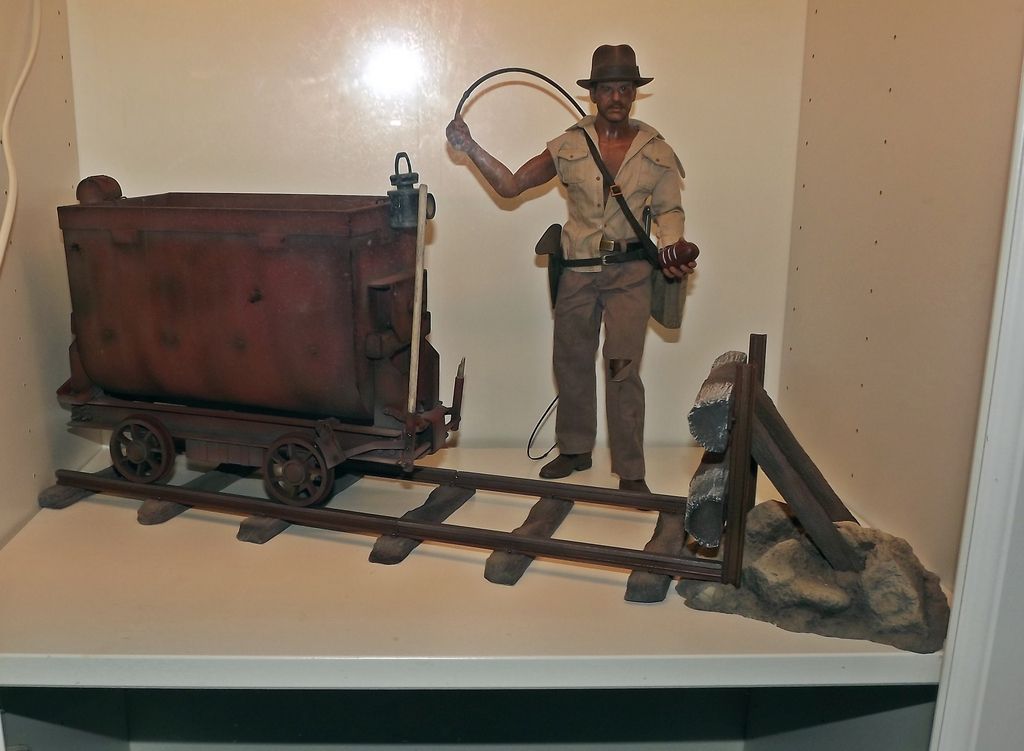
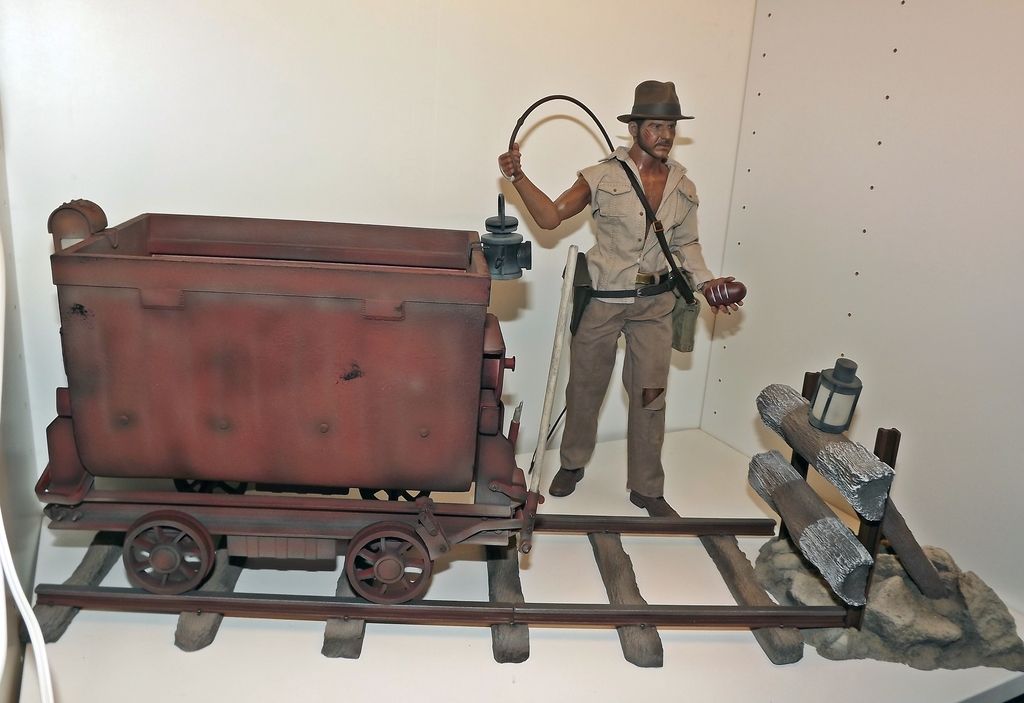
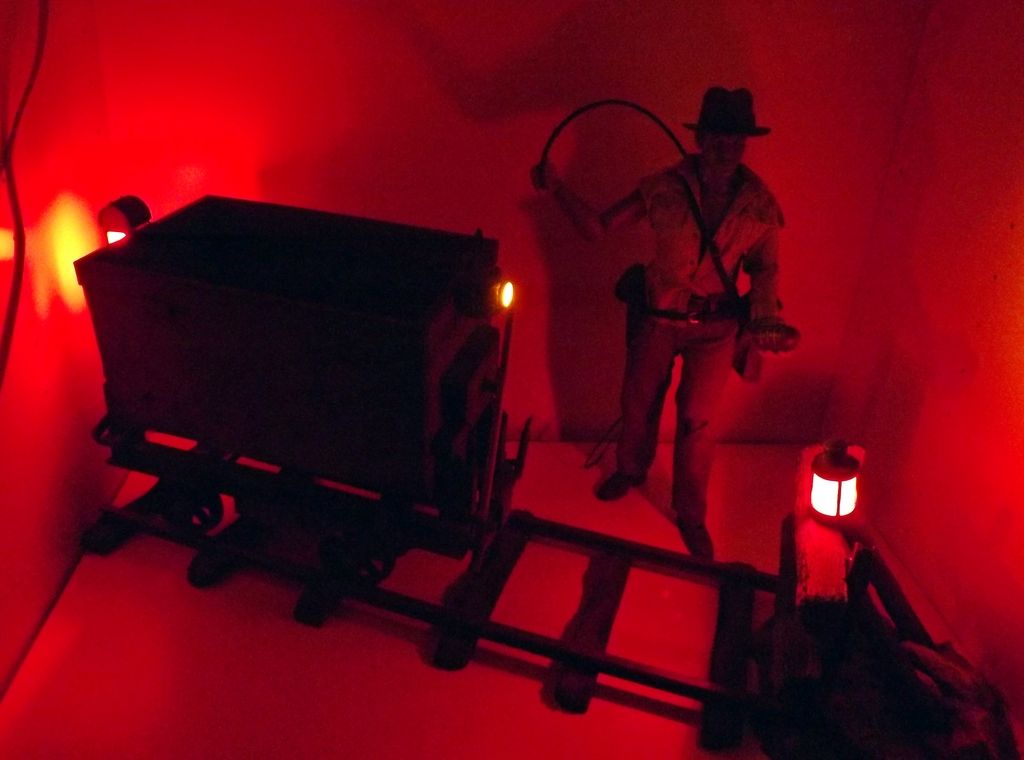
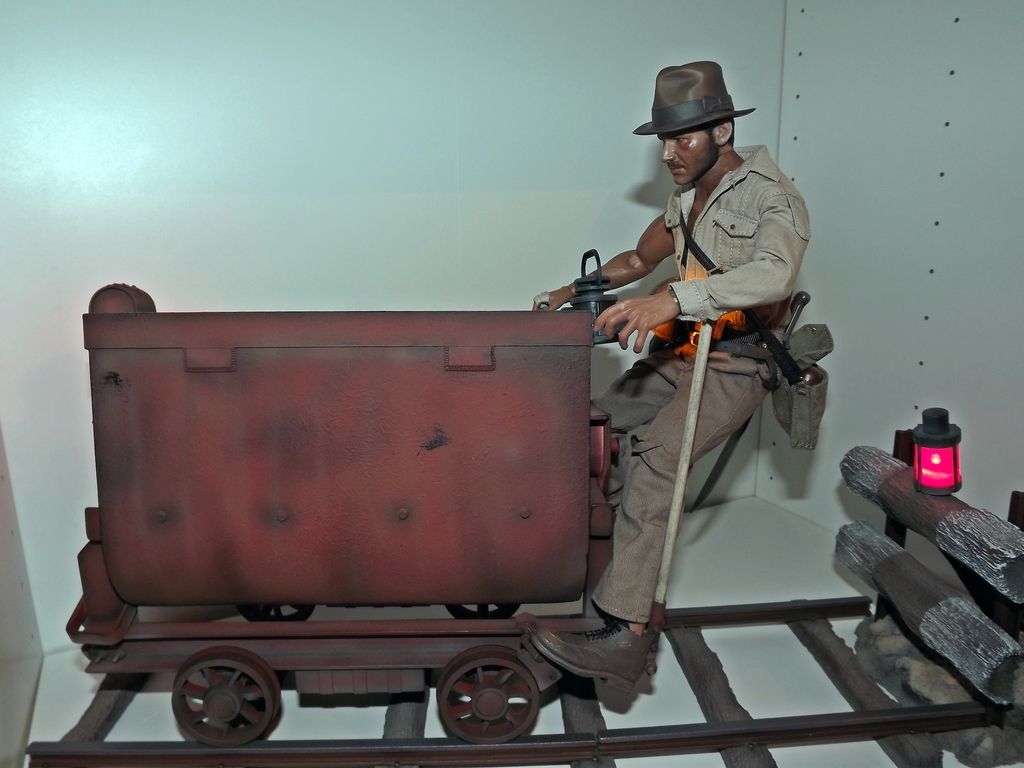
The rest have the carts have been dispatched and I have passed on the tracking details to Jason so he will contact you with them later.
Although I have all of your names and addresses I don't have your screen name to go with it so it's easier for him to send them rather than me PM you all to try and fit your screen name to your real one
There are a couple of things to note regarding your carts, first one is I had to send the buffers with the rear uprights removed. I was planning to send them fully assembled but when it came to packing I was concerned that they might get damaged in transit, they are cast solid in resin and very strong but the uprights are fixed with 2 screws and I felt that they could break at that fixing point if roughly handled during the journey to you all.
It's not a problem to put them together you just need a small cross head screwdriver to fix the 2 screws.
I've taken some pics to show you what I've done so you don't have any problems
The uprights are marked left and right, this is looking at the back of the buffer
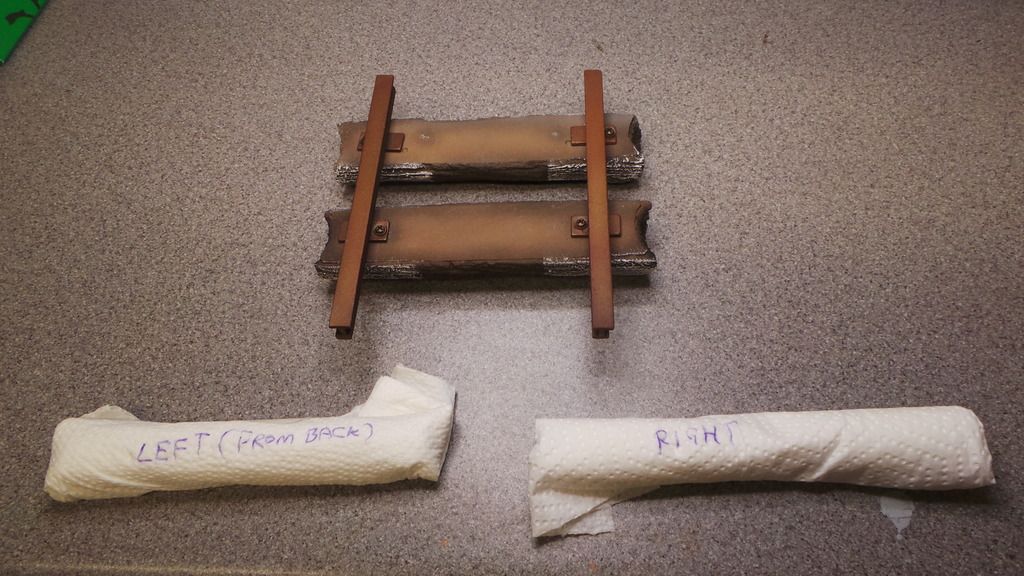
Unwrapped you will see a small screw at the top amd of course 2 holes in the back of the top buffer rail
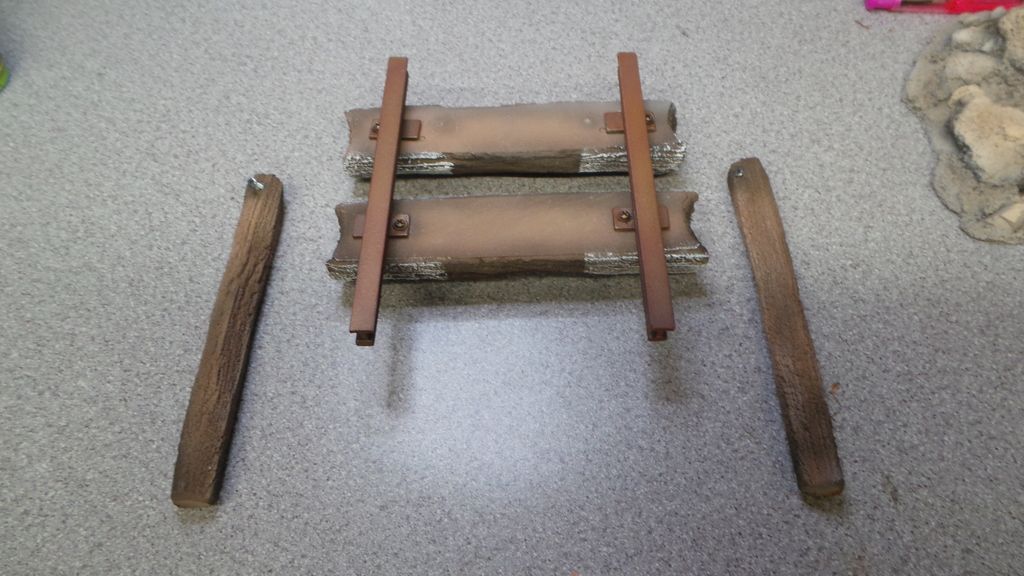
The base has holes cast into it for the uprights to go into ( the front is the top of the base in this pic ) and they are keyed to the supports
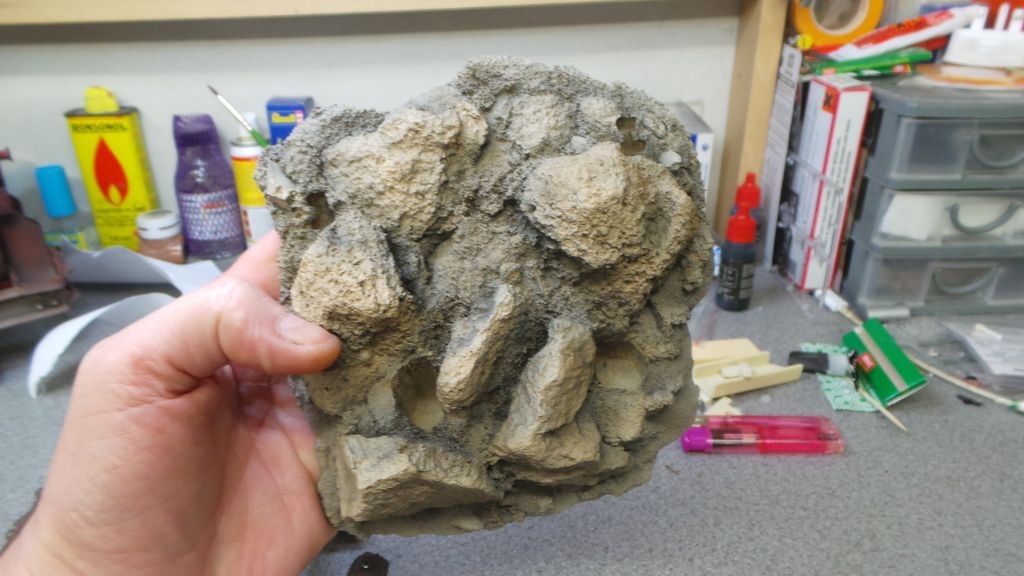
The easiest way to do it is to insert the buffer in first like so
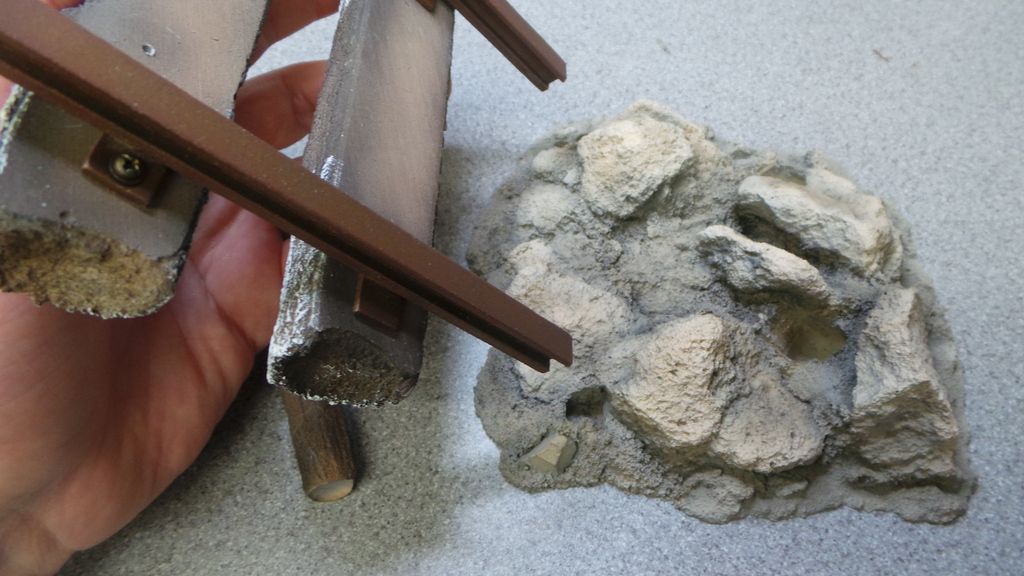
Then insert the rear uprights ensuring you observe left and right viewed from the back from the back
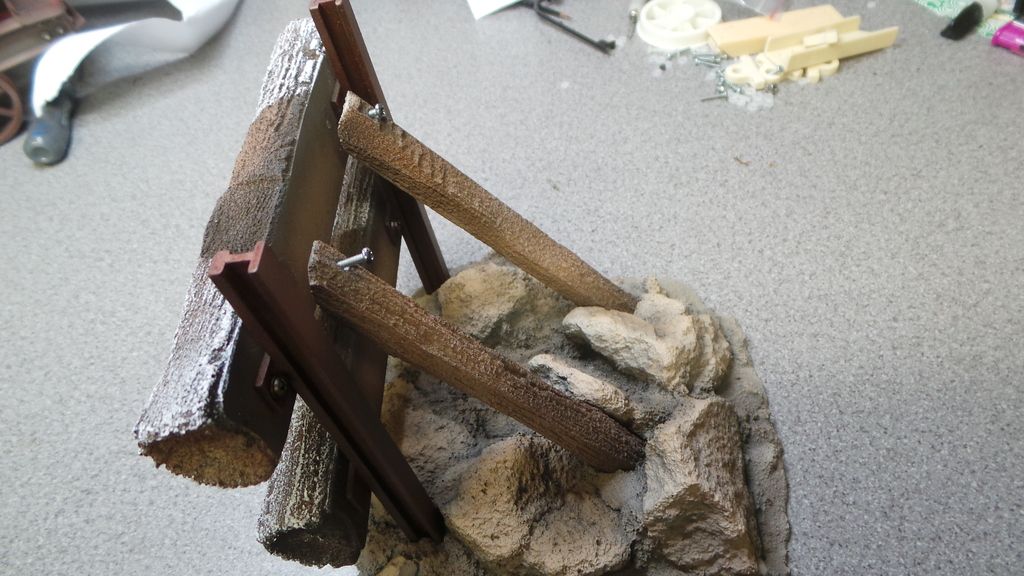
Lastly line up the screws and fix with a small cross head screw driver.
make sure the rear upright stays in contact with the back of the buffer and just tighten them up until the head of the screw sits flush with the surface.
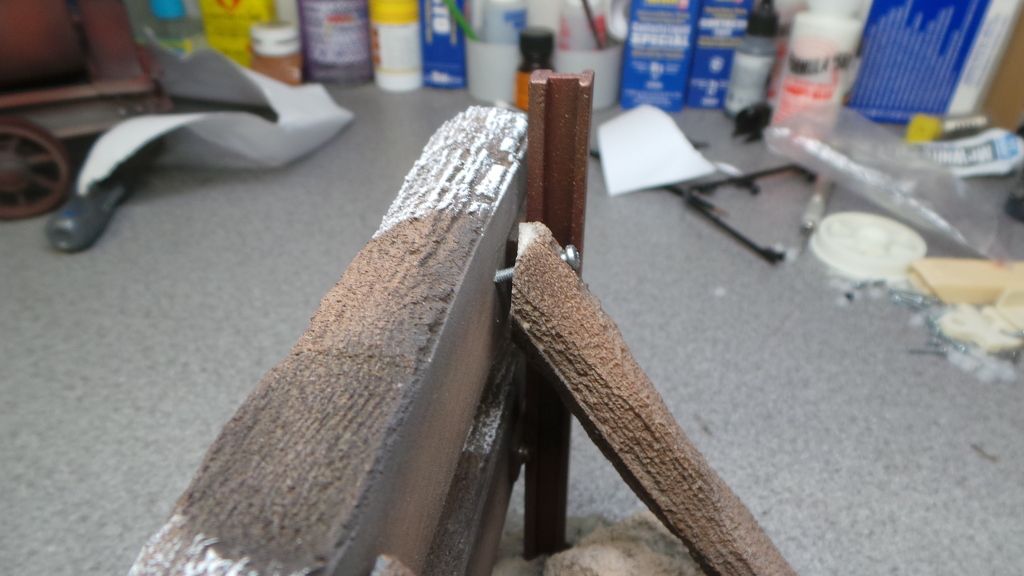
You may to move the buffer forward or backward a little to ensure that the screw is horizontal but once screwed in it is very stable.
It shouldn't be a problem as the screws will go in easily ( I have had these screwed and unscrewed a few times during painting)
Try and make sure the screwdriver is a good fit with the head of the screw and use a firm grip to keep it in there and slowly screw it in.
Pete
Although I have all of your names and addresses I don't have your screen name to go with it so it's easier for him to send them rather than me PM you all to try and fit your screen name to your real one
There are a couple of things to note regarding your carts, first one is I had to send the buffers with the rear uprights removed. I was planning to send them fully assembled but when it came to packing I was concerned that they might get damaged in transit, they are cast solid in resin and very strong but the uprights are fixed with 2 screws and I felt that they could break at that fixing point if roughly handled during the journey to you all.
It's not a problem to put them together you just need a small cross head screwdriver to fix the 2 screws.
I've taken some pics to show you what I've done so you don't have any problems
The uprights are marked left and right, this is looking at the back of the buffer

Unwrapped you will see a small screw at the top amd of course 2 holes in the back of the top buffer rail

The base has holes cast into it for the uprights to go into ( the front is the top of the base in this pic ) and they are keyed to the supports

The easiest way to do it is to insert the buffer in first like so

Then insert the rear uprights ensuring you observe left and right viewed from the back from the back

Lastly line up the screws and fix with a small cross head screw driver.
make sure the rear upright stays in contact with the back of the buffer and just tighten them up until the head of the screw sits flush with the surface.

You may to move the buffer forward or backward a little to ensure that the screw is horizontal but once screwed in it is very stable.
It shouldn't be a problem as the screws will go in easily ( I have had these screwed and unscrewed a few times during painting)
Try and make sure the screwdriver is a good fit with the head of the screw and use a firm grip to keep it in there and slowly screw it in.
Pete


 Everything was fine though.