FrodoEyes
Super Freak
Yeah but we get an EU warehouse, which is in the UK!! Woot!
So true.
x

Yeah but we get an EU warehouse, which is in the UK!! Woot!
So true.
x
This is very true, compared to the rest of the EU or other parts of the world we (in the UK)are lucky in that respect.Yeah but we get an EU warehouse, which is in the UK!! Woot!

So I just preordered this off Sideshow using Flexpay, and got an email update almost immediately saying my order status as NEW. What does this mean? I've ordered things in the past with flexpay but don't recall getting such a fast update with the status listed as new. Any clues?
Huh, guess it's been a while since I've placed an order then, I don't remember that being the case. Just scared me seeing an immediate status update, I thought it was cancelled somehow haha. Thanks for the reply!That always comes up right after an order is placed.
Huh, guess it's been a while since I've placed an order then, I don't remember that being the case. Just scared me seeing an immediate status update, I thought it was cancelled somehow haha. Thanks for the reply!

I always much preferred this one:
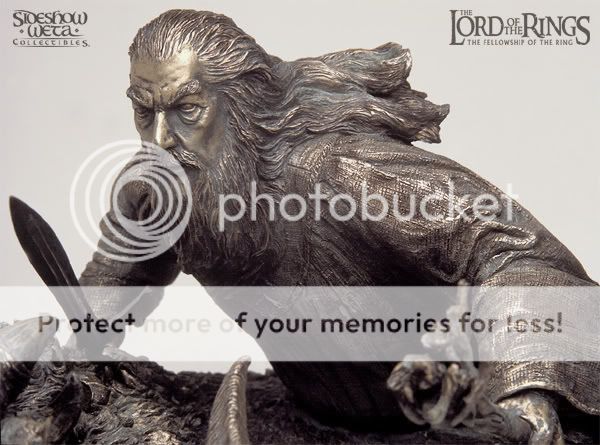
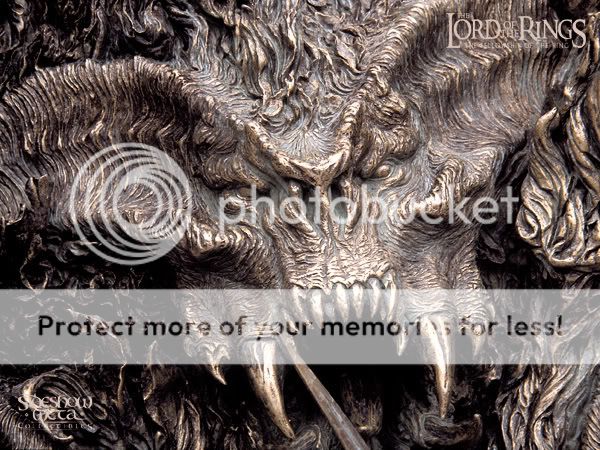
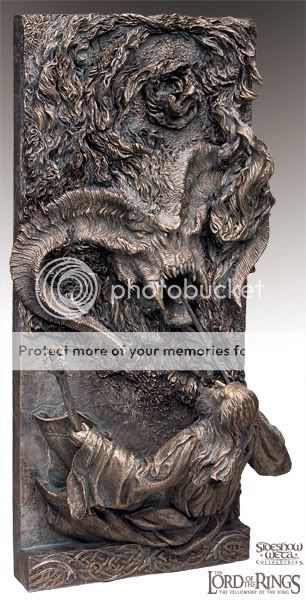
They originally intended to but changed their minds.
I think they made a mistake then. The faux bronze is what makes this piece IMHO. Perhaps I need to pick up the regular version and have some faux bronze custom work done.
i have a regular version of this piece and would pay to have someone paint it for me, that piece is awsome.
A bronze version would look great embedded in the door of my future LOTR themed HT.
i have a regular version of this piece and would pay to have someone paint it for me, that piece is awsome.
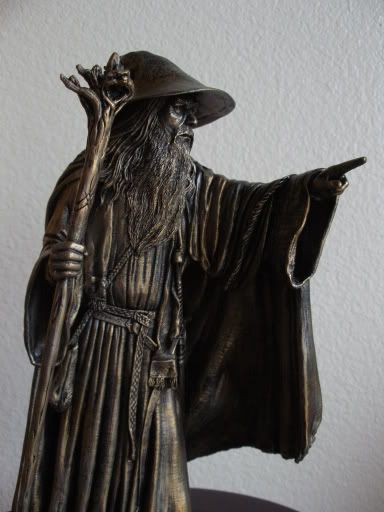
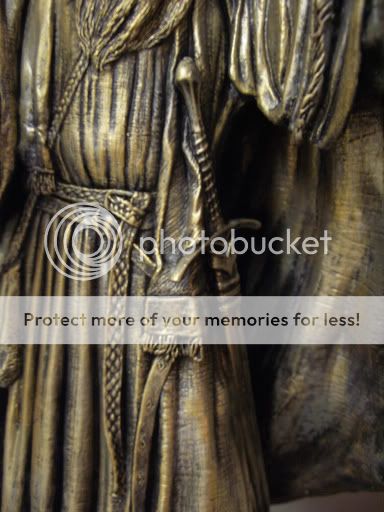
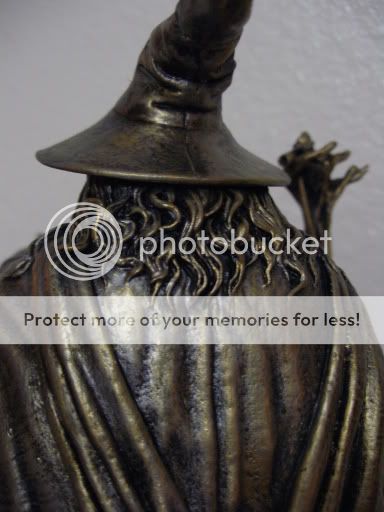
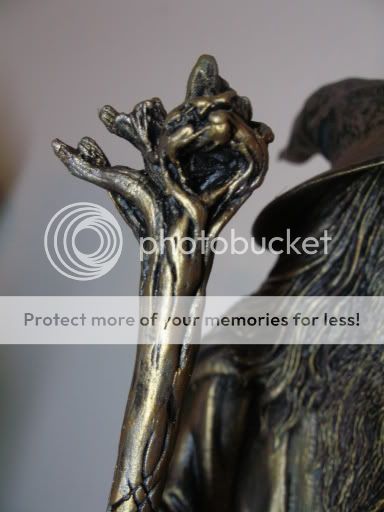
I remember that well!
I think you posted the steps in this process once before (a long time ago), but would you mind sharing it again? I'm sure many people would be interested.
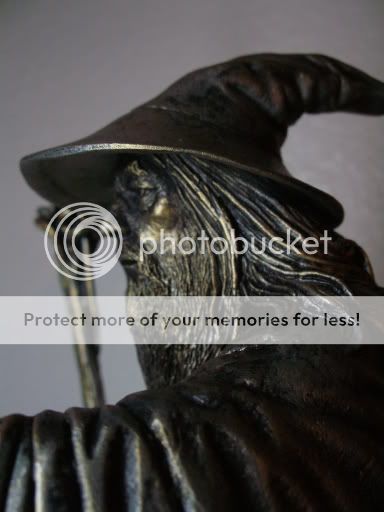
Sure thing!
I actually got the directions by the amazing Rick Cantu (RickDTM)-
"Here's the tech in a nutshell.....(I'm assuming it's a resin kit or a poly stat. ) spray the entire piece using Krylon Ultra Flat Black, or use a flat black paint w/ a brush. You will now use a technique called "drybrushing". Dip a flat brush into your paint, then wipe the majority off on a paper towel. Using a flicking and scrubbing motion, apply the paint to the piece, going against the detail. This will eventually destroy the brush, so use a relatively cheap one! Even though you wiped most of the paint off, you will see it deposited on your piece. Now, use this technique to heavily drybrush Raw Umber over the entire piece. Then, using a bronze metallic color, drybrush this over the top of the Raw Umber, concentrating it on where you want the highlights to be. When you're done w/ this, the final step is to VERY lightly drybrush some Golden Interference Gold over the tip tops of the highlights you did previously. This should be looking exactly like worn bronze at this point. If you want to add a patina weathering effect, merely use a wash (nothing more than acrylic paint thinned w/ water) of a turquoise green paint. Repeat if necessary."

It is incredibly easy to do faux bronzing, really.
Here is a Gandalf I did:


Sure thing!
I actually got the directions by the amazing Rick Cantu (RickDTM)-
"Here's the tech in a nutshell.....(I'm assuming it's a resin kit or a poly stat. ) spray the entire piece using Krylon Ultra Flat Black, or use a flat black paint w/ a brush. You will now use a technique called "drybrushing". Dip a flat brush into your paint, then wipe the majority off on a paper towel. Using a flicking and scrubbing motion, apply the paint to the piece, going against the detail. This will eventually destroy the brush, so use a relatively cheap one! Even though you wiped most of the paint off, you will see it deposited on your piece. Now, use this technique to heavily drybrush Raw Umber over the entire piece. Then, using a bronze metallic color, drybrush this over the top of the Raw Umber, concentrating it on where you want the highlights to be. When you're done w/ this, the final step is to VERY lightly drybrush some Golden Interference Gold over the tip tops of the highlights you did previously. This should be looking exactly like worn bronze at this point. If you want to add a patina weathering effect, merely use a wash (nothing more than acrylic paint thinned w/ water) of a turquoise green paint. Repeat if necessary."
