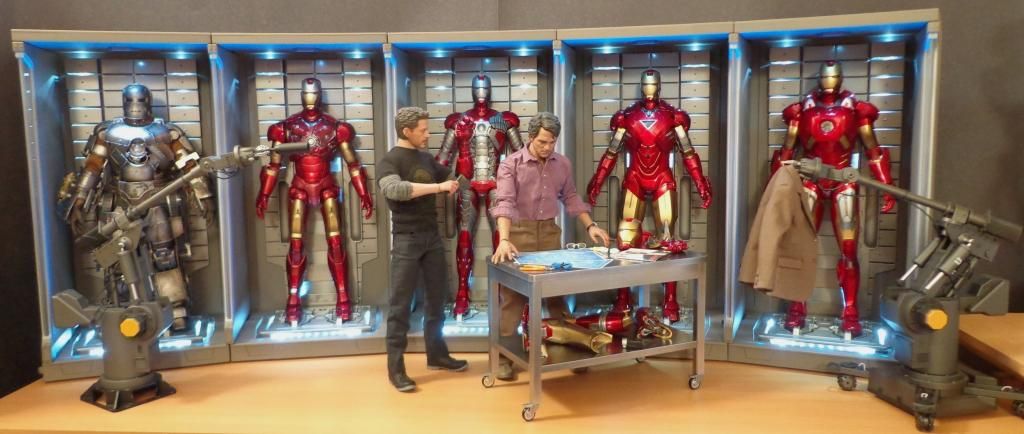
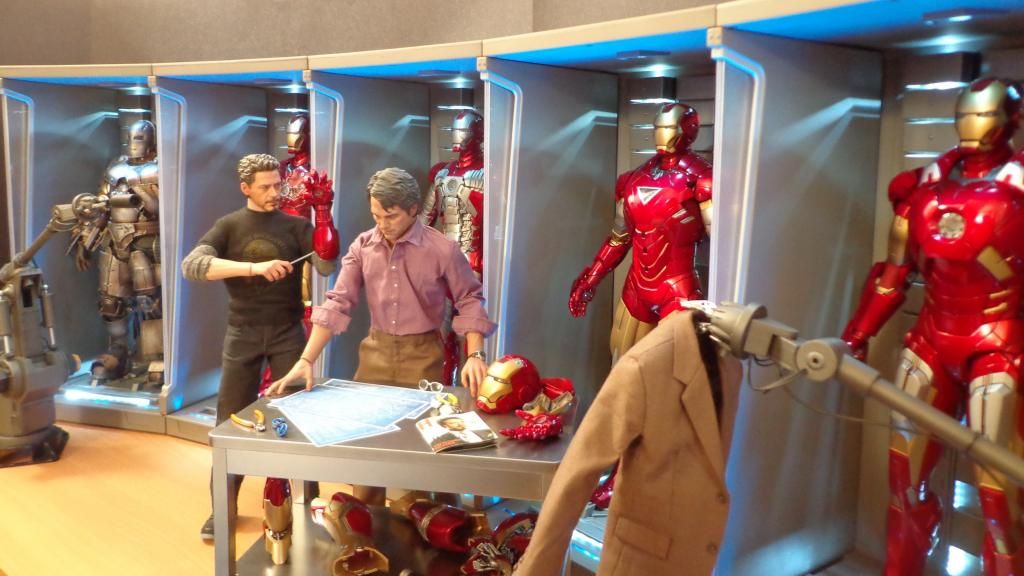
Re: Hot Toys - DS001A-C - Iron Man 2: 1/6th scale Hall of Armor Collectible Specs & P
I missed this earlier post but I will try to help now.
You pretty much understand how the buss bar works. You don't need a bigger buss bar for more wires. You can put more then one wire in each terminal or you can put more then one terminal under each screw.
If you live in the USA all of these parts can be found at Radio Shack. If you don't live in the USA I could put a kit together for you, including the dowel rod adapters
PM me about that if you want to.
That is a nice layout and it was executed perfectly. They must have cost a small fortune.
This actually looks exactly like what I'd need, as I have no route to a power socket for my HoA. You've used some terminology I don't understand, though (not an electronics / electricals bod here), and I can't see enough in your pictures to work it out for certain.
I see I need at least
* Lots of wire (duh)
* DC adapter to fit the HoA unit
* Dowel / other + pins to make the battery substitutes
* D-type in-series battery holder (or lots of sticky tape)
I don't know what buss bars or jumper strip are, though. From a google search, it looks like buss bars are the same as terminal blocks, and jumper strips are like metal combs (or the other way around) - is that right?
From what I can see in the picture and determine from your text
* The halved jumper strip goes into the top and bottom half of the buss bar
* The power-in cables go +ve above the split, -ve below, making the top half of the bar all +ve and the bottom all -ve
* Any top-half can then be run to a +ve terminal, and any bottom half can go to a -ve terminal
Is that correct?
If so - to make it work for bigger set ups (I have 7 HoA + workshop = 10 outputs), it it just a case of using a longer buss bar?
I missed this earlier post but I will try to help now.
You pretty much understand how the buss bar works. You don't need a bigger buss bar for more wires. You can put more then one wire in each terminal or you can put more then one terminal under each screw.
If you live in the USA all of these parts can be found at Radio Shack. If you don't live in the USA I could put a kit together for you, including the dowel rod adapters
PM me about that if you want to.
Thanks, guys. The display isn't quite finished - some of the top shelf items will move to smaller cabinets that haven't been installed yet, to make room for the 1966 Batmobile and DeLorean (eventually) as well as more Iron Man suits, since the Marvel shelf is already a bit full.
I didn't build these myself, they were designed and built for me. This is one of two similar cabinet rooms; this one has a 1m depth on the back wall to accommodate the cars, with 60cm sides and currently holds my Star Wars, LotR, Batman and Marvel stuff, the other is 60cm depth on all sides and hold my Transformers, Assassins Creed and Portal stuff.
The bases are wooden with storage space (not enough for all my Hot Toys boxes, but a little bit), the doors are indeed glass on a slide mechanism. The shelves are glass supported on metal arms that can be adjusted up and down similar to what you'd find in a supermarket. The lighting is LED panels + spotlights; each side can be operated / lit independently of the others, although the spotlights and LEDs for each side work together.
There are no power supplies into the interior of the case, hence my earlier posts asking about wiring up the HoA to a battery unit, for which I now have most of the parts to progress )
That is a nice layout and it was executed perfectly. They must have cost a small fortune.


