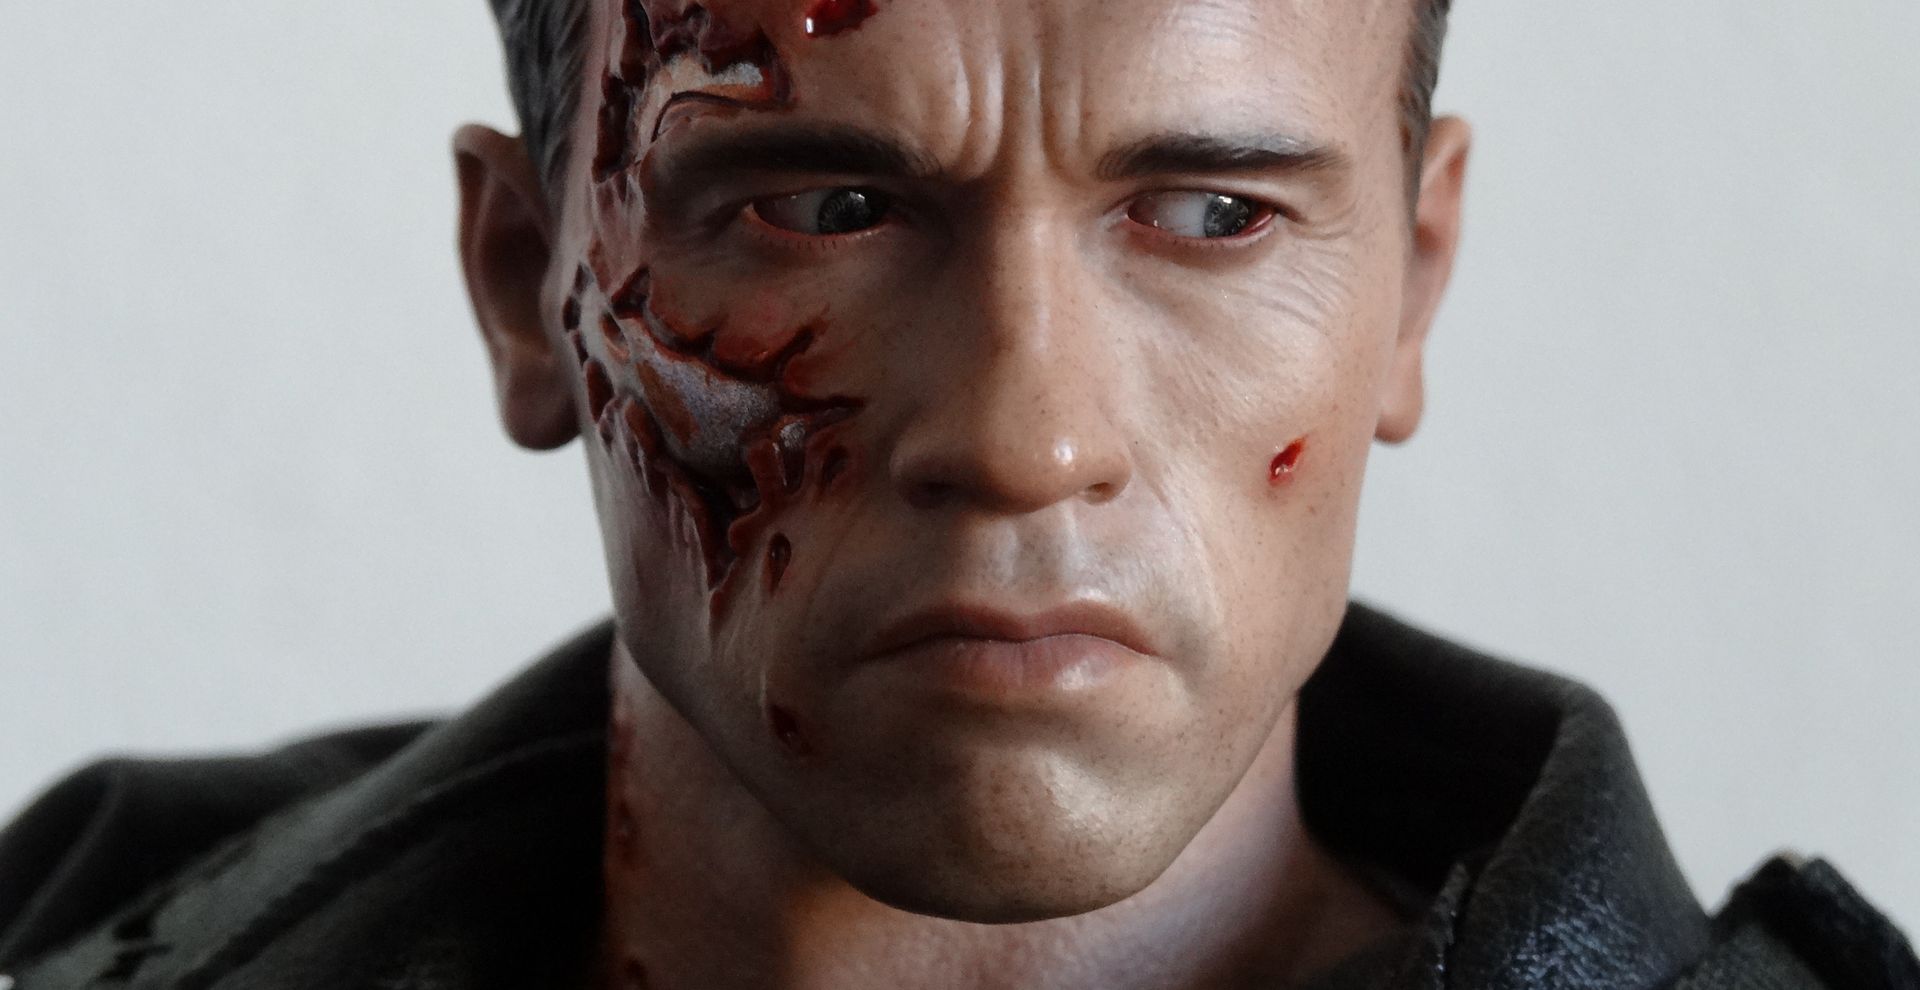
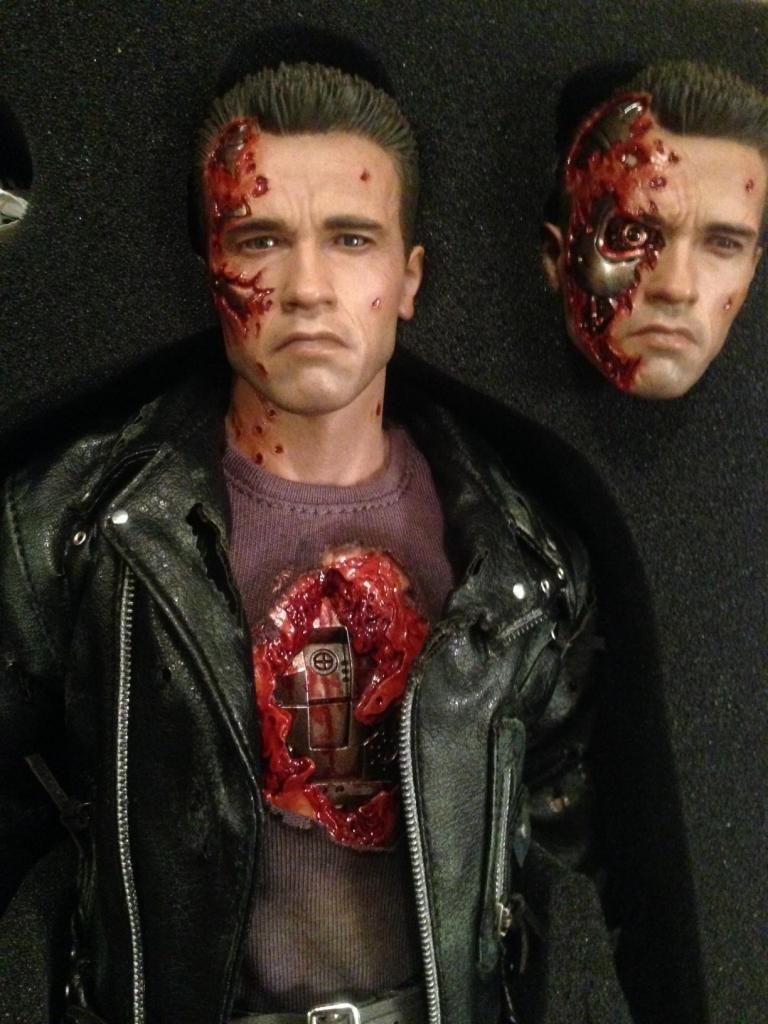
Hot Toys - DX13 - T2: T-800 (Battle-Damaged Version) 1/6-scale Collectible Figure

Collector Freaks Forum

Help Support Collector Freaks Forum:

This site may earn a commission from merchant affiliate links, including eBay, Amazon, and others.
Sorry guys I'm so delighted with my PERS mod and how it's giving me able results. I forgot to explain.

You need to use a a exacto knife for carving around the mechanism and use a dremel to hollow the head around the PERS.....JUST KIDDING!
:lol

Guys it's so simple

1. Unscrew the four screws where the PERS stick is located


2. Carefully tug off the rectangle plate that houses the stick, it's one piece


3. You will see the PERS socket and a circle where the stick attaches


4. Your done

What I discovered is that the plate stick joint is the reason why you can't rotate the PERS down or really give it a good side movement, the circle knob attached to the stick rubs against the stick limiting the movement.

The design is so simple and much more easier than PERS of the past I was delighted :yess:

Now how do you move it without the stick...simple I use the QStick that is used to move the PERS on the Full damaged sculpt. It fits easily into the socket hole that connects to the PERS and just move the socket.


With this method now you can get full range of movement without feeling like the PERS will be loose or restricted. Don't worry the actual PERS fits snug, even without the stick. :lecture


It helps when now I can have the eyes looking straight at me IMO rather than a unbalanced vacant look because the PERS weren't lined up right.

It brings more intensity into eyes now IMO


I like this look now


Now if you want to make sure the PERS are actually snugged and lined up right you can remove the PERS with a pair of needle nosed pliers, but be cautious, it's tricky to get them back in, what I did was use tweezers to grip it ( The PERS will jiggle, because of their construction, that's why use the tweezers to grasp it.

Once you align the PERS into the eye sockets just gently push them back in and your golden.

Be patient, because the PERS jiggle so it might take time to align it in the empty eye socket holes. But once you got them aligned and push them back in they are snug fitted with no worries.

Again, you don't have to remove the PERS out of the eye sockets, I did that I mine because they were still uneven, and that fixed it up for me.
 
Last edited:
Sorry guys I'm so delighted with my PERS mod and how it's giving me able results. I forgot to explain.

You need to use a a exacto knife for carving around the mechanism and use a dremel to hollow the head around the PERS.....JUST KIDDING!
:lol

Guys it's so simple

1. Unscrew the four screws where the PERS stick is located
2. Carefully tug off the rectangle plate that houses the stick, it's one piece
3. You will see the PERS socket and a circle where the stick attaches
4. Your done

What I discovered is that the plate stick joint is the reason why you can't rotate the PERS down or really give it a good side movement, the circle knob attached to the stick rubs against the stick limiting the movement.

The design is so simple and much more easier than PERS of the past I was delighted :yess:

Now how do you move it without the stick...simple I use the QStick that is used to move the PERS on the Full damaged sculpt. It fits easily into the socket hole that connects to the PERS and just move the socket
:clap:hi5::clap:hi5:
 
Picked up my DX13 late yesterday. This is as far as I got before I packed it up and went to bed. Will unpack tonight after taking the kids to get their Santa Picture. I might sit on Santa's lap and wish that Tsang remove himself from doing future Predator head sculpts!!


_____________________________________________________________
 
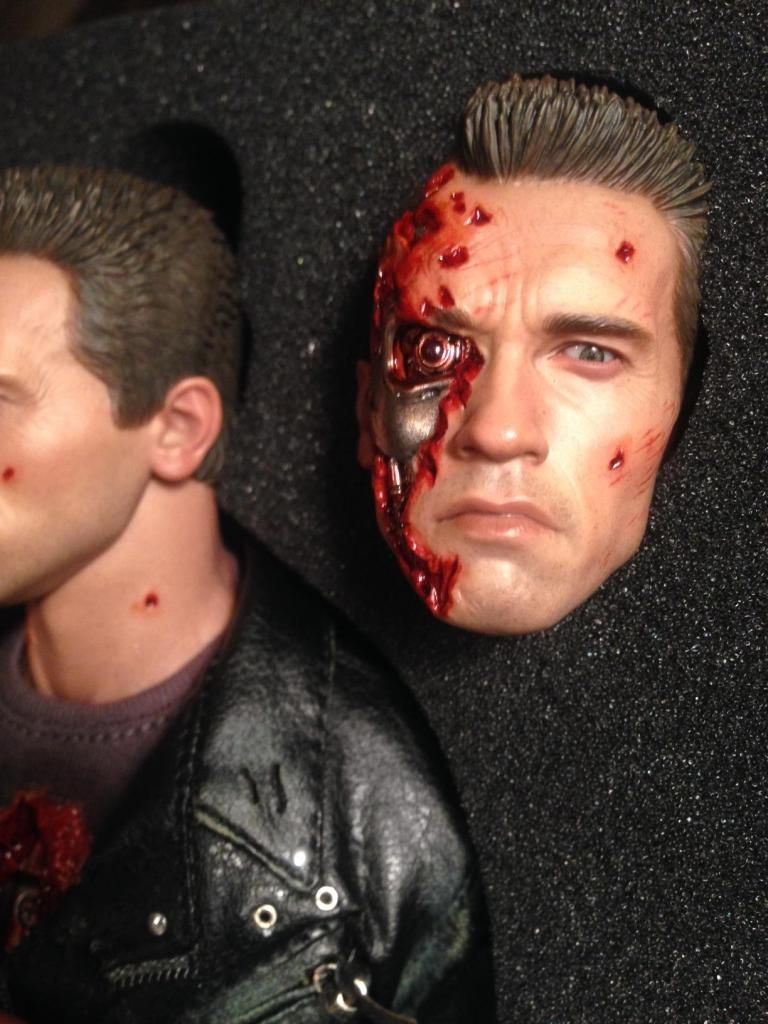
Repost with pics in case I confused some of you
Guys it's so simple

1. Unscrew the four screws where the PERS stick is located


2. Carefully tug off the rectangle plate that houses the stick, it's one piece


3. You will see the PERS socket and a circle where the stick attaches


4. Your done

What I discovered is that the plate stick joint is the reason why you can't rotate the PERS down or really give it a good side movement, the circle knob attached to the stick rubs against the stick limiting the movement.

The design is so simple and much more easier than PERS of the past I was delighted :yess:

Now how do you move it without the stick...simple I use the QStick that is used to move the PERS on the Full damaged sculpt. It fits easily into the socket hole that connects to the PERS and just move the socket.


With this method now you can get full range of movement without feeling like the PERS will be loose or restricted. Don't worry the actual PERS fits snug, even without the stick. :lecture


It helps when now I can have the eyes looking straight at me IMO rather than a unbalanced vacant look because the PERS weren't lined up right.

It brings more intensity into eyes now IMO


I like this look now


Now if you want to make sure the PERS are actually snugged and lined up right you can remove the PERS with a pair of needle nosed pliers, but be cautious, it's tricky to get them back in, what I did was use tweezers to grip it ( The PERS will jiggle, because of their construction, that's why use the tweezers to grasp it.

Once you align the PERS into the eye sockets just gently push them back in and your golden.

Be patient, because the PERS jiggle so it might take time to align it in the empty eye socket holes. But once you got them aligned and push them back in they are snug fitted with no worries.

Again, you don't have to remove the PERS out of the eye sockets, I did that I mine because they were still uneven, and that fixed it up for me.

One more thing, be patient with this method guys, because of the missing plate/stick to brace the PERS into place, it might be hard to get the eyes lined up at first, but just futz with it, once you figure out the best way to move the stick in the right directions, you'll be pretty much set and be able to get natural eye poses IMO.

IMO it's worth the extra attention to be patient with this rather than keep the stick on and just have limited PERS movement.

Again it's up to you.
 
Last edited:
so you leave the plate off so that you can move it at will?
thanks

Yup, simple but effective. If people think it's an extra work to move the PERS it's exactly like moving the PERS with the stick in place. You still need to remove the back of the head. Just now, you use the Qstick to move the PERS instead of the regular stick.

It's the same amount of time if you think about it, only now you get better results. :lecture
 
Last edited:
Yup, simple but effective. If people think it's an extra work to move the PERS it's exactly like moving the PERS with the stick in place. You still need to remove the back of the head. Just now, you use the Qstick to move the PERS instead of the regular stick.

It's the same amount of time if you think about it, only now you get better results. :lecture
thanks guyver!!!
 
MY TURN! MY TURN!

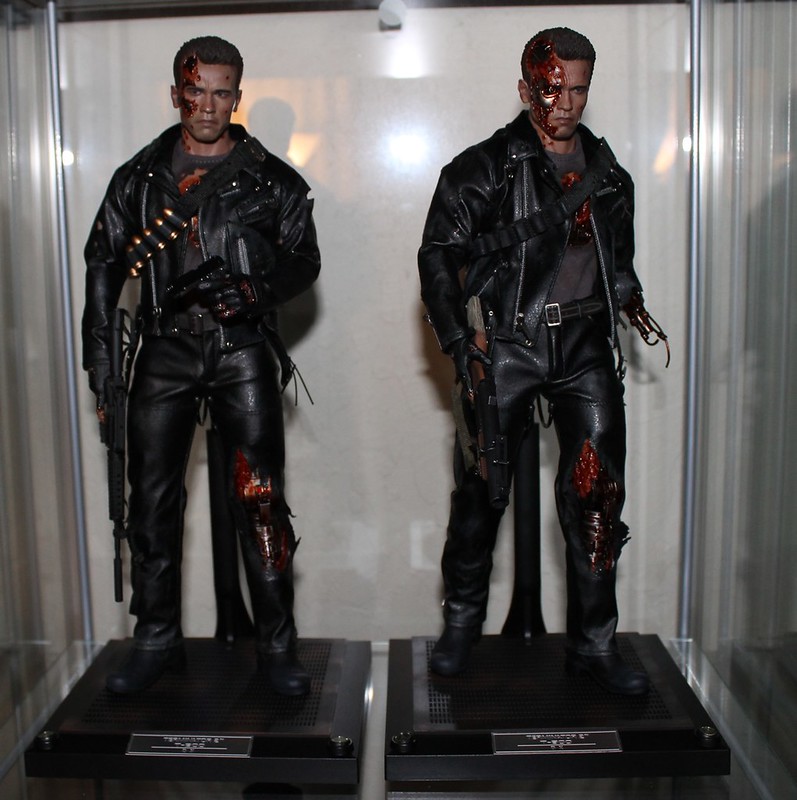
Mr. DX13 arrived today and I have to agree with everyone else who says that this figure is awesome! Glad I pulled the trigger.

And since :postpics: here you go..
 
:panic::panic::panic: My 2nd Arnie is now set up.

11360271524_6d91c903c7_c.jpg
 
Excellent, congrats. Looks superb. I actually haven't used the M-16 yet. Its nice but unless I have a 1:6 liquid nitrogen truck for him to kneel on I have no use for it. The teargas launcher on the other hand...
 
Congrats DA. Badass set-up you got there. Yeah as cool as the M-16 is, it's too scene specific for me to ever want to use it.
 
Thanks guys and I know how you feel :lol I just said "Oh, to hell with it" and did my own thing on that one pose :wink1: Was going to do the scanning pose again, but wanted something different, so I grabbed the rifle and handgun. It looks pretty cool, but a photo shoot will be happening tomorrow, once my camera battery charges up. Different poses will be on the way.
 
Back
Top