Hot Toys - DX13 - T2: T-800 (Battle-Damaged Version) 1/6-scale Collectible Figure

Collector Freaks Forum

Help Support Collector Freaks Forum:

This site may earn a commission from merchant affiliate links, including eBay, Amazon, and others.
Depending on how big your shiny spot is, I used some very very fine grit sand paper (more like sand cloth in this case as it wasn't on actual paper), I think perhaps 6000 grit from my modeling finishing supplies, on Batman Begins Bale sculpts tiny shiny spots from shipping. You don't apply very much pressure at all, but mainly let the paper slide across only the spot by its own weight so as to not let it remove paint. The goal is to scuff the shine, not remove hardly any material. A few light passes over it with a bent over corner of the sandpaper removed the shine and there's no way anyone could tell I took sandpaper to my expensive collectible.

But, people freak out when I've made this recommendation, so perhaps you should go at your own risk with it. It worked very well for me, might ruin your figure. I can only speak for my one time with it, and the shiny spots were pretty small.

BTW, if you go the dull coat route, I would urge caution. Testors I think is fairly universal, but you would still want to test it on a hand you never use from one or your figures, or somewhere you cover up on the figure. Some paints do not react well with certain other paints or plastics and can damage them. Many clear coats are lacquer based, which can be somewhat fickle when applied to anything other than lacquer. Keep this in mind when looking for a substitute. Water based acrylic would be the safest bet, and every clear coat I've used alters the darkness of the paint I applied it to. Expect some variation in the skin tone.
 
Last edited:
well, mine has it pretty much all over the forehead...:( just the damaged parts, and right conrer are ok... but the middel section is all messed up...
i actually have some sand paper... but i dont know... since i suppose a layer of paint has already been lost, there fore, the shinning part... i dont know what will happen if i use the sandpaper...
i wouldnt want to damage the detail on the paint...
 
you don't want to fix it, you don't want to leave it unfixed.
buy a spare head and be happy.
 
haha, althought i might end up buying a spare head at some point, right now i actually will take the risk of fixng it...
again my problem is i dont live in the us, so its not as easy for me to buy at ebay for example...
in fact i just tried the sand paper in a corner, seemd to take the paint detail a little bit...:/

here are some pictures of how he looks... i put the dx12 next to it, for a reference of the light that the forehead should catch...

image.jpg
image.jpg
image.jpg
image.jpg
 
Ive used a fibreglass pencil (the ones you get with car touch up kits) on shiny spots before with success, if you buy one of the retractible ones then you could extend it out so that it is not so harsh.
 
haha, althought i might end up buying a spare head at some point, right now i actually will take the risk of fixng it...
again my problem is i dont live in the us, so its not as easy for me to buy at ebay for example...
in fact i just tried the sand paper in a corner, seemd to take the paint detail a little bit...:/

here are some pictures of how he looks... i put the dx12 next to it, for a reference of the light that the forehead should catch...

What grit did you use? I don't see any missing detail in the picture, so it must not have been too much detail lost, or at least isn't showing in the pictures much. But, yeah, if you slid it across a couple of times and think it may be affecting it you're wise to stop. That looks to be a large area too...not easy to fix. I've not tried the fiberglass pencil trick. If you try it, please let us know if that's successful.
 
haha, althought i might end up buying a spare head at some point, right now i actually will take the risk of fixng it...
again my problem is i dont live in the us, so its not as easy for me to buy at ebay for example...
in fact i just tried the sand paper in a corner, seemd to take the paint detail a little bit...:/

here are some pictures of how he looks... i put the dx12 next to it, for a reference of the light that the forehead should catch...

View attachment 97485
View attachment 97487
View attachment 97488
View attachment 97489

You could try dry brushing some tan acrylic paint on it.
 
yeah, it is kind of hard to notice it in the picture... after my first try, i used the sand paper once more... at hand you could see, some sligh effect on the paint detail, but it didnt improved the situation at all... so im not trying that again...
i also tried to use a replacement to the testors product i was sugested, but didnt worked either...:/ might need a different but more like testors product...
soon, i will try to find and buy the fiberglass pencil, as soon as i get it and try it on the figure, ill let you know...!
sadly, i might have to end up getting a new head... again, its a pain in the butt to buy it and get it send to where i live...:slap
hope i can get the head, at a good price, and to be in a good condition...:pray:

and thanks dollmanron for the tip, i will try it!
 
My replacement body will be delivered tomorrow for Sideshow :yess::panic:

I love SSC's customer service . My order was over 30 days and they still hooked me up
 
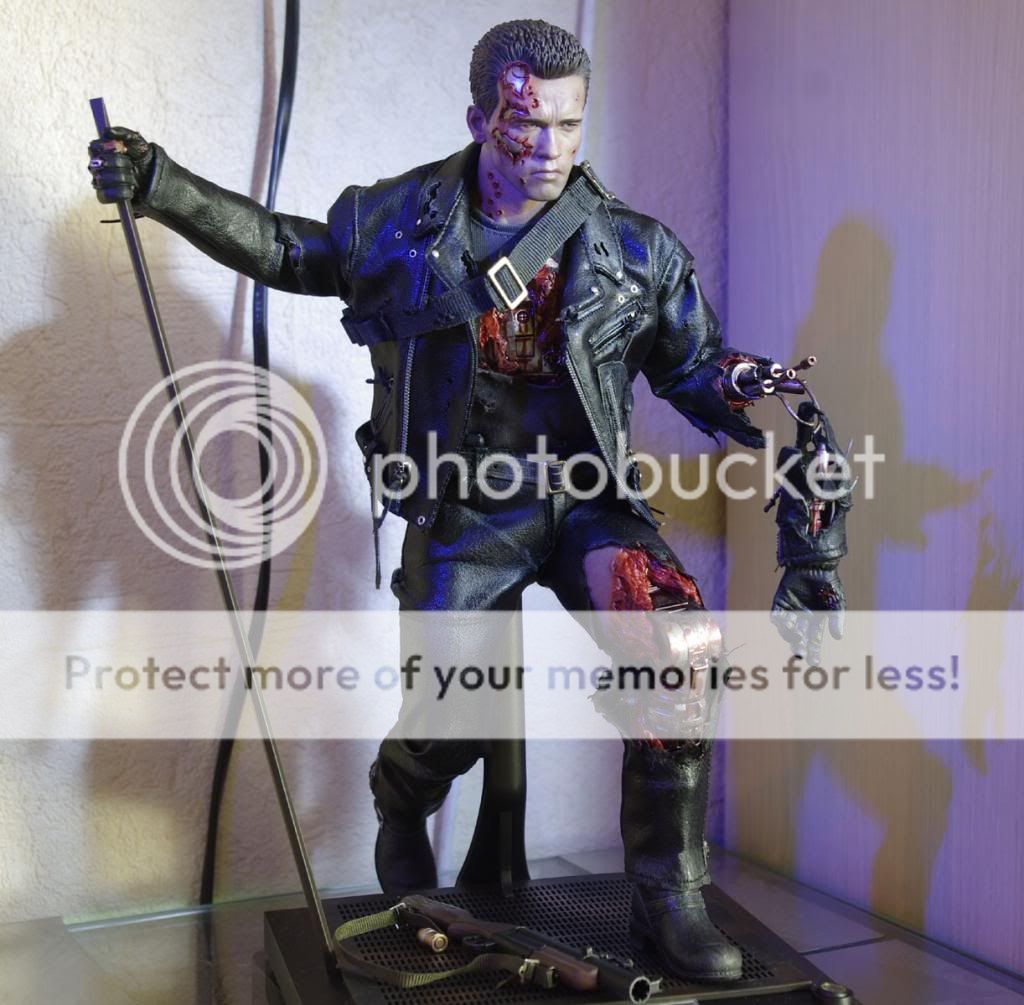
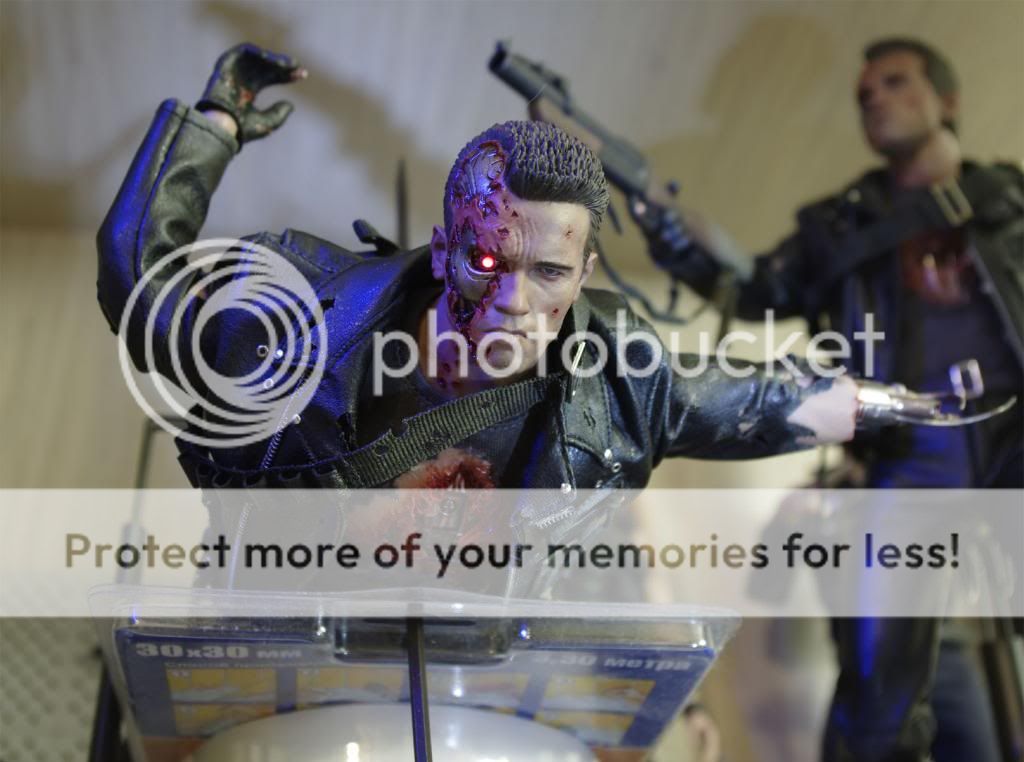
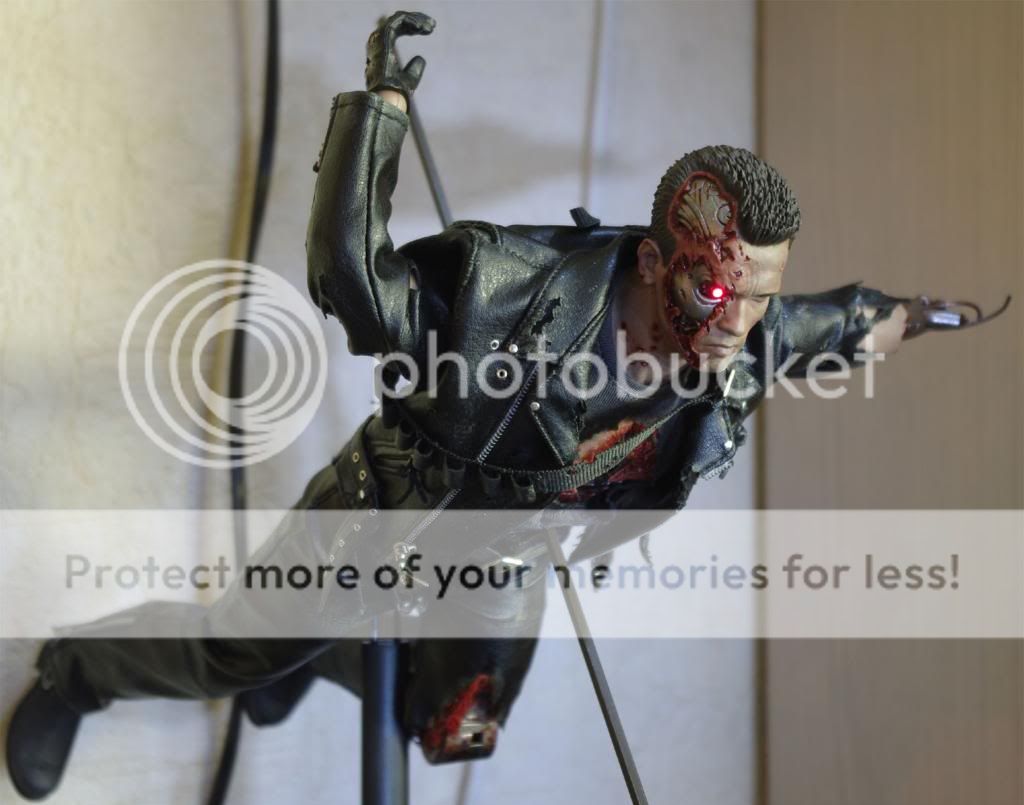
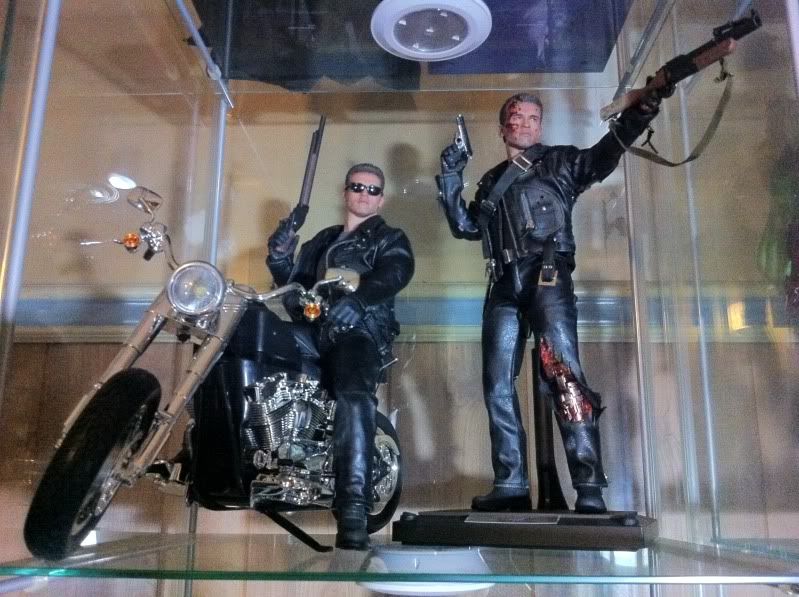
so i've slightly expanded my DX13 shelf )
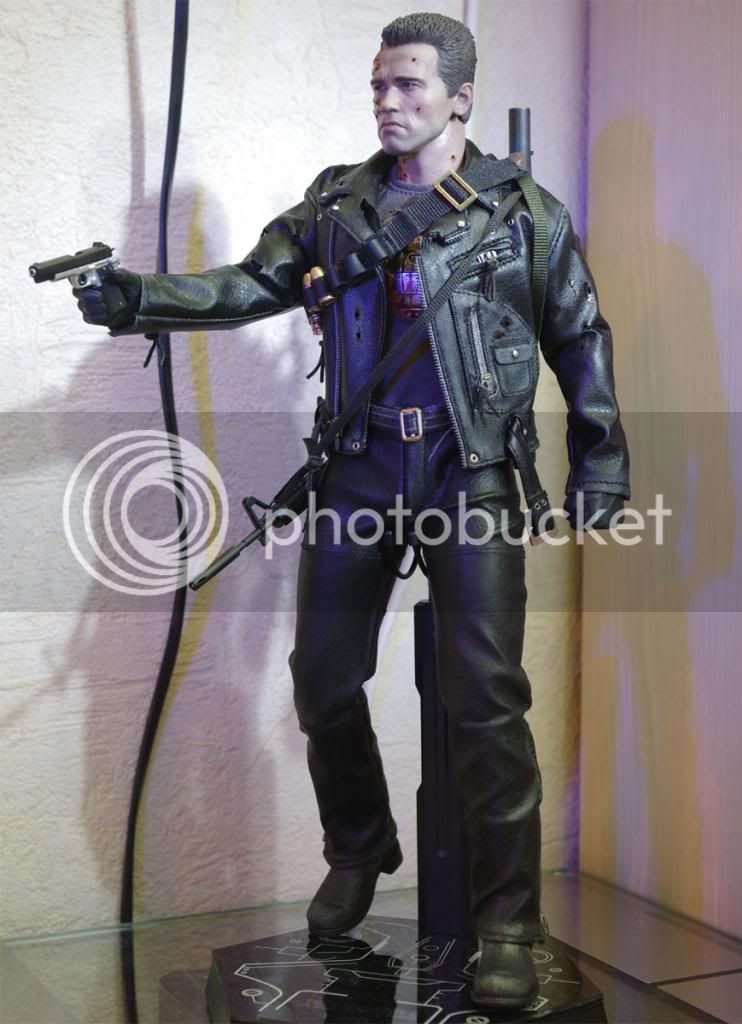
swat_assault_001_zps023a2cfe.jpg~original

(waiting for that gas launcher if i'm lucky)
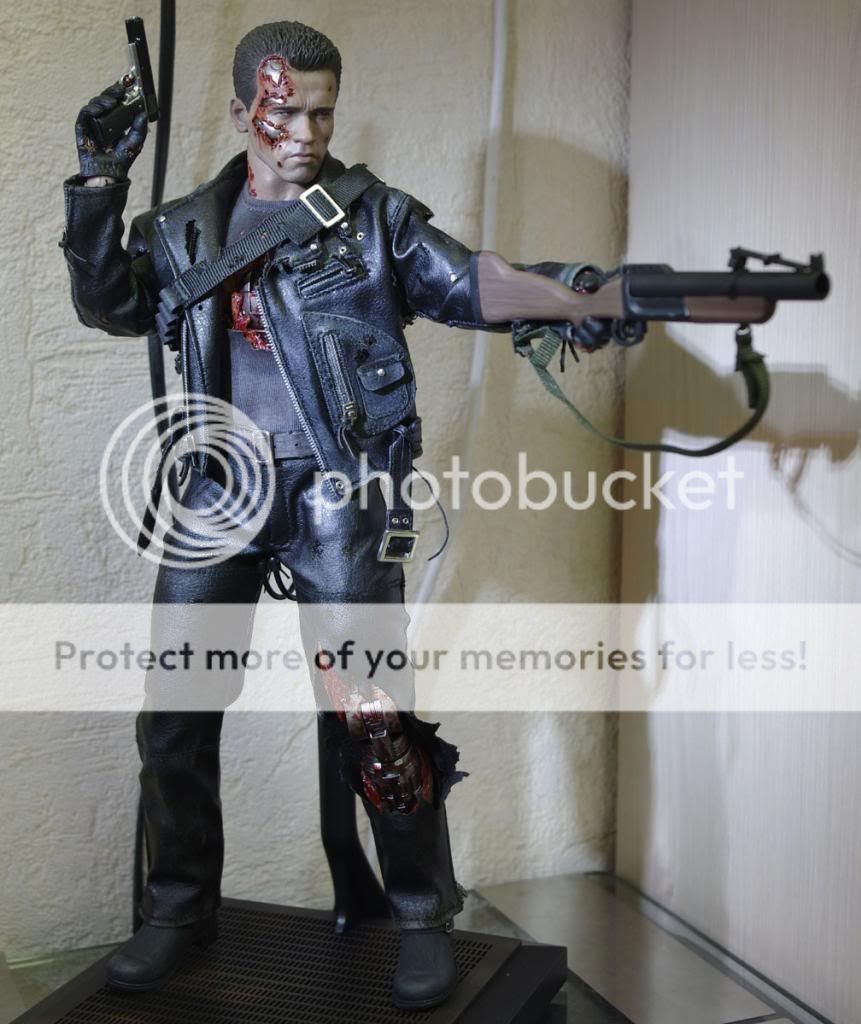
semi_bd_001_zps5c5b1012.jpg~original


T2_arm_tearup_02_zps6cf76740.jpg~original


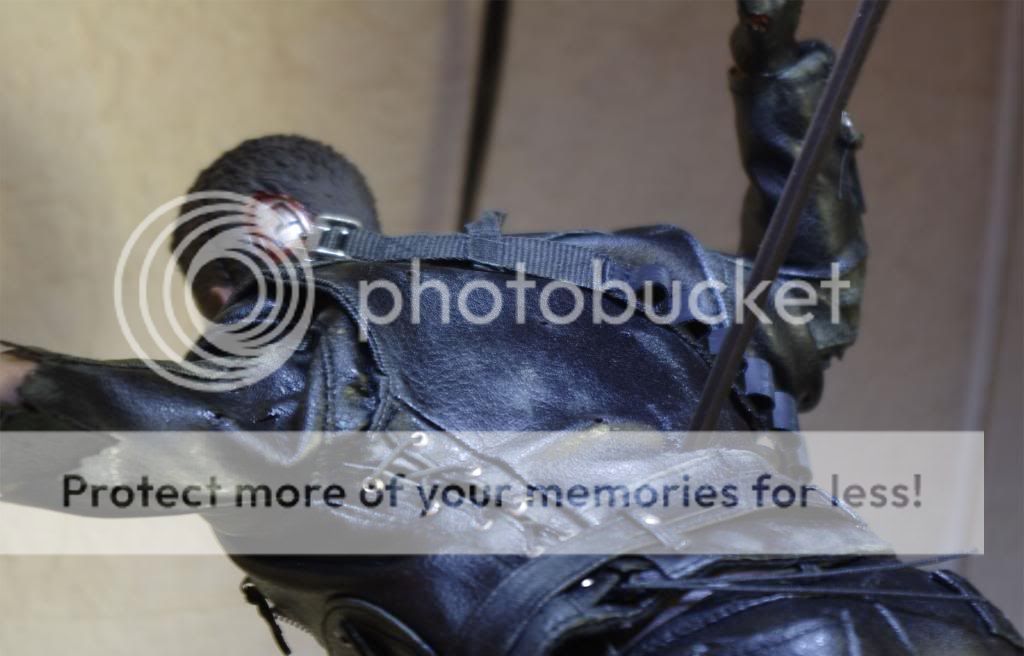
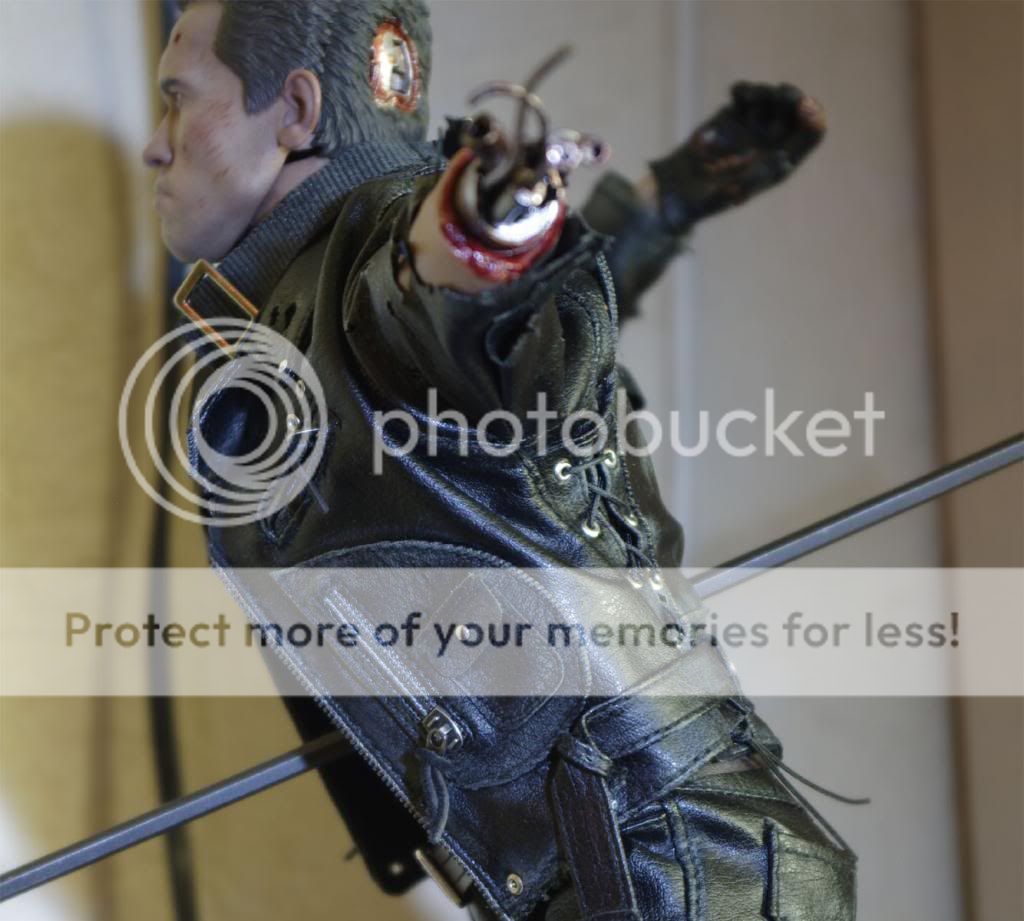
rod_through_001_zpsaf263a30.jpg~original


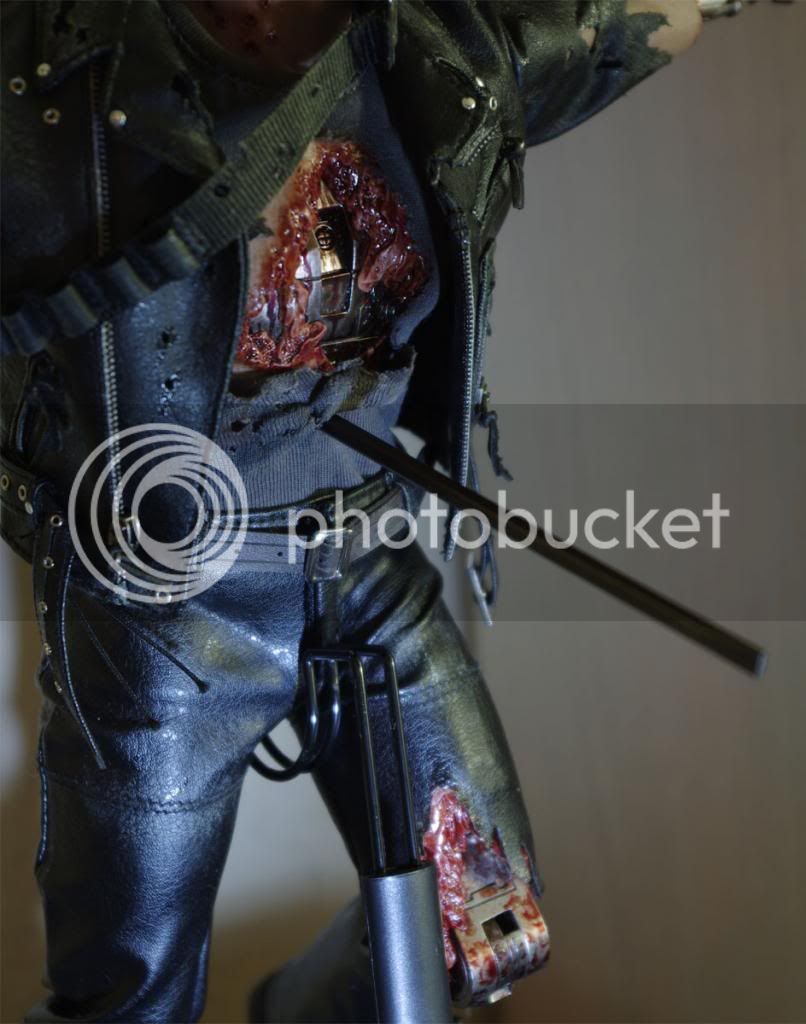
(yes the rod is actually going through the body and can be taken out)
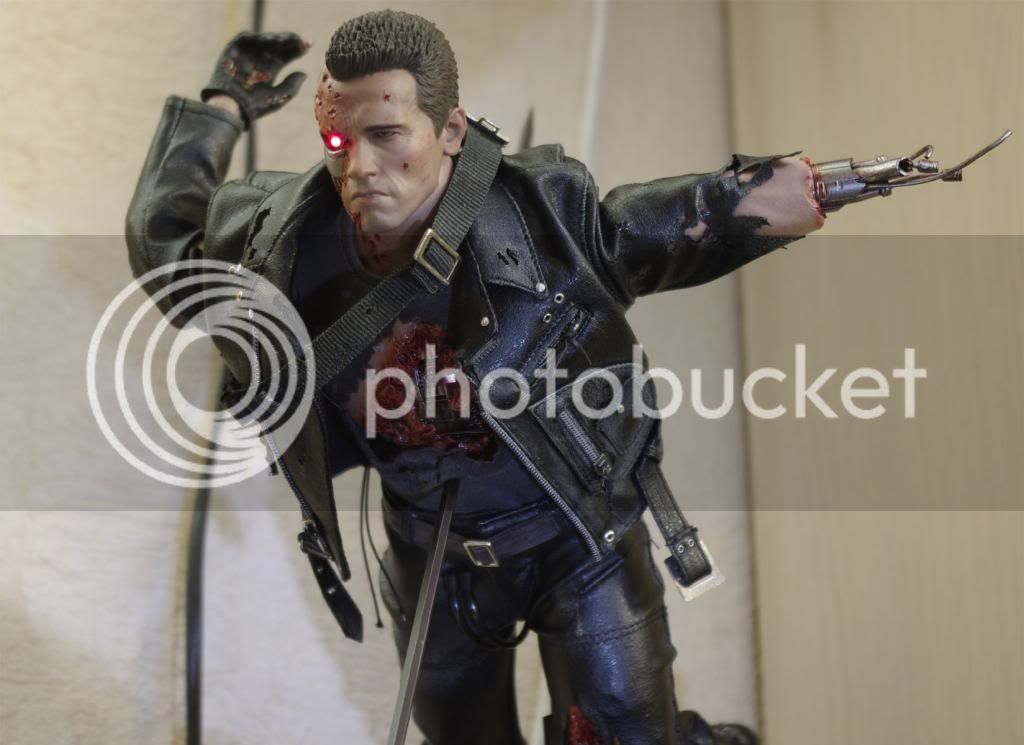
rod_through_005_zpsd2ebe8a0.jpg~original


rod_through_003_zps8f9df5a4.jpg~original


rod_through_002_zps9074bd0c.jpg~original


rod_through_006_zps1f826340.jpg~original


rod_through_004_zps8b6470af.jpg~original

i don't know if he was supposed to walk after that rod. it seemed to me that his lower part was almost shut down due to the backbone damage. well i have nothing to crawl over so he just barely stands:
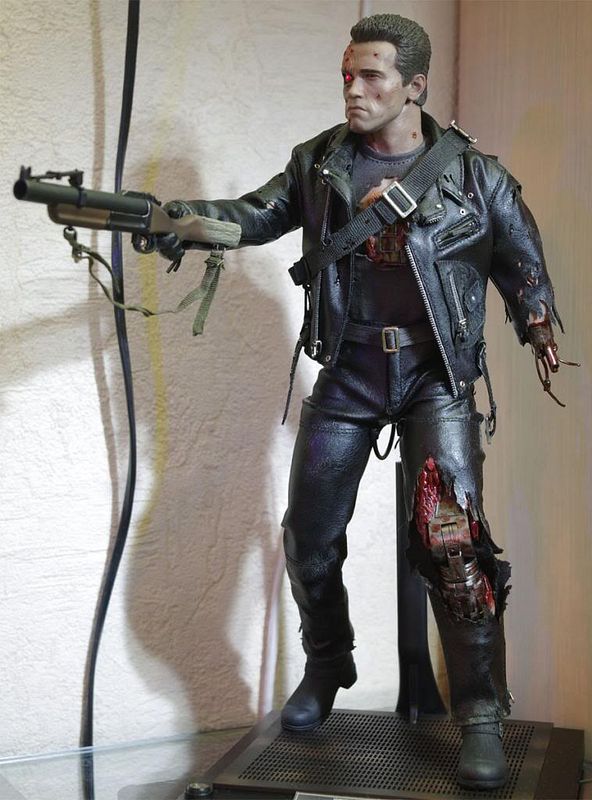
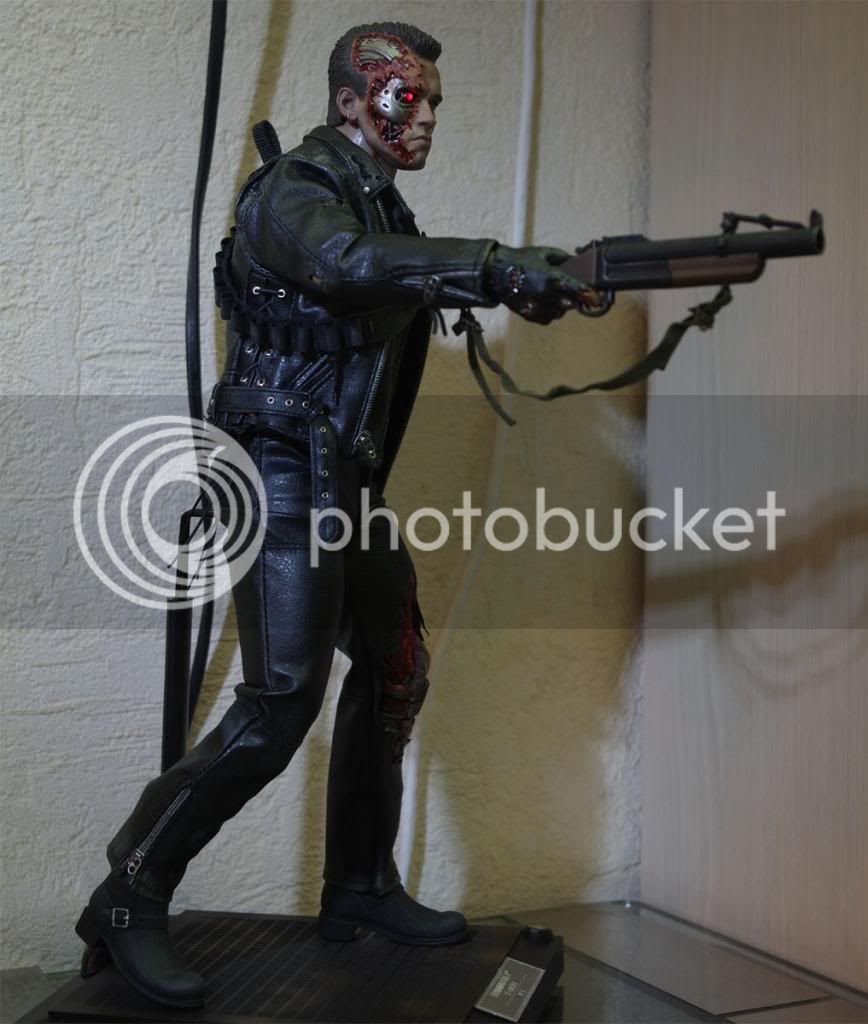
full_bd_002_zps2a0e7937.jpg~original


full_bd_004_zps92b3c2cf.jpg~original


notice that older photos (the last two) still have blood on the damaged endoarm. today i removed it from all damaged arms, it can be seen on two others.

now only "goodbye" scene and a head+arm sinking into something, and i'm over i hope )

The photos with the rod through the body are sweet! Why is he reaching back with his right hand though? Doesn't he reach under to remove the rod? An yea I think he could walk okay, doesn't he walk over to the pit to get on the chain for the "goodbye" scene.

Anyways, here mine chilling with my DX10...I really would like to get another body/pants/shirt/boots to do a full BD, it just sucks those bodies are $150 ish.

null_zpsf1a1099c.jpg
 
Last edited:
The photos with the rod through the body are sweet! Why is he reaching back with his right hand though? Doesn't he reach under to remove the rod? An yea I think he could walk okay, doesn't he walk over to the pit to get on the chain for the "goodbye" scene.
thanks!
i was afraid to drill there, but there is nothing inside the body in that zone i guess. so it went totally ok.

and that's why he's trying to reach the rod:

8b8cfc7d23cd.jpg


rod_through_007_zpsfd34d1b3.jpg~original


p.s. white metal of the BD arm is better seen on this daylight photo )
 
Last edited:
i do feel it's wrong, i just cannot understand what exactly has to be done )
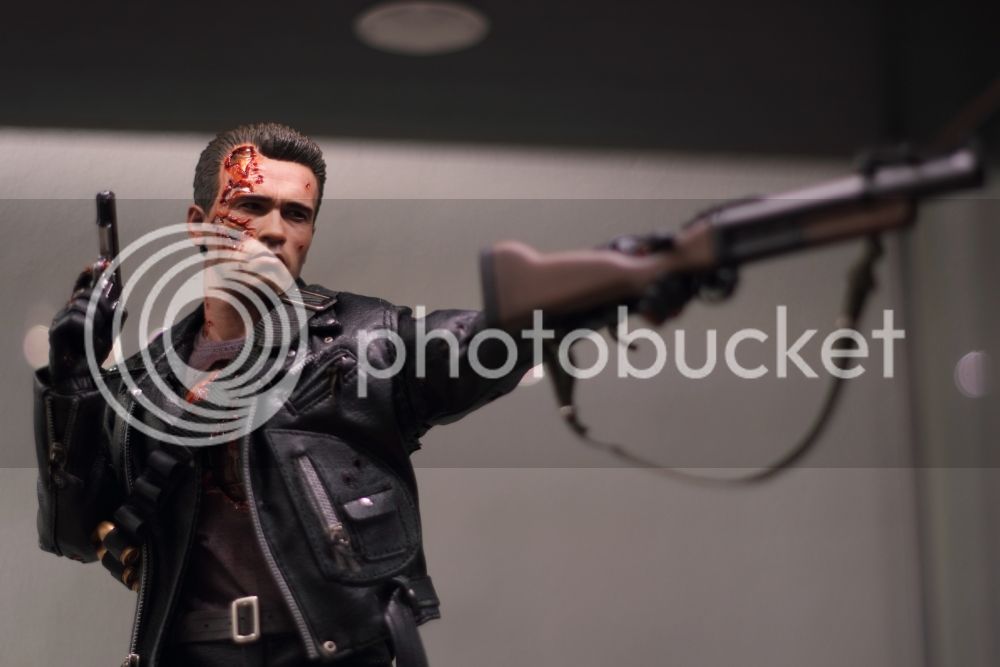
 
i do feel it's wrong, i just cannot understand what exactly has to be done )
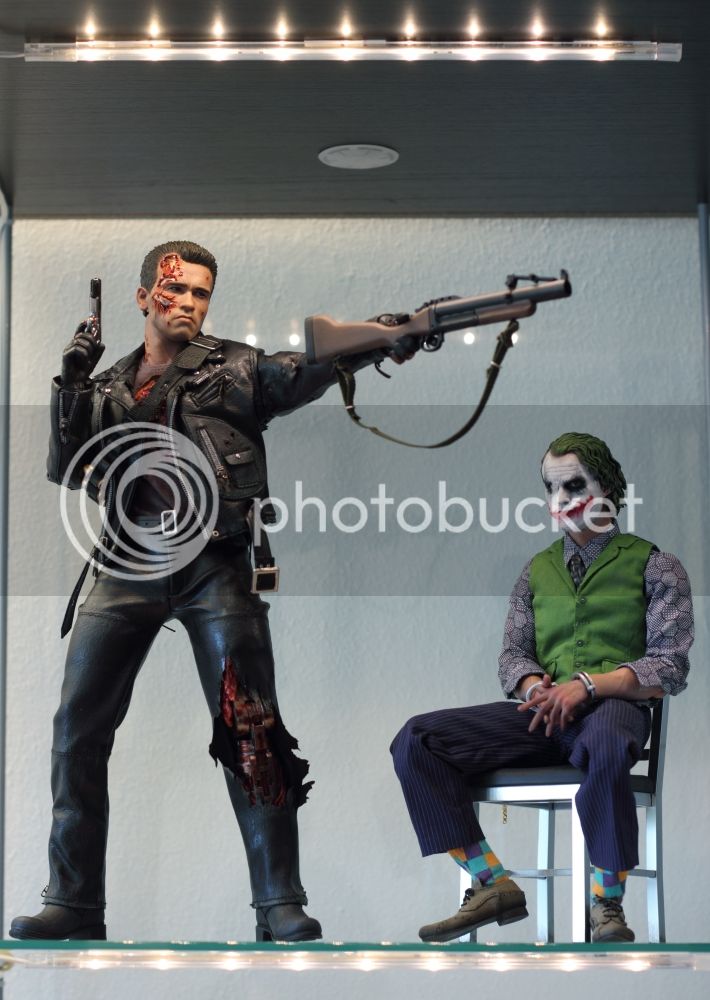
I remember you liking my scanning pose below:

IMG_7532_3_small.jpg


IMG_7638_4_small.jpg


I don't think it's 100% accurate, but it looks very natural IMO. If you'd like, I can take some more shots from different angles. I think lowering the arm at the shoulder and rotating it more inwards to the body will help. It also looks like you used a different hand holding the pistol, although I can't say for sure.
 
Back
Top