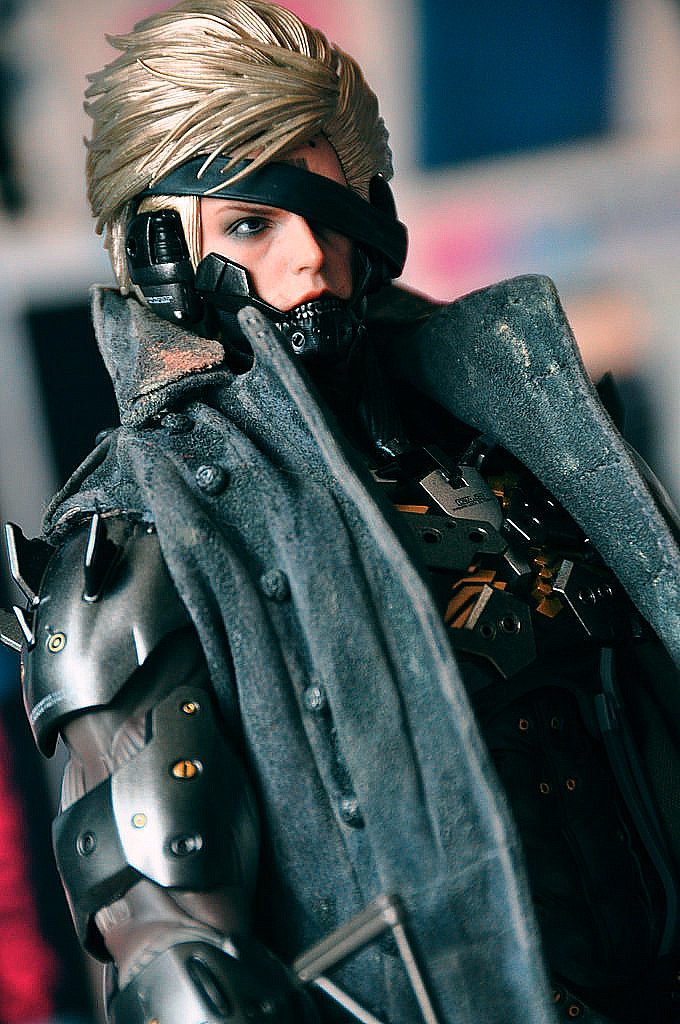
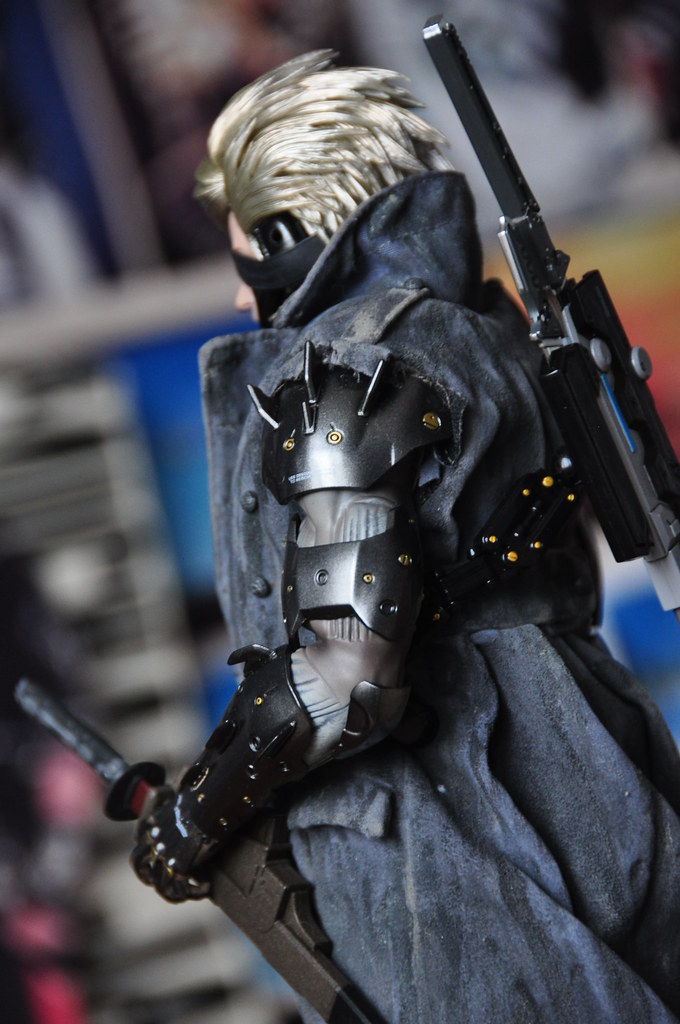
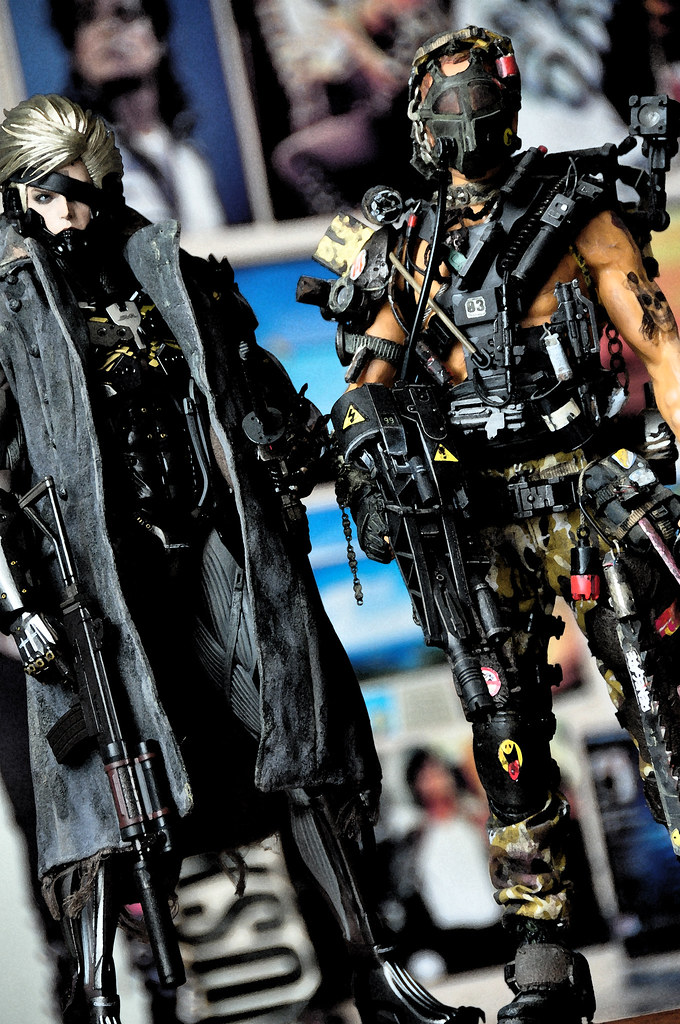
Action Figure Hot Toys - VGM17 - Metal Gear Rising: Revengeance - Raiden

Collector Freaks Forum

Help Support Collector Freaks Forum:

This site may earn a commission from merchant affiliate links, including eBay, Amazon, and others.


You got a much better chance being happy with it than Raiden, since there's nothing devastatingly busted with it.


Don't remind me, according to the tracking info my Raiden's currently flying somewhere over the sea between Japan and the UK, currently with Schrodinger's elbow joints - simultaneously intact and broken...

I've already got the perfect 6" Batman. Thought it would be nice to have one in 12" scale, and I enjoyed the first two Arkham games a lot.
 
21055924366_973fa9ee24_b.jpg


21877700332_da1ba6eb8b_b.jpg


20327420953_198bb6736b_b.jpg
 
I need to post pics, but the Muramasa with the Gecco figure is slightly longer and more sturdier than the POS that came with this.
 
Nice work matt! Glad you got it done. Was it a pain for you or was it okay, how long did it take you?

Sent from my XT1096 using Tapatalk

Thanks man!

Took me a little while, maybe an hour and a half because the shoulder armour was glued in real good, the peg thing on the armour actually snapped of on the left arm so I had to mess around getting it out
 
yeah, it almost always does, just as long as it doesnt rip the armor thats all that matters i guess. did you just glue the peg into place or did you also cut one of the loops in the joint?
 
yeah, it almost always does, just as long as it doesnt rip the armor thats all that matters i guess. did you just glue the peg into place or did you also cut one of the loops in the joint?

Hey Jason, do you mind linking your tutorial on how to fix it? I'm still waiting for the figure to arrive here but it seems to have been lost at sea or something. :lol
 
i dont have a tutorial per se, but i did tell matt how its done.

gently pry off the 3 armor pieces, i usually take the elbow one off too to make it easier to get the rubber sleeve off. when taking the rubber sleeve off check around every hole and seam for excess glue that could tear the rubber or prevent it from moving. roll down the sleeve from the shoulder and push it down while tugging the wrist portion. alternate back and forth til you slide it down past the elbow and it should come off the arm. take out the 2 screws that are in the forearm and elbow, one is slightly thinner than the other, keep that in mind because the thinner one goes back in the elbow. the forearm should split apart easily and you will have the 2 halves, peg, and upper arm w/ ratchet loop. in the ratchet loop you will see 4 holes around where the cog peg goes through, slice one of them in the middle with an exacto blade to give the cog peg a little extra give when it rotates in there. repair the broken plastic, let it dry, then install the peg back into it and fuse it in place with more glue and let it dry. i use a small file to clean up any extra glue. then, reassemble the arm and test the joint. if all is well then put the rubber sleeve back on and reglue the armors. youll be all set. heres a couple of pictures of what you will be looking at when everything is apart:

897a43cf94fbea414d847ce590a926b1.jpg


0db4e088e8114e457033438b27a1a65e.jpg


bfcdaf8f11631d1f6d6cad27b2a91986.jpg


4e607b3492926e46dec91d77f74fd63b.jpg


12a3e2ffd9031628ba673faee4a7515c.jpg
 
Last edited:
Wow, thanks Jason! That should prepare me for in case it happens. Somebody rep this mad genius!
 
i dont have a tutorial per se, but i did tell matt how its done.

gently pry off the 3 armor pieces, i usually take the elbow one off too to make it easier to get the rubber sleeve off. when taking the rubber sleeve off check around every hole and seam for excess glue that could tear the rubber or prevent it from moving. roll down the sleeve from the shoulder and push it down while tugging the wrist portion. alternate back and forth til you slide it down past the elbow and it should come off the arm. take out the 2 screws that are in the forearm and elbow, one is slightly thinner than the other, keep that in mind because the thinner one goes back in the elbow. the forearm should split apart easily and you will have the 2 halves, peg, and upper arm w/ ratchet loop. in the ratchet loop you will see 4 holes around where the cog peg goes through, slice one of them in the middle with an exacto blade to give the cog peg a little extra give when it rotates in there. repair the broken plastic, let it dry, then install the peg back into it and fuse it in place with more glue and let it dry. i use a small file to clean up any extra glue. then, reassemble the arm and test the joint. if all is well then put the rubber sleeve back on and reglue the armors. youll be all set. heres a couple of pictures of what you will be looking at when everything is apart:

if you didn't reinforce the joints, some point of time it will still break, maybe not at the area you glued back but somewhere else, since it looks pretty fragile & thin.
 
if you didn't reinforce the joints, some point of time it will still break, maybe not at the area you glued back but somewhere else, since it looks pretty fragile & thin.

He's only got to worry about that if he's constantly messing with it, but for the most part were all adults here and not idiots to do that.
 
Its quite sturdy, im not worried at all. I wouldnt have done multiple for people already if i thought otherwise.

Sent from my XT1096 using Tapatalk
 
I didn't cut anything on mine, I just waited for it all the dry then put abit more glue on the weak points and glued the joint into the arm.

My arms are really solid and it also ratchet clicks, I doubt they will break again
 
Back
Top