You are using an out of date browser. It may not display this or other websites correctly.
You should upgrade or use an alternative browser.
You should upgrade or use an alternative browser.
Hot Toys - MMS143 - Spider-Man 3 official specs and pics
- Thread starter Gigerfan
- Start date

Help Support Collector Freaks Forum:
This site may earn a commission from merchant affiliate
links, including eBay, Amazon, and others.
jedijim3002
Super Freak
- Joined
- Apr 22, 2010
- Messages
- 12,537
- Reaction score
- 1,429
It's a huge pain in the *** and it will never be the same but I've done it before. The first thing you want to do is pop the footpad off the bottom of the foot. You have to slide the fabric of the boot out of the plastic seem that joins it to the blue fabric. They are not soon together or glued together only talked together into the crack of the calf. Once you peel down the red boot fabric there is black fabric underneath. You also have to peelback down to get to the rubber sleeve that goes over the entire foot and ankle. The rubber boot sleeve is glued on to the plastic ankle and foot so you have to be very careful not to tear the rubber sleeve.
Once you dislodge the rubber sleeve you can peel it all the way off to reveal the ankle post. You do not have to peel the rubber sleeve off of the foot you only need to peel it off of the ankle and calf to take the boot off. You can then remove the entire foot and the rubber sleeve to separate those two pieces.
The ones that I have encountered the actual ankle part of the leg gets broken and the foot peg will no longer sit inside of the ankle to move the foot. If you still have all the pieces you can glue them back together using industrial-strength superglue and it will hold for the most part. You're going to want to put the ankle post back into the ankle when you blew it so that when you try to pop the ankle or foot peg back into the ankle it will not dislodge the glue and crack the piece that you just put together. Be sure to continue to move the foot peg around so it does not get glued to the ankle otherwise it will not move.
If you let it dry for a solid 30 minutes it should be okay to put back together. Start by popping the foot back onto the foot piece and the ankle today then glue the rubber sleeve back onto the cat and then move on to tucking the fabric back in.
I'm pretty sure that I posted some pics of what it looks like and how I did it on this thread somewhere if I can find those pics I'll repost them again
It's a huge pain in the *** and it will never be the same but I've done it before. The first thing you want to do is pop the footpad off the bottom of the foot. You have to slide the fabric of the boot out of the plastic seem that joins it to the blue fabric. They are not soon together or glued together only talked together into the crack of the calf. Once you peel down the red boot fabric there is black fabric underneath. You also have to peelback down to get to the rubber sleeve that goes over the entire foot and ankle. The rubber boot sleeve is glued on to the plastic ankle and foot so you have to be very careful not to tear the rubber sleeve.
Once you dislodge the rubber sleeve you can peel it all the way off to reveal the ankle post. You do not have to peel the rubber sleeve off of the foot you only need to peel it off of the ankle and calf to take the boot off. You can then remove the entire foot and the rubber sleeve to separate those two pieces.
The ones that I have encountered the actual ankle part of the leg gets broken and the foot peg will no longer sit inside of the ankle to move the foot. If you still have all the pieces you can glue them back together using industrial-strength superglue and it will hold for the most part. You're going to want to put the ankle post back into the ankle when you blew it so that when you try to pop the ankle or foot peg back into the ankle it will not dislodge the glue and crack the piece that you just put together. Be sure to continue to move the foot peg around so it does not get glued to the ankle otherwise it will not move.
If you let it dry for a solid 30 minutes it should be okay to put back together. Start by popping the foot back onto the foot piece and the ankle today then glue the rubber sleeve back onto the cat and then move on to tucking the fabric back in.
I'm pretty sure that I posted some pics of what it looks like and how I did it on this thread somewhere if I can find those pics I'll repost them again
very good explanation, if you find the pics will be perfect, if not it's ok, i will try fix that like you suggested.

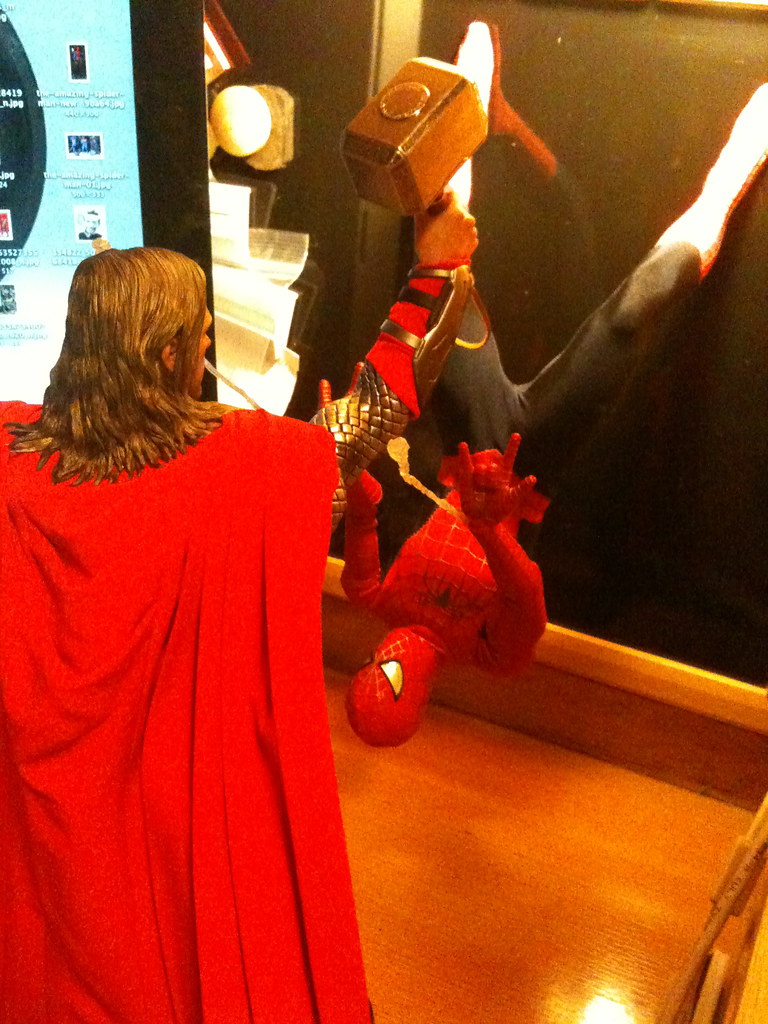
Found these
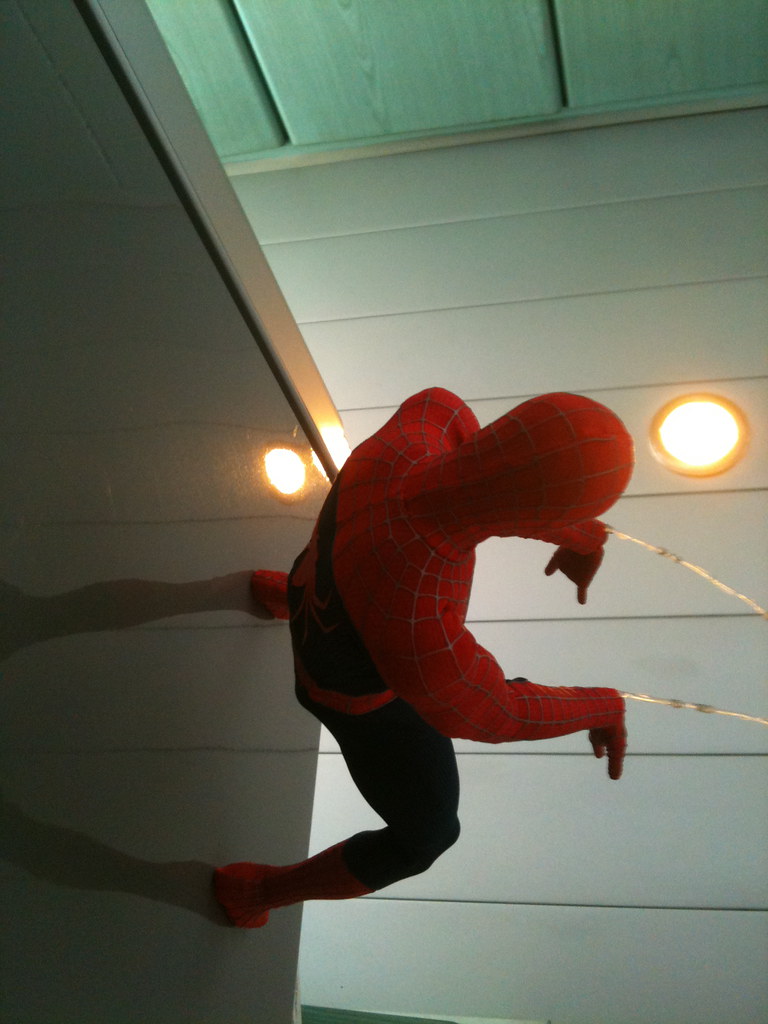
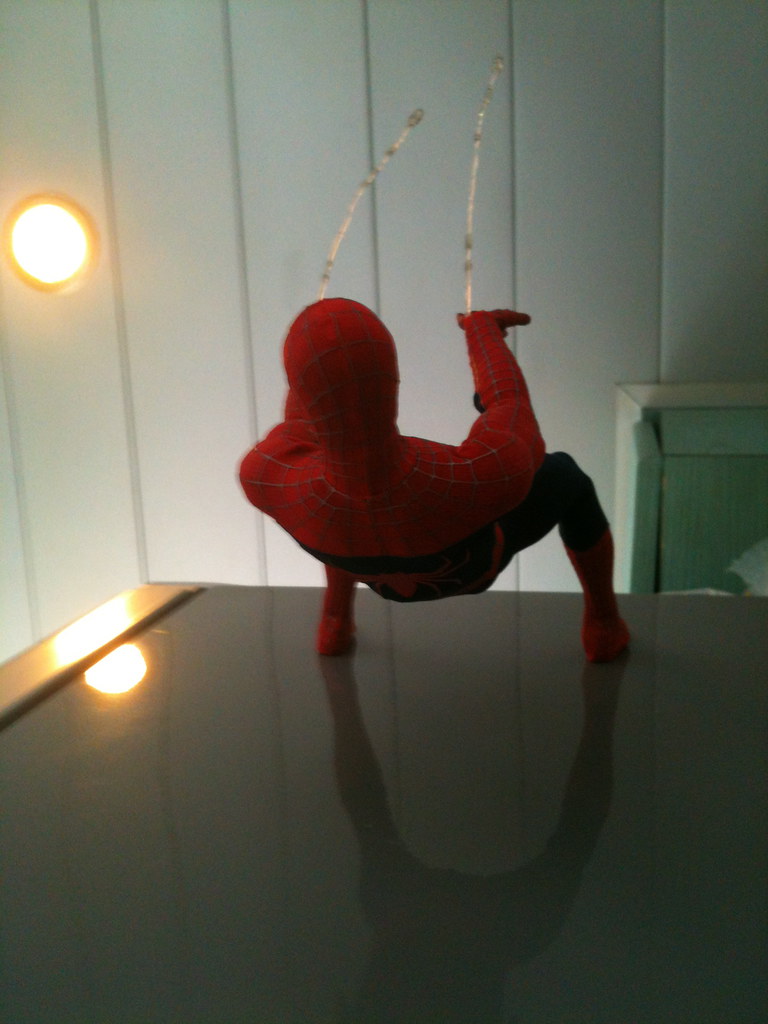
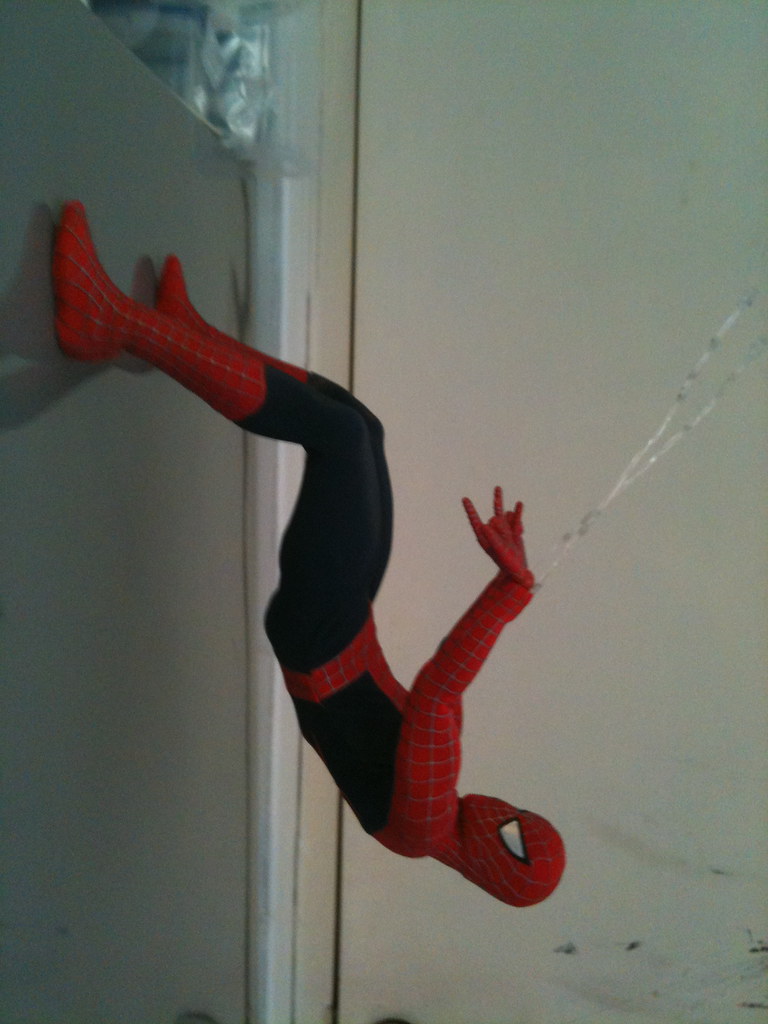
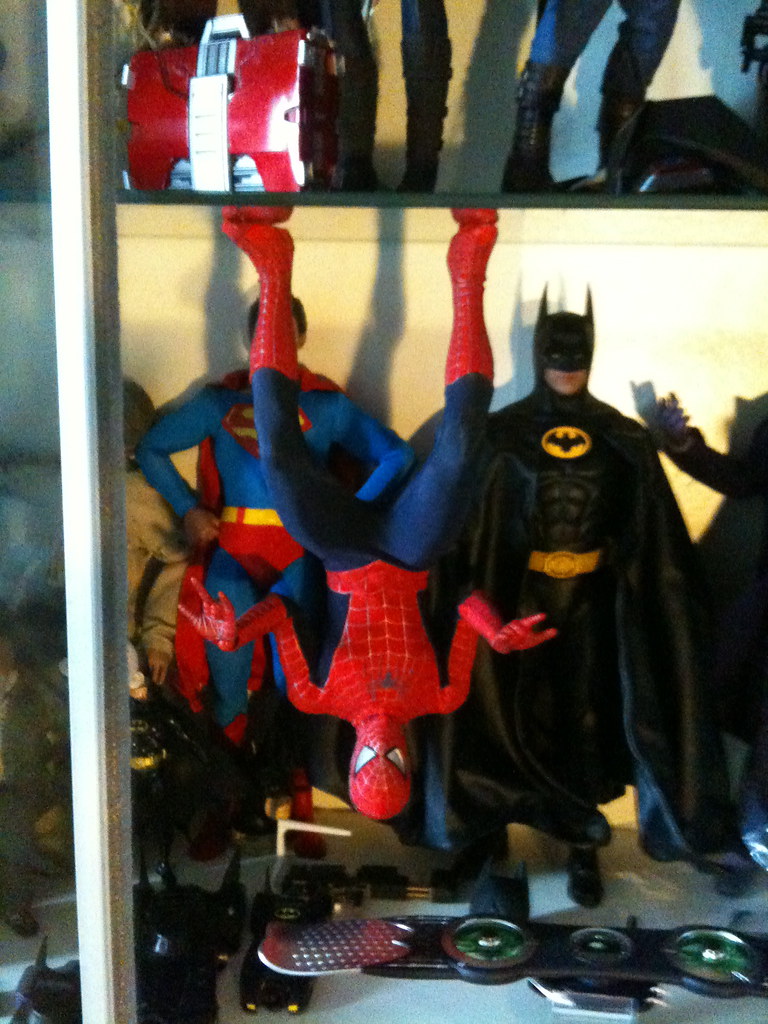


jedijim3002
Super Freak
- Joined
- Apr 22, 2010
- Messages
- 12,537
- Reaction score
- 1,429
Nice. Very cool.
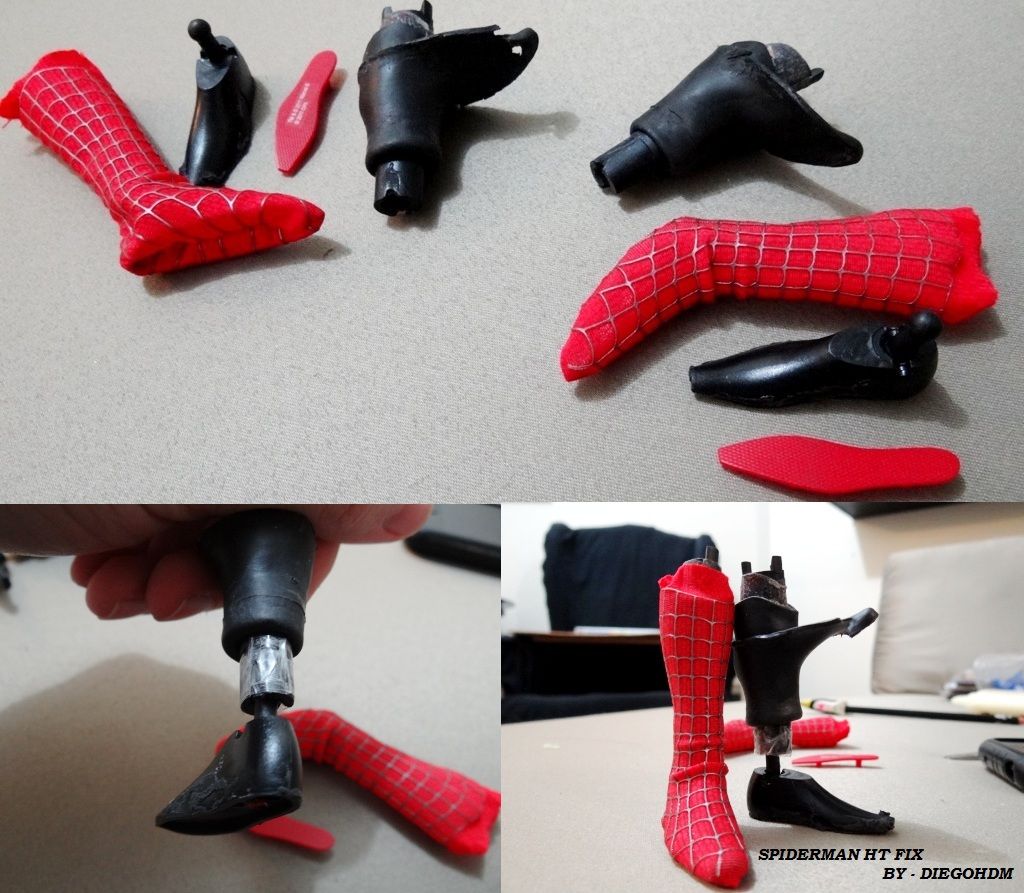
Well.. i fixed my Spider, hope it don't broke again.. for now it's perfect.
i made like my pics, taken off the boots, unglued some parts.
After that i super glued the broken ankles and i did some reinforcements with tape, so i put everything back again to finish.
(the foot pegs were not broken to my surprise)
i made like my pics, taken off the boots, unglued some parts.
After that i super glued the broken ankles and i did some reinforcements with tape, so i put everything back again to finish.
(the foot pegs were not broken to my surprise)


$44.98
$47.97
Marvel Legends Series Deadpool, Deadpool & Wolverine Collectible 6 Inch Action Figure for Adults Ages 14 and Up
Coast City Styles

$33.27
Marvel 60th Anniversary Captain America DS-086 D-Stage Previews Exclusive Statue
Green Bargain
jedijim3002
Super Freak
- Joined
- Apr 22, 2010
- Messages
- 12,537
- Reaction score
- 1,429
Nice work. The tape is a good idea. Didn't think of that.
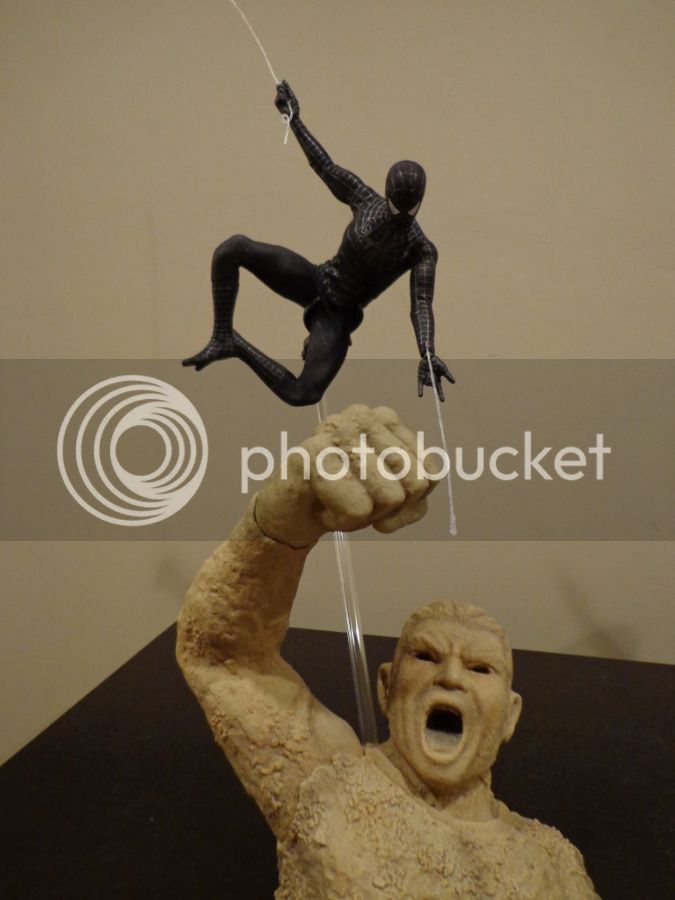
wow...so how the heck do you have him hanging upside down ?
Found these


As simple as they are, both Spideys are still 2 of my fave HT figs of all time

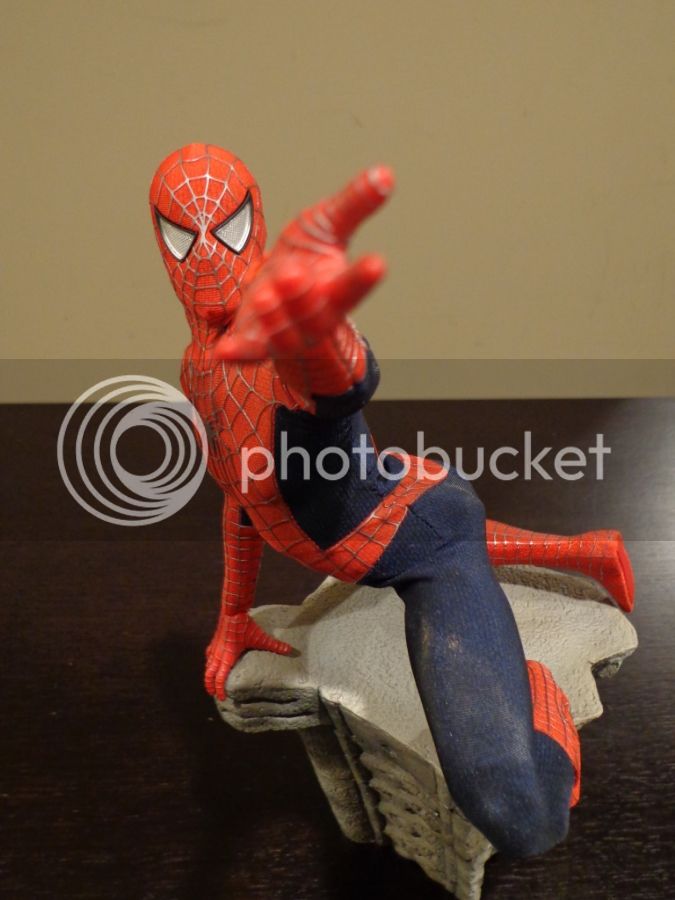
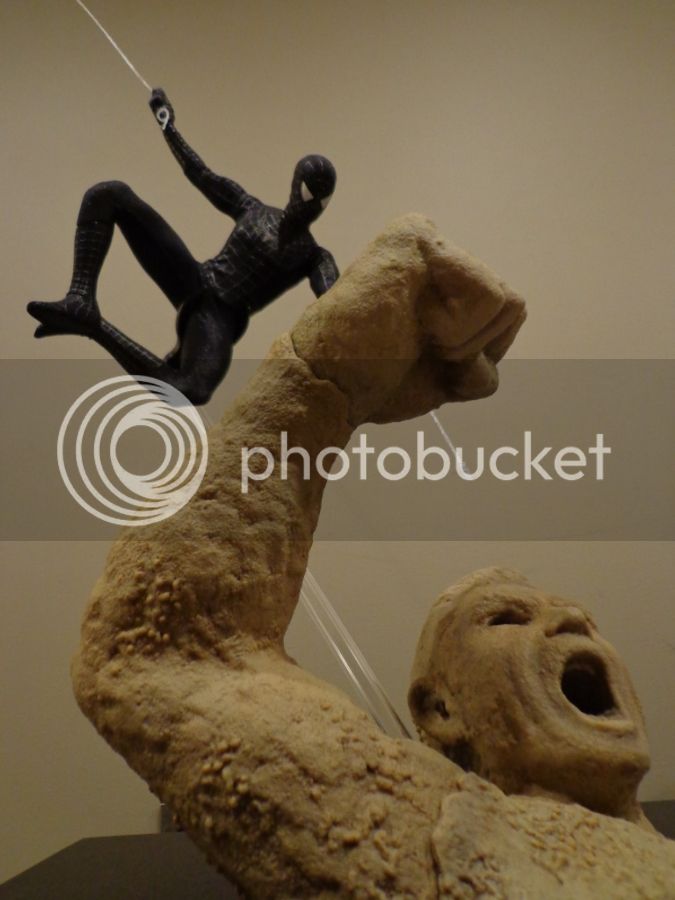
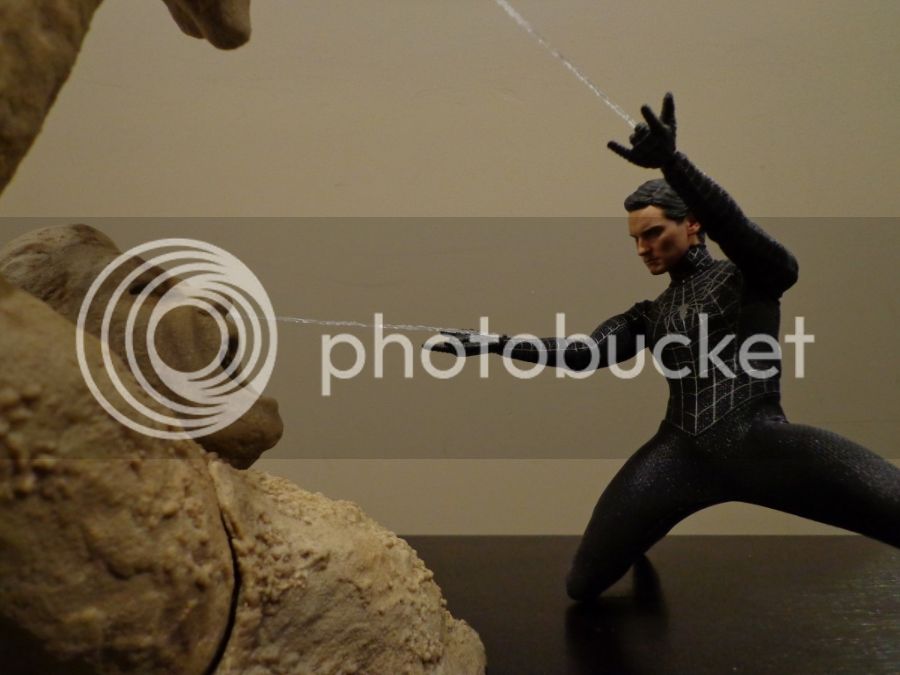
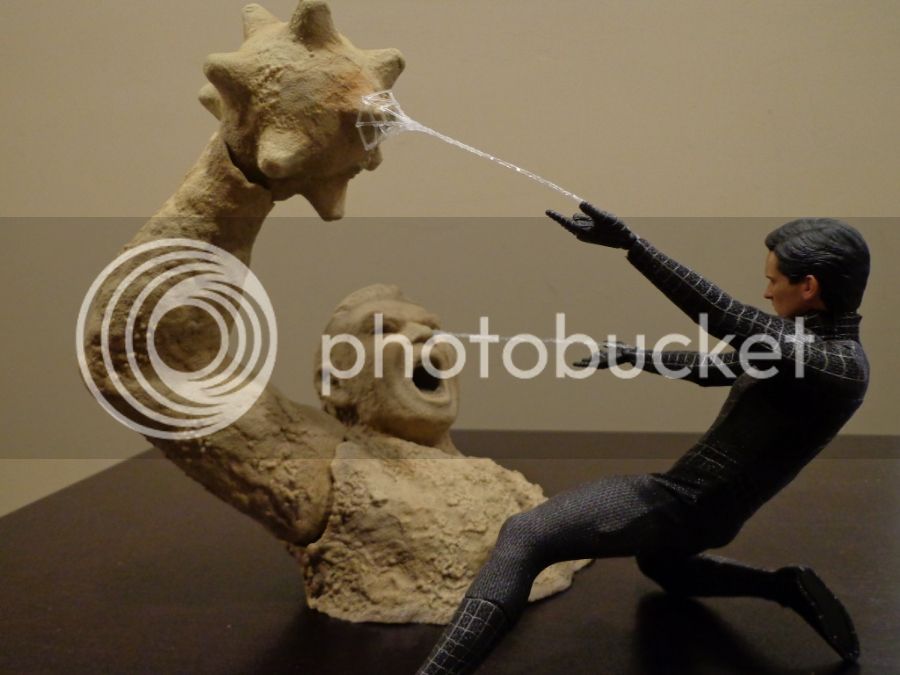


Found this thought it was gorgeous.
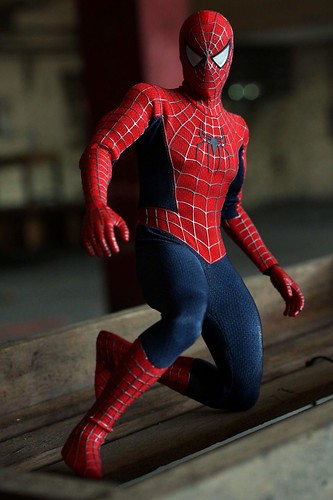
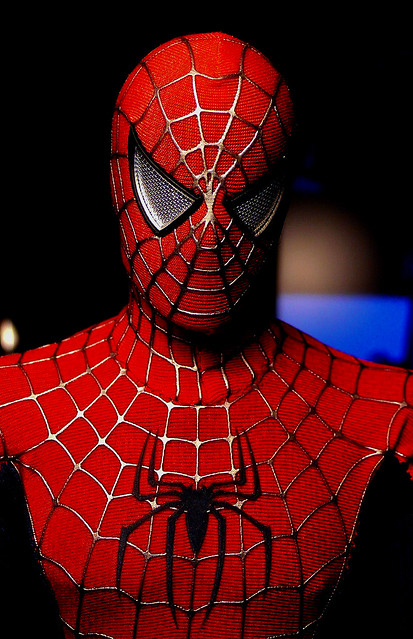
And my own


And my own


Definitely gorgeous. Love this fig
Yeah stunning!
VintijDroidGutzz
Super Freak
Absolutely chaps. 
I'm wondering how that new TAS-2 suit will compare as a potential HT figure to this guy.

I'm wondering how that new TAS-2 suit will compare as a potential HT figure to this guy.
We'll see. I will own both probably.
I would say this SM is in HT's top 5 figs. Like was stated, it's simple but just damn good!
(and changed significantly from proto to final)
I would say this SM is in HT's top 5 figs. Like was stated, it's simple but just damn good!
(and changed significantly from proto to final)
jimmie_dimmick
Super Freak
I'm saddened that I missed out on this figure and am hoping the ASM2 suit gives me the same comic book vibe as the SM3 suit did.
I'm saddened that I missed out on this figure and am hoping the ASM2 suit gives me the same comic book vibe as the SM3 suit did.
You can still get it for a somewhat reasonable price.(and worth every penny)
But yeah the new one looks great as well (those eyes)
As simple as they are, both Spideys are still 2 of my fave HT figs of all time


How in the world does the sandbags not tip over?
The Rage
Super Freak
How in the world does the sandbags not tip over?
Because the Sandman base weighs a ton.
Because the Sandman base weighs a ton.
Mine tips over so easily. I had to put the cement block behind it to hang spiderman up there
The Rage
Super Freak
Mine tips over so easily. I had to put the cement block behind it to hang spiderman up there
Weird, mine doesn't move at all.
Similar threads
- Replies
- 18
- Views
- 4K
- Replies
- 107
- Views
- 8K
- Replies
- 101
- Views
- 7K
- Replies
- 207
- Views
- 15K


