1/6 Hot Toys - MMS 279 - Star Wars Episode IV: 1/6th scale Darth Vader

Collector Freaks Forum

Help Support Collector Freaks Forum:

This site may earn a commission from merchant affiliate links, including eBay, Amazon, and others.
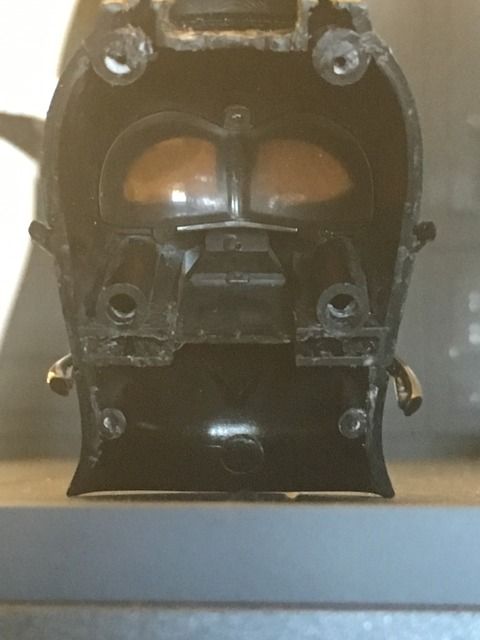
I was finally able to get that mask separated. It took a considerable amount of time and effort, but the biggest help was using a screwdriver at the top of the mask and twisted each direction until it finally cracked open. Now I have to figure out how to do that nose mod.
 
There's no way I would have been able to separate the mask without using a screwdriver to twist and turn two separate directions to finally crack the glue loose enough to separate the mask. They glued the h#** out of it, unlike the helmet that just came off with a few hard wiggles and twists. The difficulty with the mask makes me extremely hesitant to do the nose mod.

If anyone has details on drilling the back to push the nose block forward and out that would be greatly appreciated.
 
How did you get the silver "nose" to look so good. I sanded mine a bit, but it still has the flat upside-down "U" shape.

d72111b18615bc714e5f69d3013793a0.jpg


Sent from my Motherbox PING PING PING PING PING PING PING PING

You guys really did a great job. Inspirational...but terrifying at the same time.
 
If anyone has details on drilling the back to push the nose block forward and out that would be greatly appreciated.

What I did was drill into the inside of the mask. You can see the spot you need to drill on the inside. You need to select a drill bit that's slightly smaller than the circumference of the silver portion of the nose. Be very careful to drill straight in, and not to drill at a angle so that you are only drilling through the mask, into the back of the nose "plug." The tricky part is that you actually have to drill much further than you think, there's a lot of material to get through.

After you drill to a certain depth, you will need a tool that will fit into the hole you created. Use something that is flat, not pointed. A pointed too will just pierce into the soft plastic.

This is the scary part. You need to push from the back, till the nose plug pops out of the front of the mask. Depending on how much glue they used on your particular sculpt, this could be very easy or very challenging. Mine took a considerable amount of force, but I've read that it popped out very easily for others. Don't be tempted to try and pry it from the front you will run the risk of slipping and scratching the front of the mask, or deforming the "teeth." Just push from the back. It requires the same steady, firm, but gentle pressure, and of course patience, just like removing the dome and separating the mask.

Once the nose plug is out, just cut it in half, then sand the back side down till its short enough that it looks right. Keep a couple reference images from the film handy as you work. His nose is much deeper into the mask than you might remember.

That's about all the advice I have. I hope it helps. This stuff can be more than a little stressful, but the payoff is SO REWARDING when you look at your completed work.

Matrix did a better job on his nose than I did. Hopefully he can provide some insight into his method.
 
Last edited:
I forgot if anyone tried this... but did anyone try the SSC deluxe vader gloves on the HT Vader?

I just can't get past those gloves. I was thinking maybe cutting the leather material around the glove, and then sewing that on to just the hands of the SSC deluxe? I dunno, I just can't have those gloves lol.
 
I think the SSC gloves are a little over scaled.

I'm just using other hot toys gloved hands and painting them black.


Sent from my Motherbox PING PING PING PING PING PING PING PING

Do you mind sharing a little more info? What gloves are you going to use? Any progress pics yet?

I was thinking if I just cut the hands off the SSC figure maybe I can swap them to the HT... it's gonna be a surgery, but could result nicely lol
 
What I did was drill into the inside of the mask. You can see the spot you need to drill on the inside. You need to select a drill bit that's slightly smaller than the circumference of the silver portion of the nose. Be very careful to drill straight in, and not to drill at a angle so that you are only drilling through the mask, into the back of the nose "plug." The tricky part is that you actually have to drill much further than you think, there's a lot of material to get through.

After you drill to a certain depth, you will need a tool that will fit into the hole you created. Use something that is flat, not pointed. A pointed too will just pierce into the soft plastic.

This is the scary part. You need to push from the back, till the nose plug pops out of the front of the mask. Depending on how much glue they used on your particular sculpt, this could be very easy or very challenging. Mine took a considerable amount of force, but I've read that it popped out very easily for others. Don't be tempted to try and pry it from the front you will run the risk of slipping and scratching the front of the mask, or deforming the "teeth." Just push from the back. It requires the same steady, firm, but gentle pressure, and of course patience, just like removing the dome and separating the mask.

Once the nose plug is out, just cut it in half, then sand the back side down till its short enough that it looks right. Keep a couple reference images from the film handy as you work. His nose is much deeper into the mask than you might remember.

That's about all the advice I have. I hope it helps. This stuff can be more than a little stressful, but the payoff is SO REWARDING when you look at your completed work.

Matrix did a better job on his nose than I did. Hopefully he can provide some insight into his method.

I didn't use a drill on mine,just a needle-nose pliers for breaking the plastic piece behind the nose and then i used a small exacto knife for scrapping the wee drop of glue that was holding the back of the nose in place..it then popped out pretty easy
 
Thank you gents, particularly WTC for the detailed notes....seriously. So that plastic bit that is half circle/triangle shaped at the bottom is holding the nose in, correct? I can't tell if that's part of the grill plate backing and/or the nose piece.

Matrix, are you saying you pulled the nose piece out from the back or used pliers to break the plastic and back and then popped the nose out in front?

I have a little dot almost in the middle of the plastic backing for the nose, i was wondering if that was something?

Anyway, thanks again. This is nerve racking.

Here's the inside:


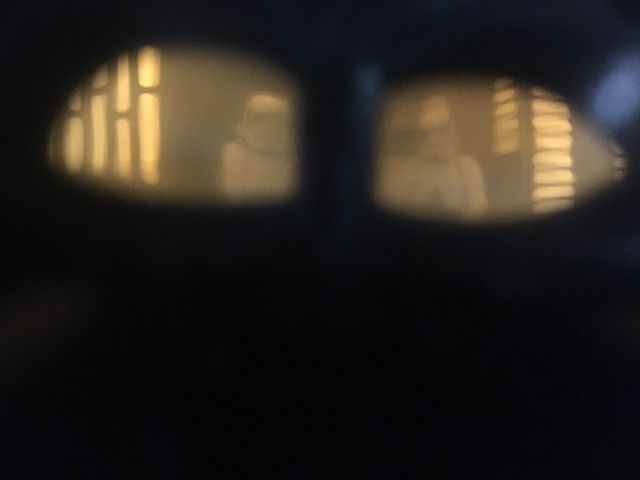
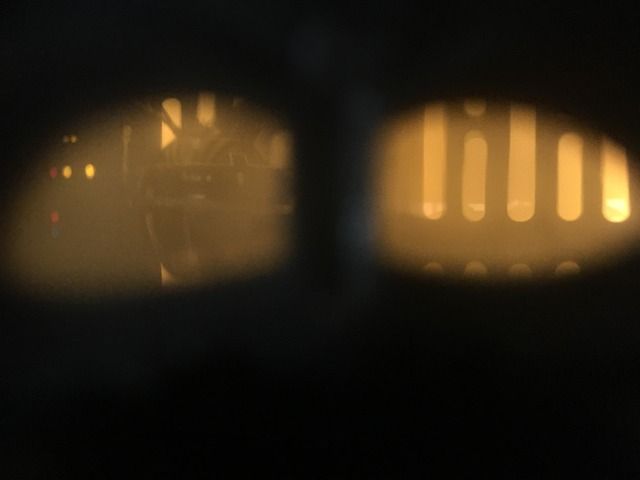
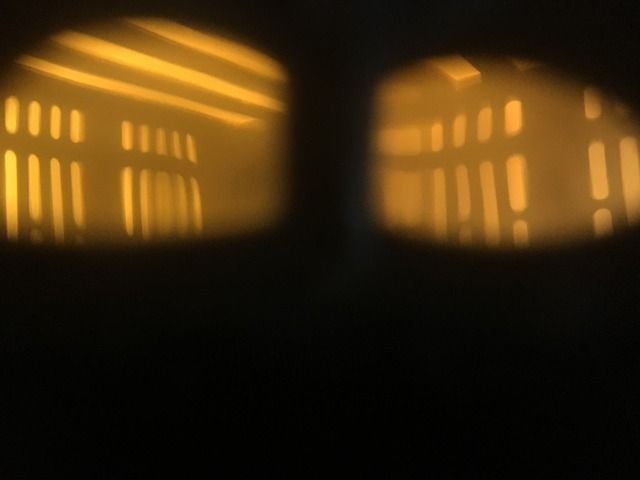
And here's what it looks like to be a hot toys Darth Vader in the death start:


I was able to get an exacto blade around the sides and top of the nose plug and wiggled it until the thing came out. My problem was when the glue I used rushed out and got all over the grill :monkey2
 
I drilled...a tiny bit too low, now I have a hole in my grill. Luckily you can't see it because it's in the shadow of the grill under the nose. But still.......damn.
 
Think the only change to Vader on this photo is the cod piece (SS V1) and moved the belt boxes. I pulled the suit up at the legs into the torso to try to get the legs to look a little less stumpy.

c65c120aa79c3c5e06f7470f64cd9df2.jpg
 
I was able to get an exacto blade around the sides and top of the nose plug and wiggled it until the thing came out. My problem was when the glue I used rushed out and got all over the grill :monkey2

I drilled...a tiny bit too low, now I have a hole in my grill. Luckily you can't see it because it's in the shadow of the grill under the nose. But still.......damn.

Man, this is starting to feel like it's risky surgery on a loved one.:(

Still trying to get up the courage to do this.:pray:
 
I have two helmets and on one I did the same method as Bmac and I think Jamesthecat did it too. Just got the nose insert out from the front. It has its own risks and is probably all dependent on how much glue happened to be used there on your particular helmet.

When the insert popped out i sanded down the back a tiny bit just so it would be more flush with the face mask and sanded the bottom too to make it look a bit smaller overall. The difference is probably indiscernible to most.

What did you lever off of though? Just seems like there's nothing to pivot against without the damage being visible. There's really only the horseshoe gap at the front and then the back part where it meets the teeth.
 
Back
Top