Hot Toys - MMS136 - The Terminator: 1/6th scale T800 Collectible Figure (T1)

Collector Freaks Forum

Help Support Collector Freaks Forum:

This site may earn a commission from merchant affiliate links, including eBay, Amazon, and others.
I've saved the pages of this thread with your mod-guides for future referance. I'm not sure when I'll start to work on it.

When you talk about watering down the paint what is that achieving exactly? Does it make the paint, say the blood, look less stark and 'painted on' and more like a real fluid that got soaked into the fabric?

:exactly:
Yes, it helps to make the blood look less "painted on".
I think its always bad to use just paint on its own.
Water, or some other type of thinner should always be used.
When I applied the blood, I thought of it like this - the further away from the actual wound, the lighter the shade of blood will be, AND also, the thinner the blood will be.
Around the wound itself, the blood would be darker and also thicker.
Using different amounts of water allows you to achieve those various shades and thickness of blood.
I started with the lightest/thinnest blood 1st and worked my way to the darkest.
Then I touched it all up/blended it even better at the end by adding more VERY pale/thin blood.
The other, equally important reason for water, is to blend the different shades together better.


And what do you do, take a paint mixing tray - get your paints in it and then drop water in with it or what? Sorry if these seem like silly questions, I don't have much experience painting. All I've done is a few amateur but acceptable touch-ups on my NECA figures.

Not silly questions at all.
Its often the simple things that people get stuck on.

Anyway, yeah, thats exactly what I do.
First I put the crimson red and black in the 1st two segments of the tray -
SAM_1122.jpg


Then I wet the paintbrush, dip it in the black a bit, then dip it into the red and mix together.
Then I add more water to it until I get the colour/thickness I like.
This will be both the light shade AND the medium shade.(See segment 2)

I then put some of the segment 2 paint into segment 3, then added a tiny bit of black to get a darker shade of red.
This will be both the medium dark AND very dark shade.(See segment 3) -
SAM_1123.jpg


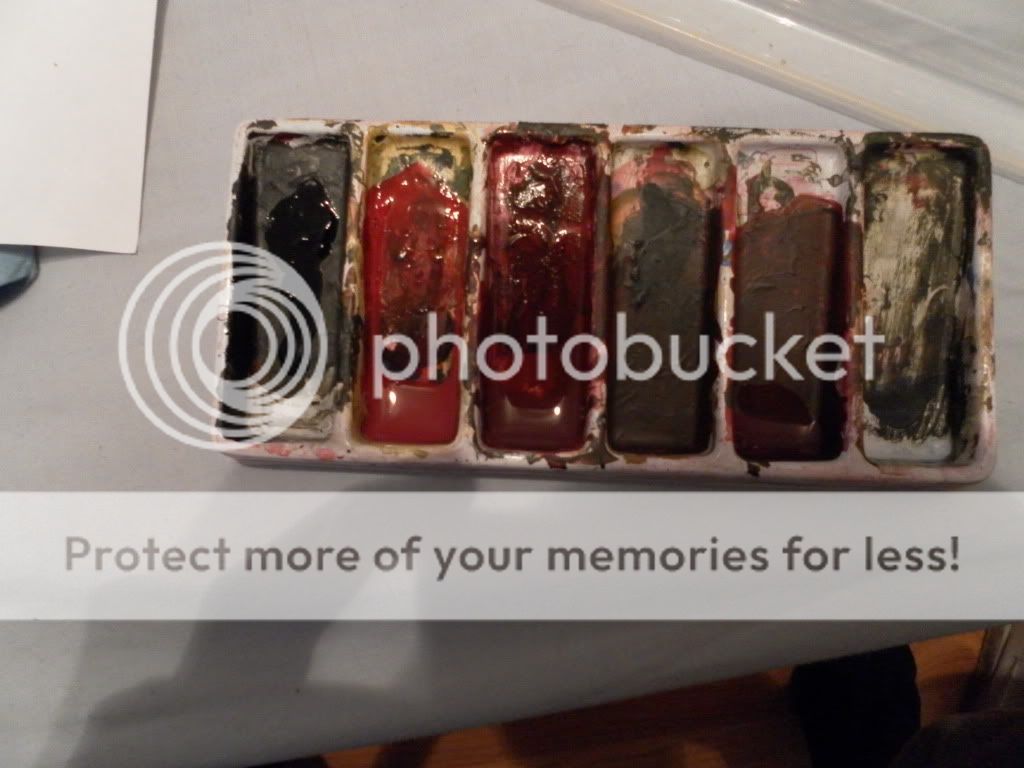
Then I make a duplicate of both segment 2 and 3 into segment 4 and 5.
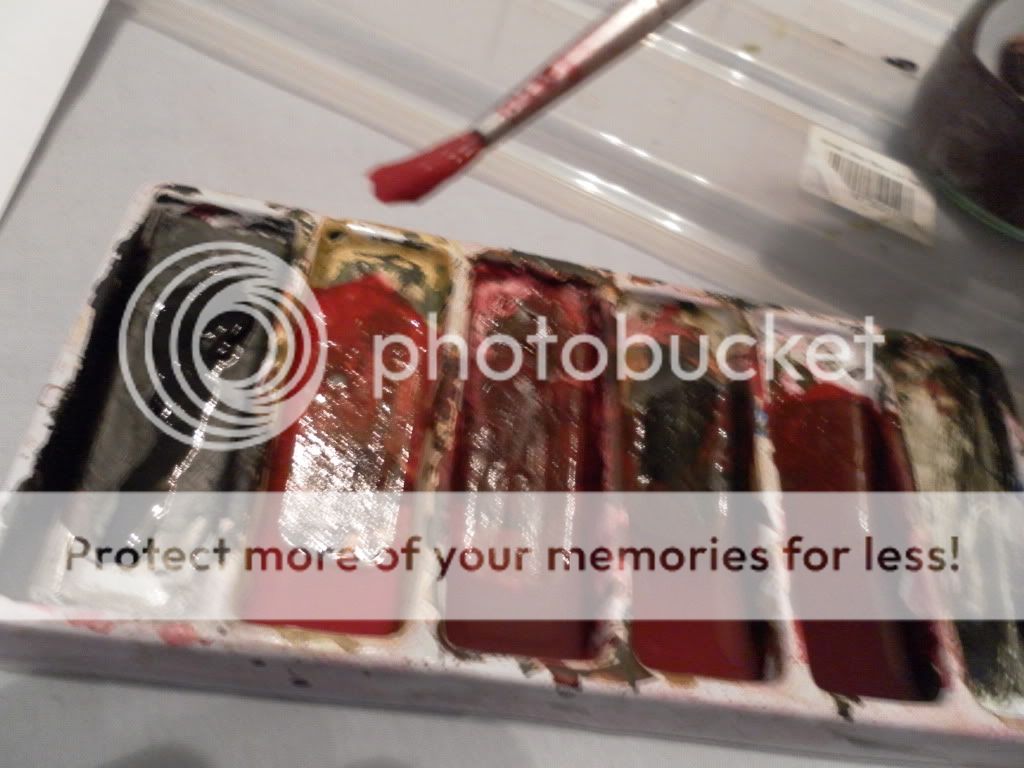
Now drip water into segment 4 and 5 to make it thinner/more pale -
SAM_1124.jpg


You can check how pale the paint is by cleaning your brush in water, keeping the water on the brush, and then dipping it into the paint.
You can now judge how pale/thin the paint is by the colour of the bristles -

DARK/THICK -
SAM_1125.jpg


PALE/THIN -
SAM_1127.jpg


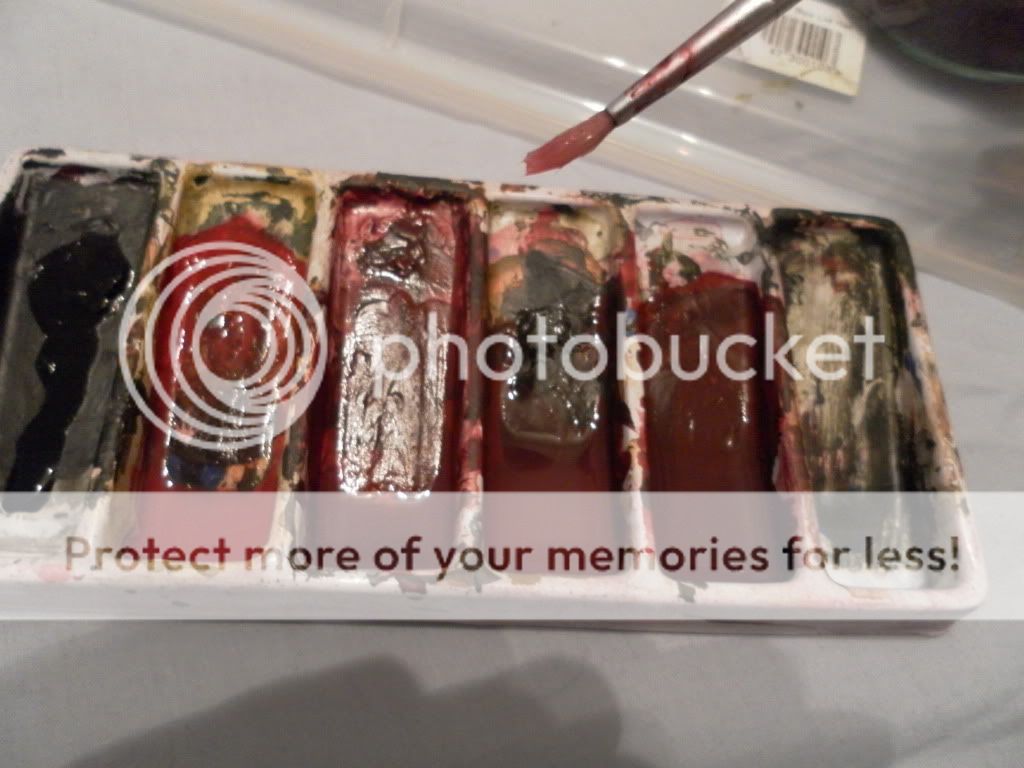
And dont forget, after every layer of blood you apply, its a good idea if you brush/dab just water onto the area to achieve even more shades/thicknesses, and also to blend the colours together better -

Its kind of hard to explain properly in words so I will make a video tutorial soon showing how I did the bullet hole and blood on the arm.
I will also show how to do the head repaint.
That way you can see exactly what Im doing and how it all works.
Its really easy to do.

:thud:
 
Something to note aswell is the jacket is a very tight fit on the T-800 muscle body...frankly I don't know how anyone has managed to get it on because I had a pretty damn hard time getting it onto the smaller Billy Sole muscle body. Even if you can it'll be very pose-restricting.

Agreed.
I dont know you guys can get it to fit.
It felt like it was going to rip when I tried it.
Does everyone take the lining out, or have some of you got it to fit without removing it?
 
Thats great TFG, thanks for going to that trouble. I'm gonna have to sort out my paints and brushes in preperation for this aswell as finding some sandpaper for the weathering. See if I can't clean my brushes, lazy mofo that I am I never bother to wash them after use so they've hardened with old paint. Perhaps beyond salvage.

Problem is I prefer to do most of my customising in my toy room rather than bringing the stuff elsewhere where theres a sink handy.
 
I definitely want to do a little hair mod - just watched a youtube clip from the Tech Noir scene and his fringe is swept to the side for most of it rather than hanging loose over his forehead as on the figure. Its not strictly necessary, a bit @n@l, but I really wanna see what it'll look like.
 
Thats great TFG, thanks for going to that trouble. I'm gonna have to sort out my paints and brushes in preperation for this aswell as finding some sandpaper for the weathering. See if I can't clean my brushes, lazy mofo that I am I never bother to wash them after use so they've hardened with old paint. Perhaps beyond salvage.

Problem is I prefer to do most of my customising in my toy room rather than bringing the stuff elsewhere where theres a sink handy.

Its no problem mate.
Im usually the same with my brushes too, but ive been keeping my latest set clean.
And I do all my custom work in my room too.
I just use an old coffee jar and put water in that to clean my brushes while I work.
It doesnt matter if the water in the jar gets "dirty" looking along the way.
As long as it gets the paint off the brush, thats all that matters.
Im a lazy mofo too:lol
 
I definitely want to do a little hair mod - just watched a youtube clip from the Tech Noir scene and his fringe is swept to the side for most of it rather than hanging loose over his forehead as on the figure. Its not strictly necessary, a bit @n@l, but I really wanna see what it'll look like.

Me too.
Its not majorly important, but I reckon it will make him look even better, so why not?
Im definitely going to give it a go later on.
 
Heres a video of my custom surgery T-800.
I should warn you that its nothing special and the lighting is crap.
I did add the photos to make up for it though:)

<iframe title="YouTube video player" width="640" height="390" src="https://www.youtube.com/embed/1QEDkO1eL1Y" frameborder="0" allowfullscreen></iframe>
Just awesome.
Thanks for sharing.
 
Thanks :). Well, as of 1:15PM yesterday, my package arrived in New York. Still has a ways to go, but I wonder what the speed is from there to Oregon. No set delivery date, so I'm basically just waiting.
When you say you missed the delivery, does that mean it requires a signature?

Mine took three days to get to California from New York. And yes, it required a signature. I went and picked it up and everything was great.
 
Hells yeah, latest tracking update says that as of 7:15PM tonight, my shipment has arrived in Portland. If all goes well, I'll hopefully get my accessories and remaining custom parts tomorrow (new body, MMS02 stuff, everything). Good, since I'll actually be home tomorrow to accept the delivery.
 
:lecture:lecture Blade you should be like this >> :panic::panic::panic::panic::panic:


Congrats man , make sure you takke some pics :wave

Oh, I will. I also need to do a photo sesh with the Aoshima Endo. This week's been kind of busy and I have another Bio exam to study for (reason I've been so 'blah' lately), but there can and will be some time set aside.
 
I got my table and chair set yesterday from bbts and I was very impressed at the detail now I just need to order a body for my eye surgery t1 and I'll be done with t1 line for now till the cop shootout version or bd damaged come out
 
Back
Top