Oh I totally thought I did. I must have done that on another forum.
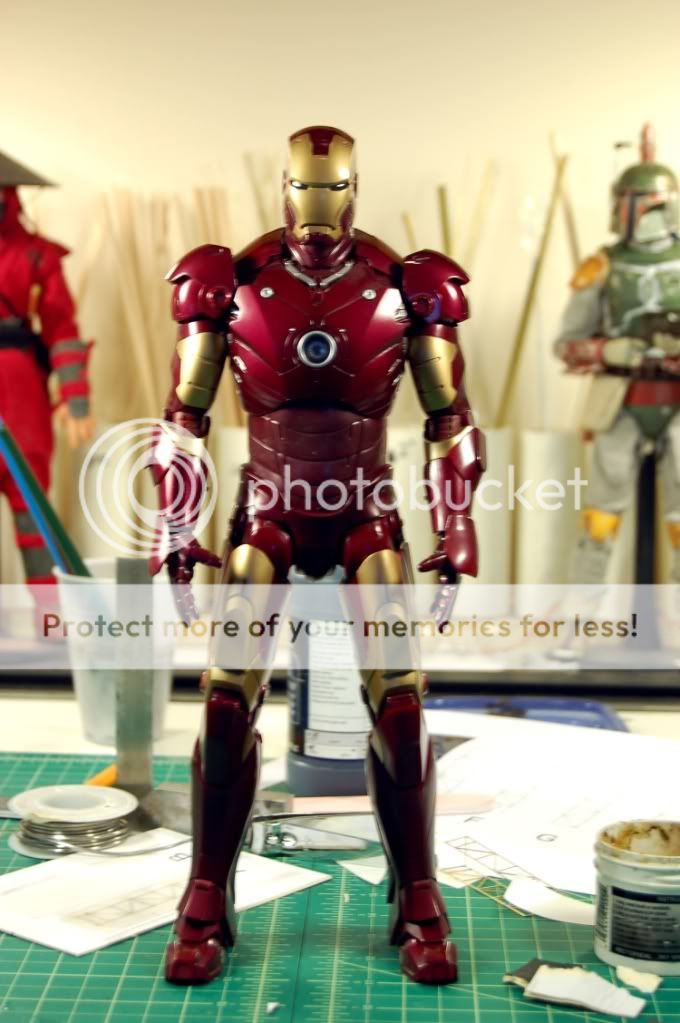
Basically what I did was cut and shape a variety of pieces of polystyrene and push them up under the piece of rubber that covers the abdomen essentially making it wider. I put some pieces on either side and a sanded and shaped piece in the front that's the same shape as that center abdomen panel. You can get to underneath the abdomen without any disassembly by just turning the torso or pushing the body backwards and pulling down the trunks part. The trunks are surprisingly flexible.
It's actually really easy.
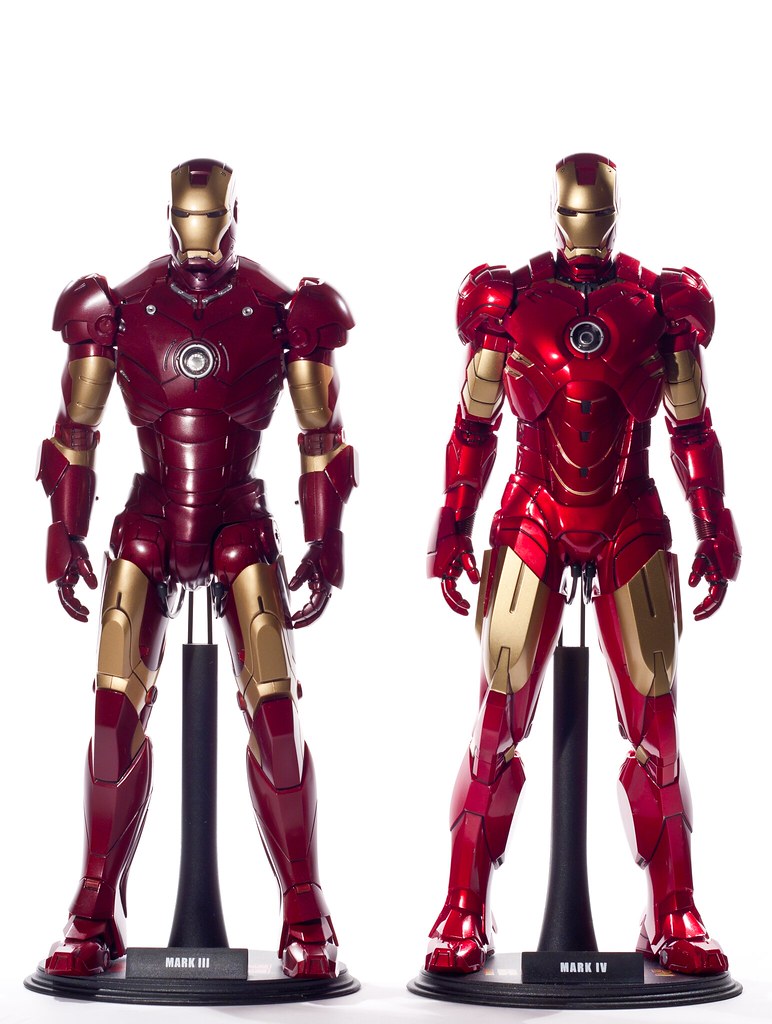
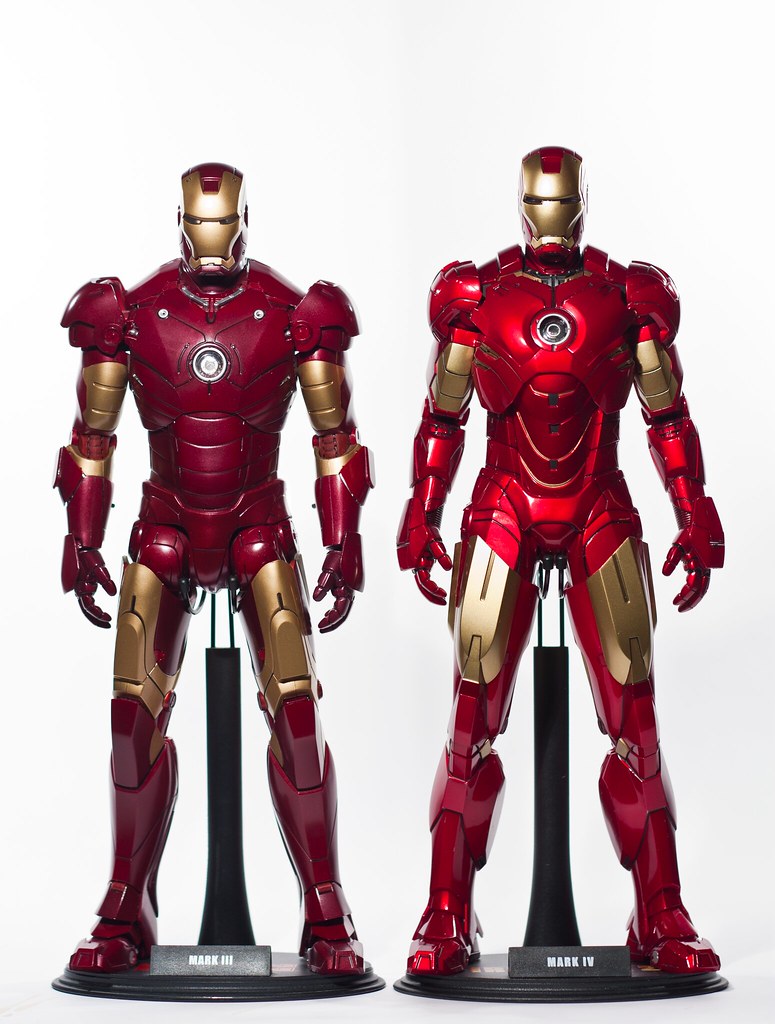
 There's your answer.


")